iPhone 8 Plus Not Charging? Here's Why & The Fix!
SEPTEMBER 25, 2017
Your iPhone 8 Plus won't charge and you don't know why. This common problem could be caused by your iPhone's charging port, Lightning port, your charging cable, or your iPhone's software. In this article, I'll explain why your iPhone 8 Plus is not charging and show you how to fix the problem for good!
What's Really Going On With My iPhone 8 Plus?
At this point, we can't be certain what's causing the problem or if your iPhone 8 Plus is not charging because of a software or hard problem.
The four main parts of the charging process are your iPhone's software, your iPhone's Lightning port, the Lightning cable, and your iPhone's charger. If one of these fails, your iPhone 8 Plus won't charge.
As always, we'll walk you through software troubleshooting steps first before diving into repair options. If you find that your iPhone 8 Plus is physically damaged, we highly recommend Puls, a repair service that sends a certified technician directly to you!
What To Do When Your iPhone 8 Plus Won't Charge
6 Steps TotalPerform A Hard Reset On Your iPhone 8 Or 8 Plus
Although you shouldn't rely on hard resets to turn your iPhone off and back on, it can be a reliable way to turn your iPhone off and back on when its unresponsive, frozen, or experiencing a software crash.
- Quickly press the volume up button on the side of your iPhone.
- Quickly press the volume down button on the side of your iPhone.
- Press and hold the power button.
- Release the power button when the Apple logo appears on the display. Your iPhone 8 will turn back on shortly after.
Applies To: iPhone 8,iPhone 8 Plus
View MoreLook For Debris In Your iPhone's Charging Port
If debris, gunk, or lint has gotten stuck in your iPhone's charging port, it may get stuck in headphones mode — even if headphones aren't plugged in! When your iPhone is stuck in headphones mode, you won't hear it ring.
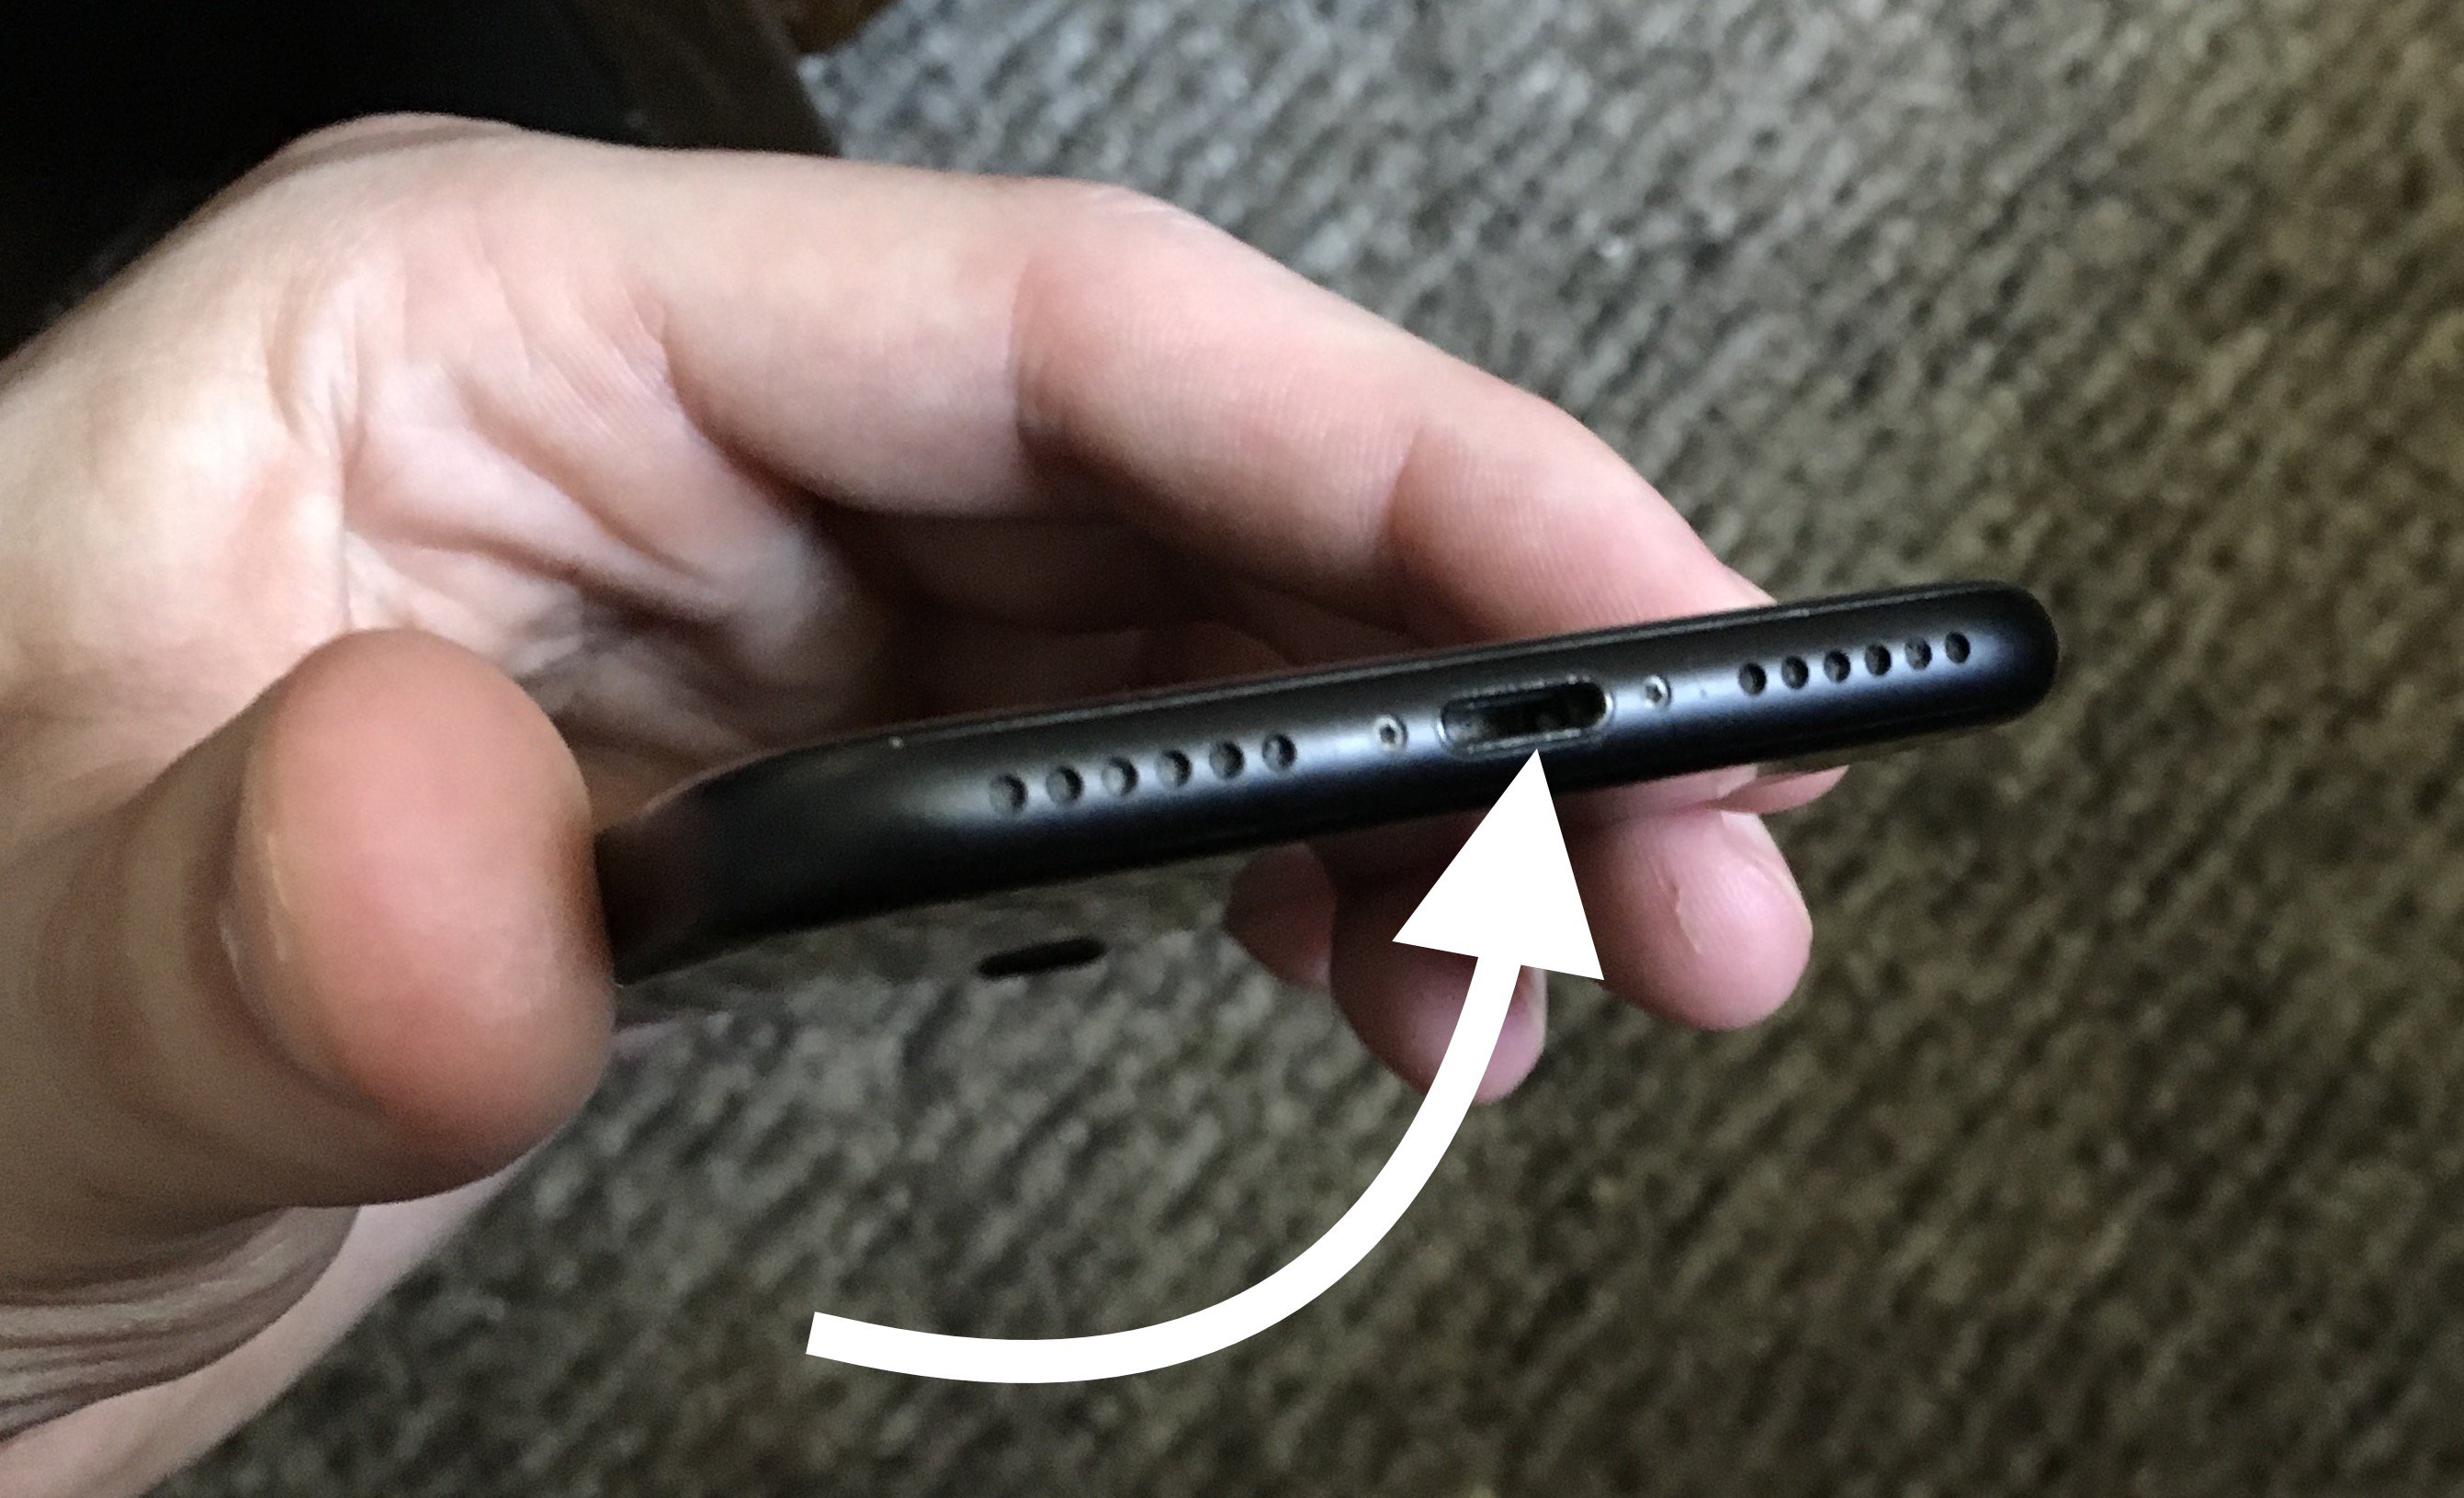
How Do I Look For Debris In My iPhone's Charging Port?
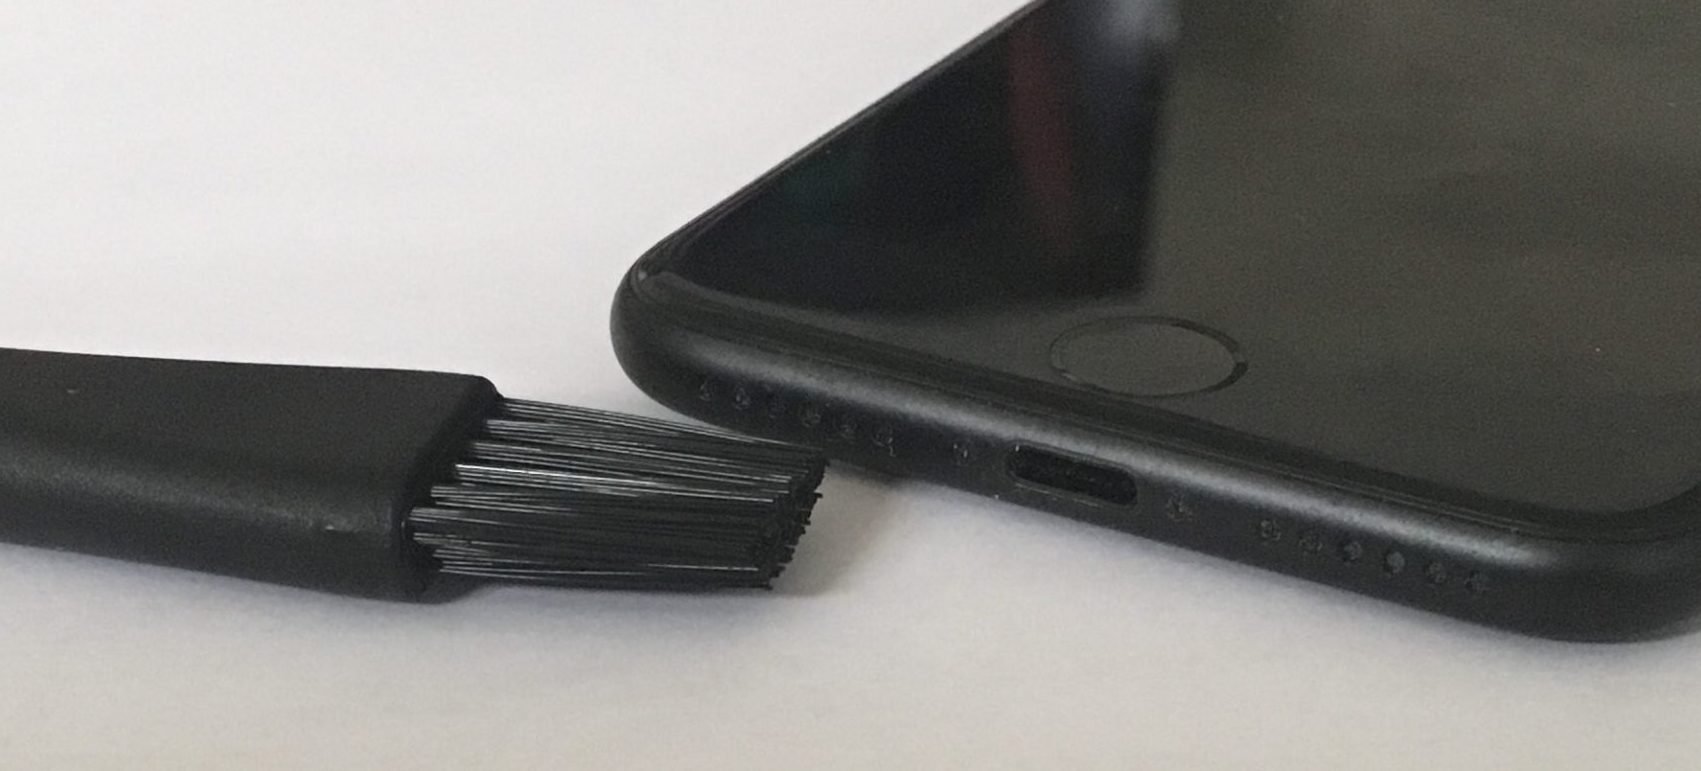
- Use a flashlight to take a close look inside your iPhone's charging port.
- Use an anti-static brush or unused toothbrush to remove any debris from inside the port.
Applies To: iPhone 5,iPhone 5S,iPhone 5C,iPhone 6,iPhone 6 Plus,iPhone 6S,iPhone 6S Plus,iPhone SE,iPhone 7,iPhone 7 Plus,iPhone 8,iPhone 8 Plus,iPhone X,iPhone XS,iPhone XS Max,iPhone XR,iPhone 11,iPhone 11 Pro,iPhone 11 Pro Max,iPhone SE 2
View MoreTry Charging Your iPhone With Multiple Charging Cables
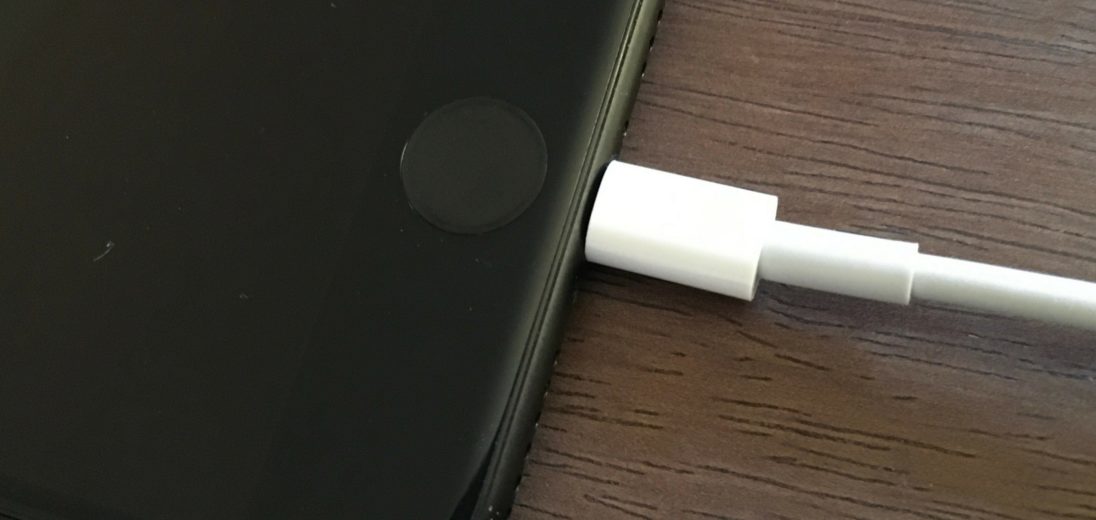
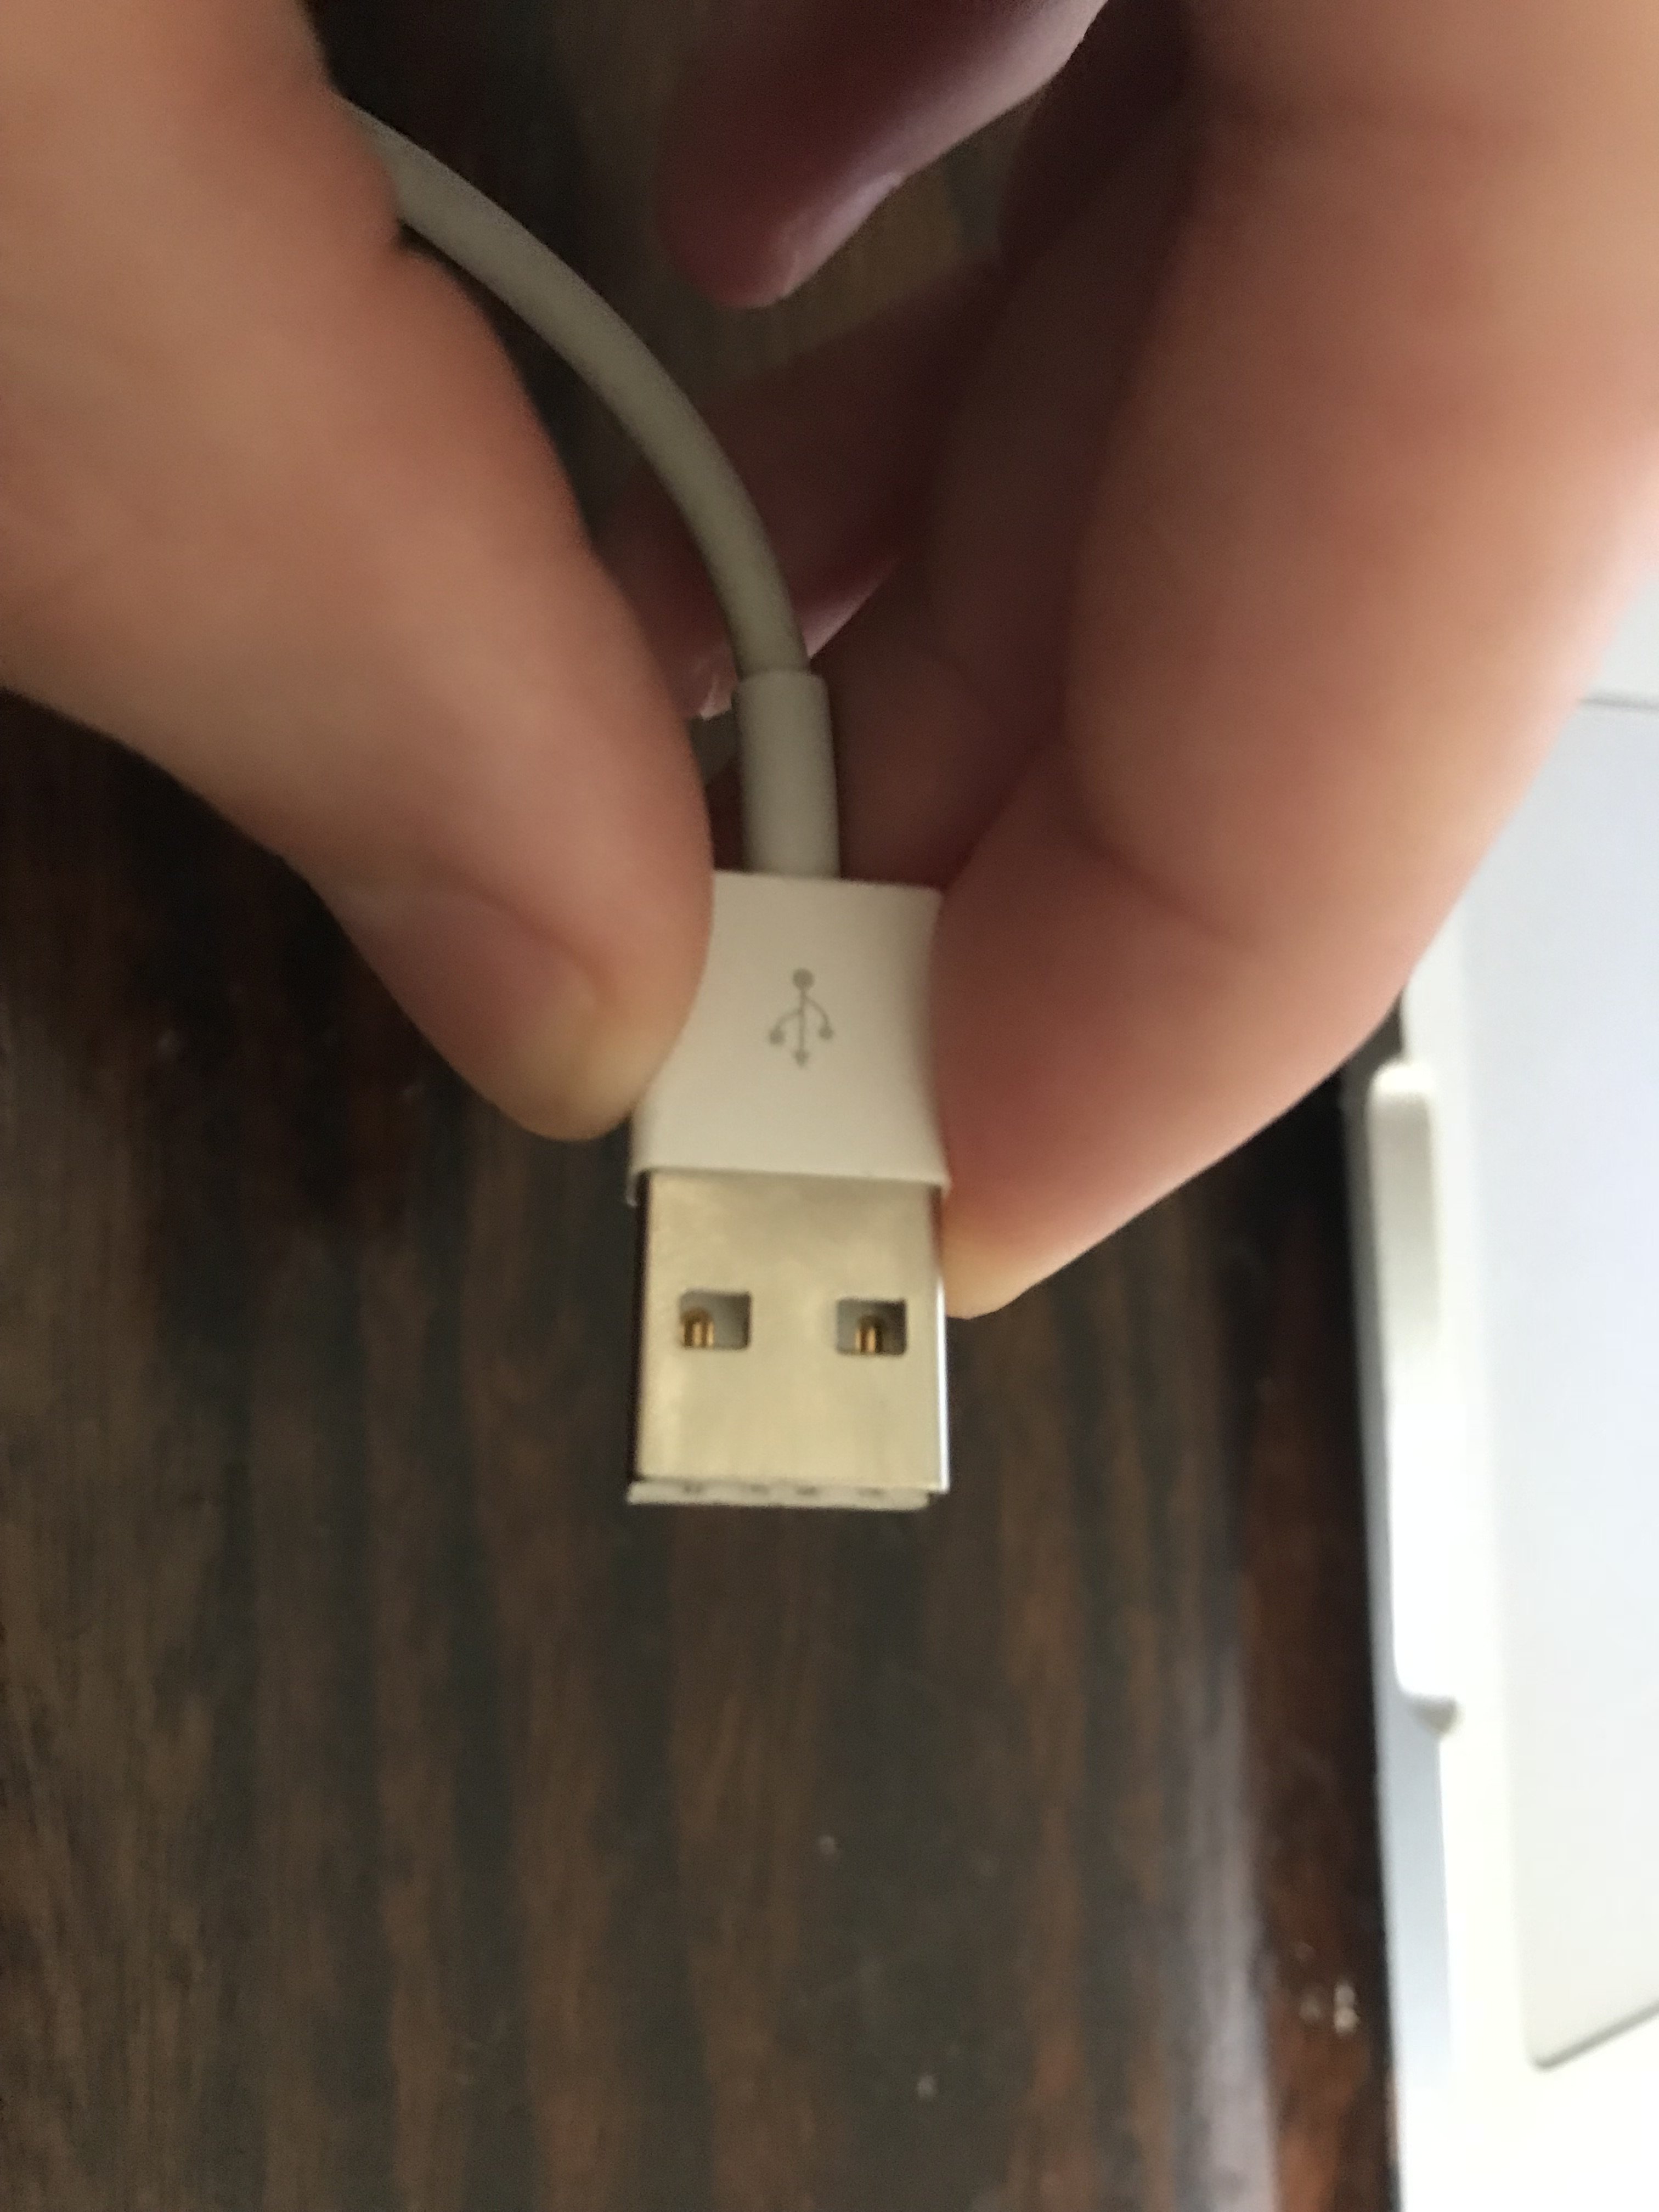
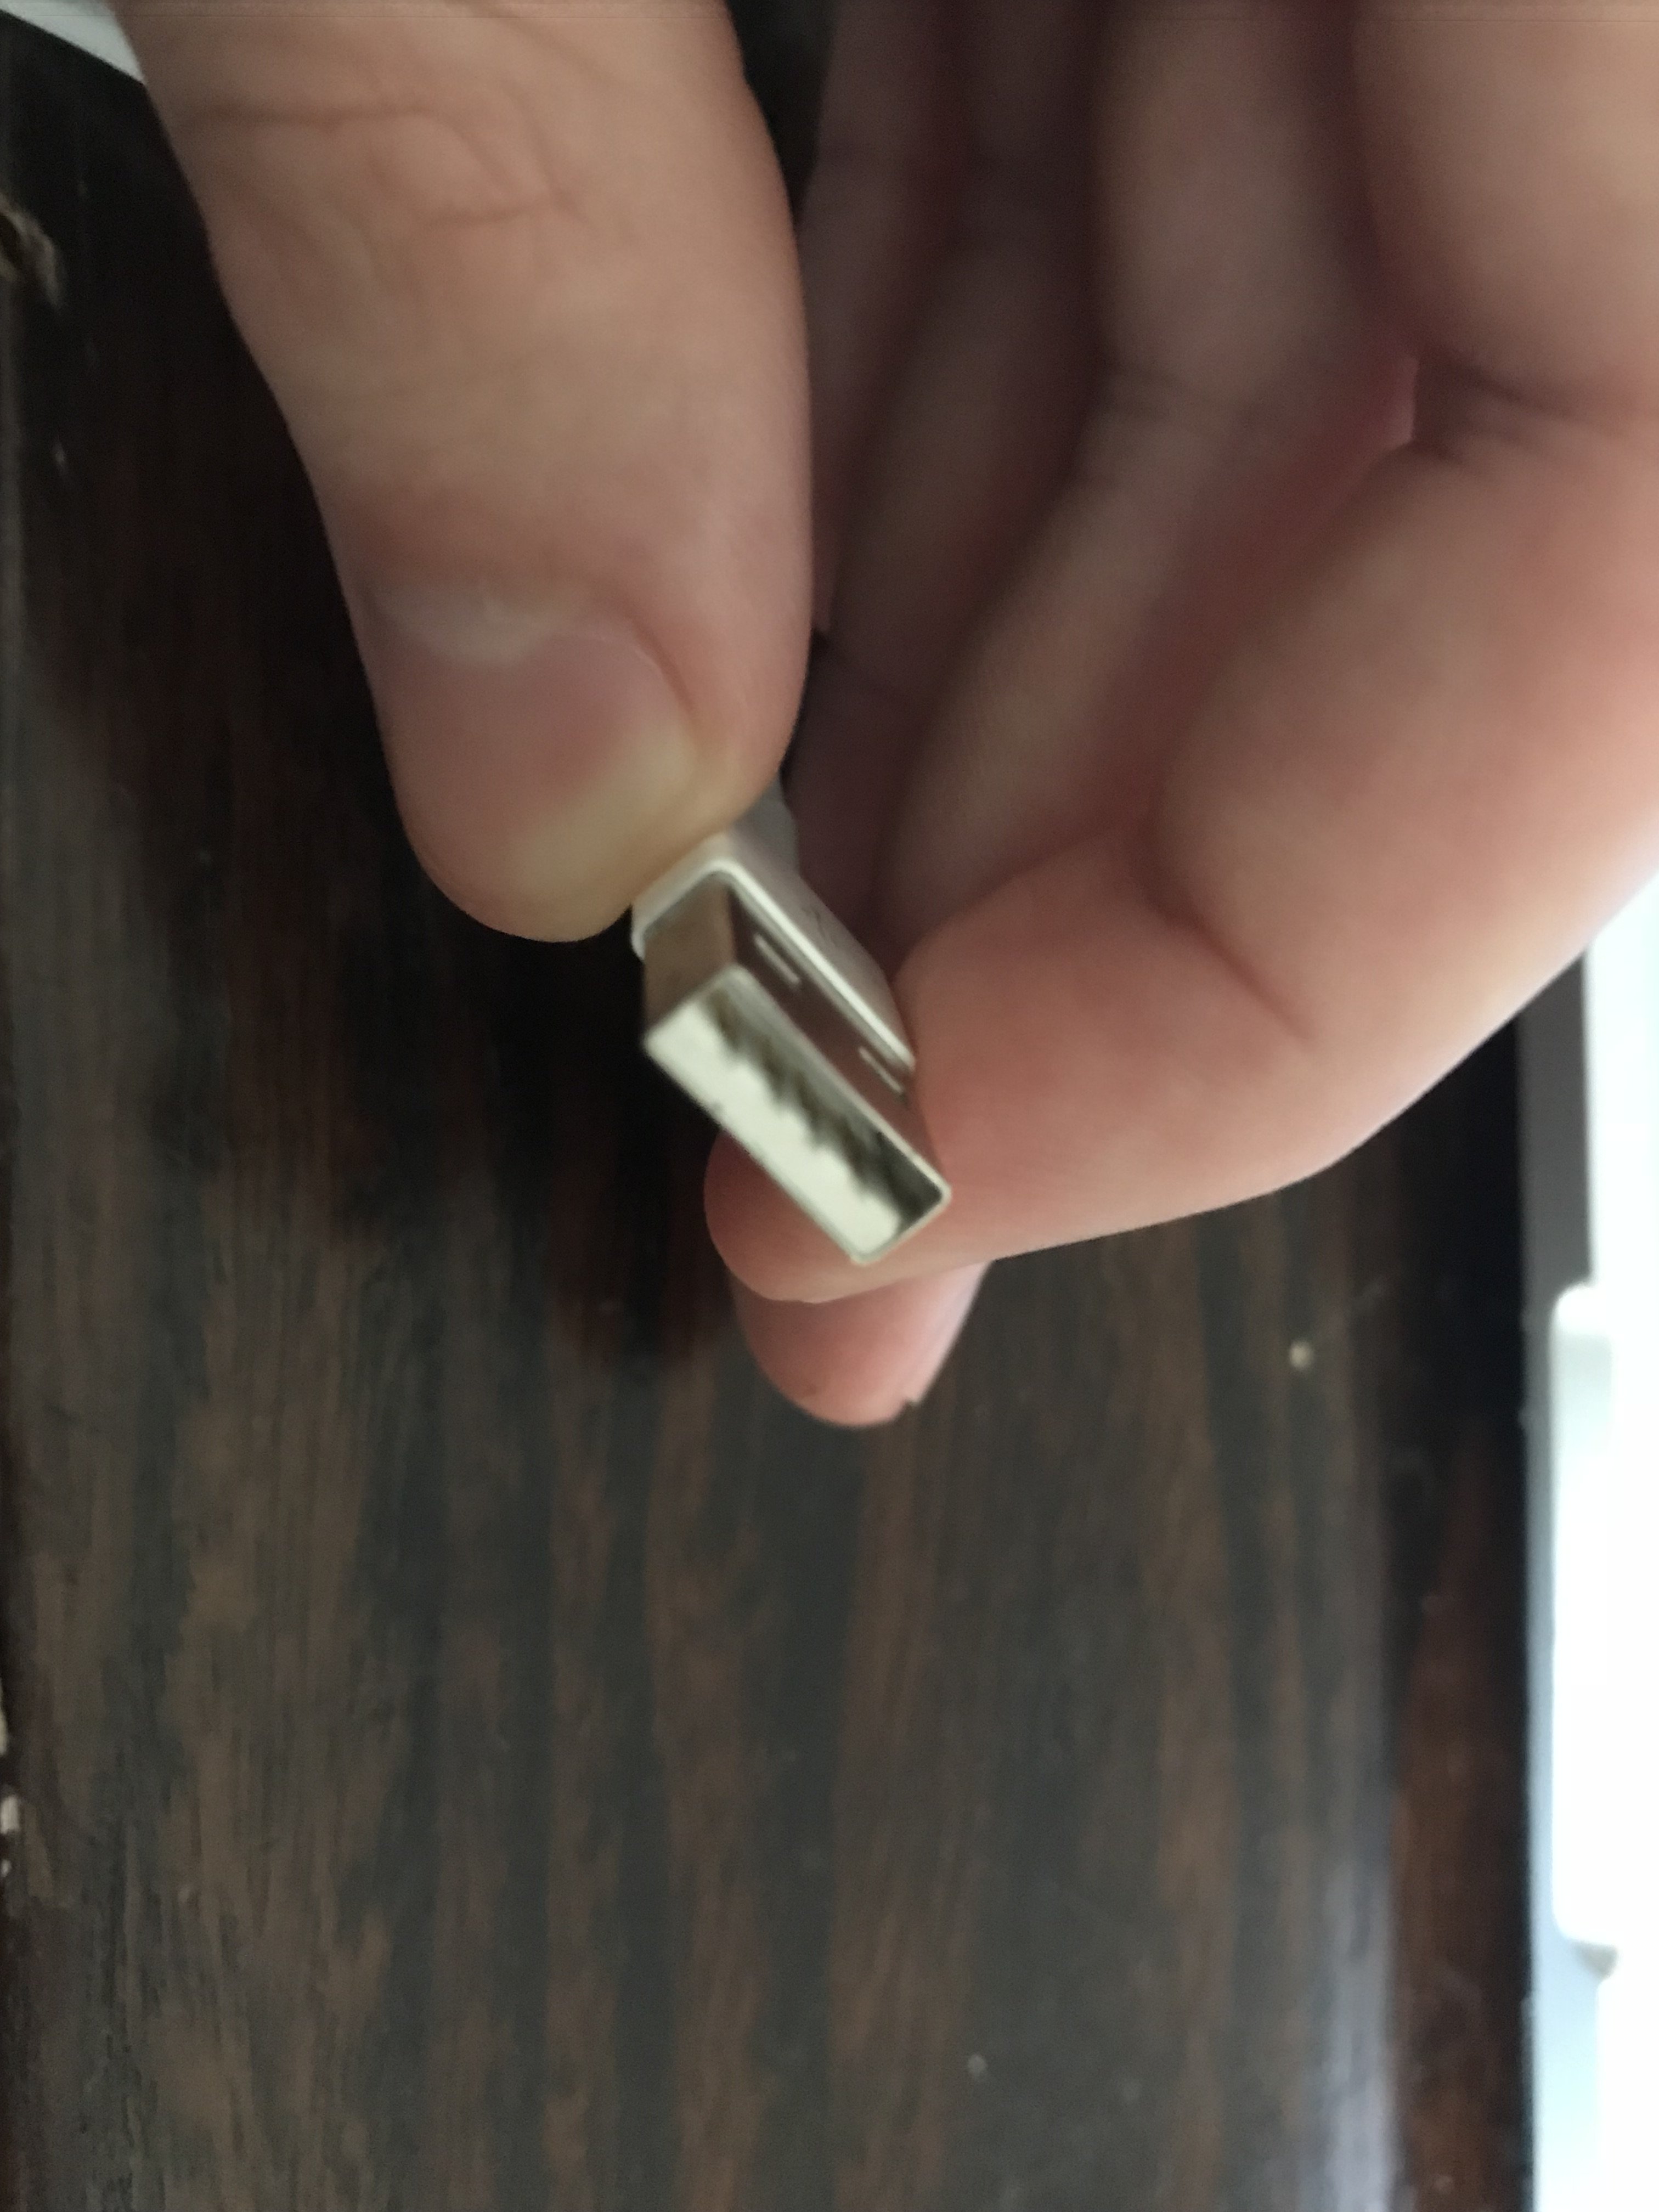
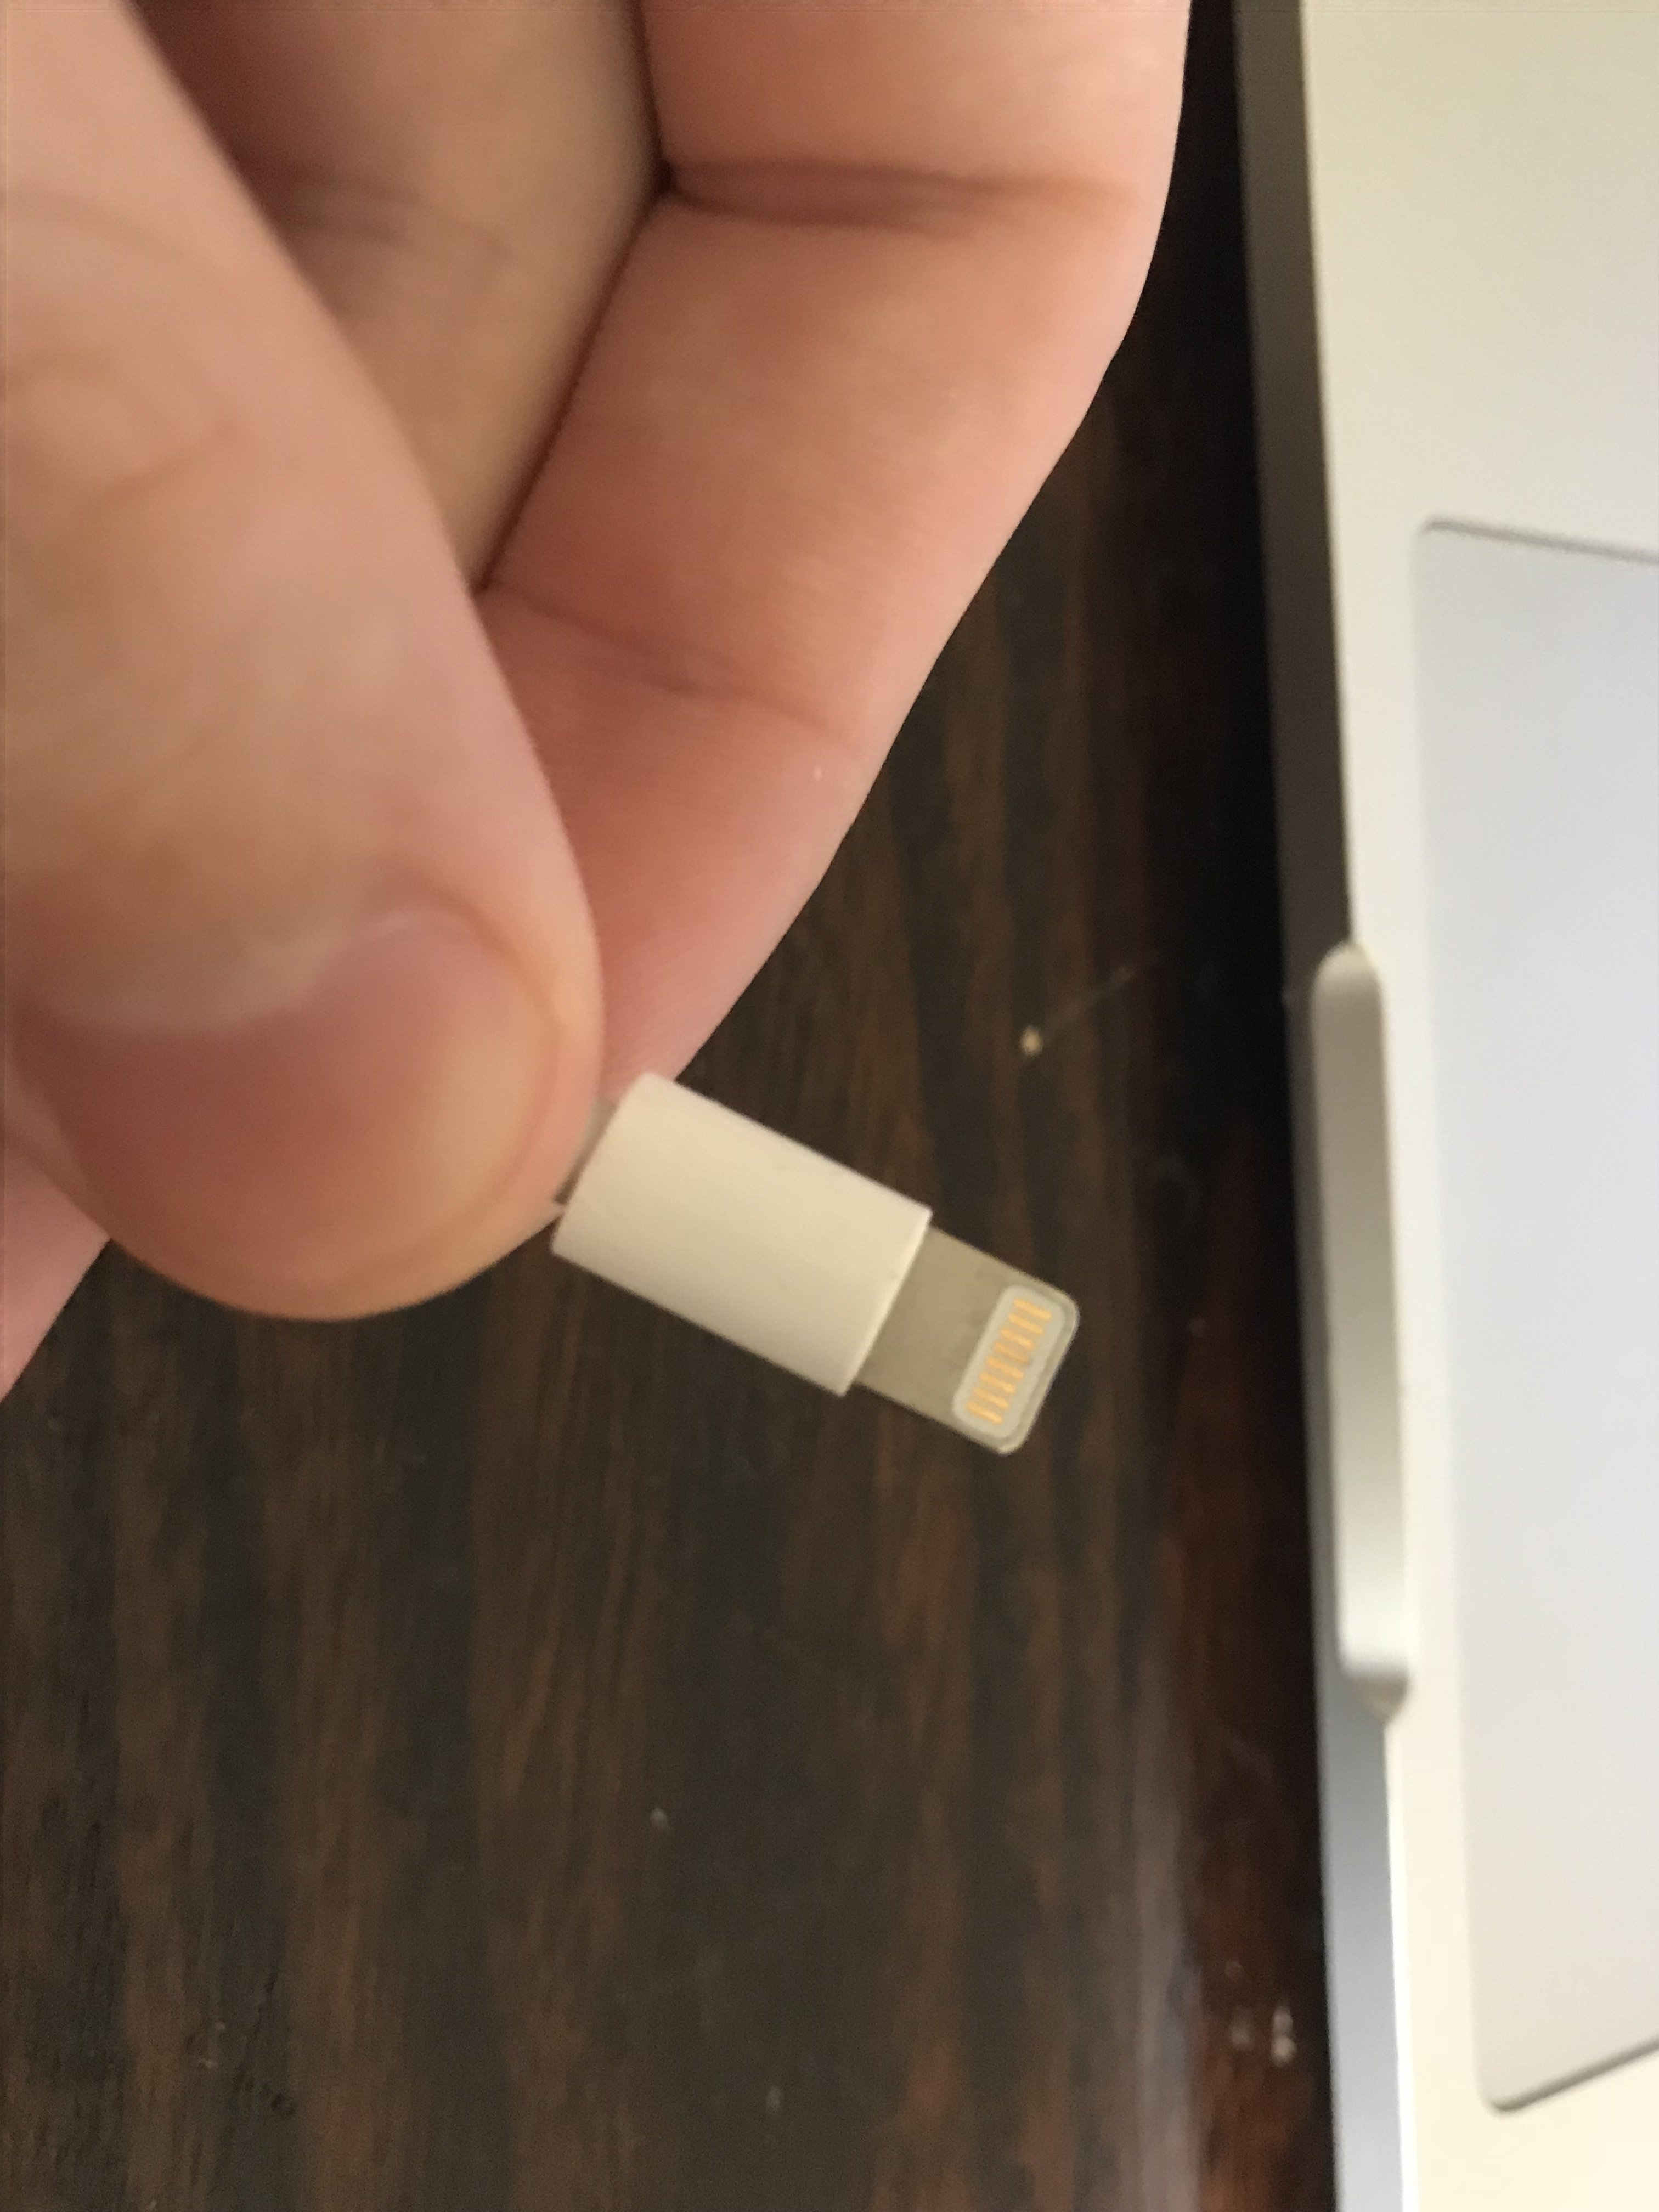
When your iPhone or other Apple device won't charge or sync to iTunes, there may be an issue with the cable you're using. Lightning cables are prone to fraying and occasionally gunk or debris will get stuck in the USB end of the cable.
To see if your charging cable is not working, you can try using a friend's charger or inspect your cable for damage.
How Do I Try Charging My iPhone With Multiple Charging Cables?
- Try charging your iPhone or other Apple device using a different Lightning cable. If your iPhone charges with one cable, but not the other, then there's probably an issue with the first cable you tried to use.
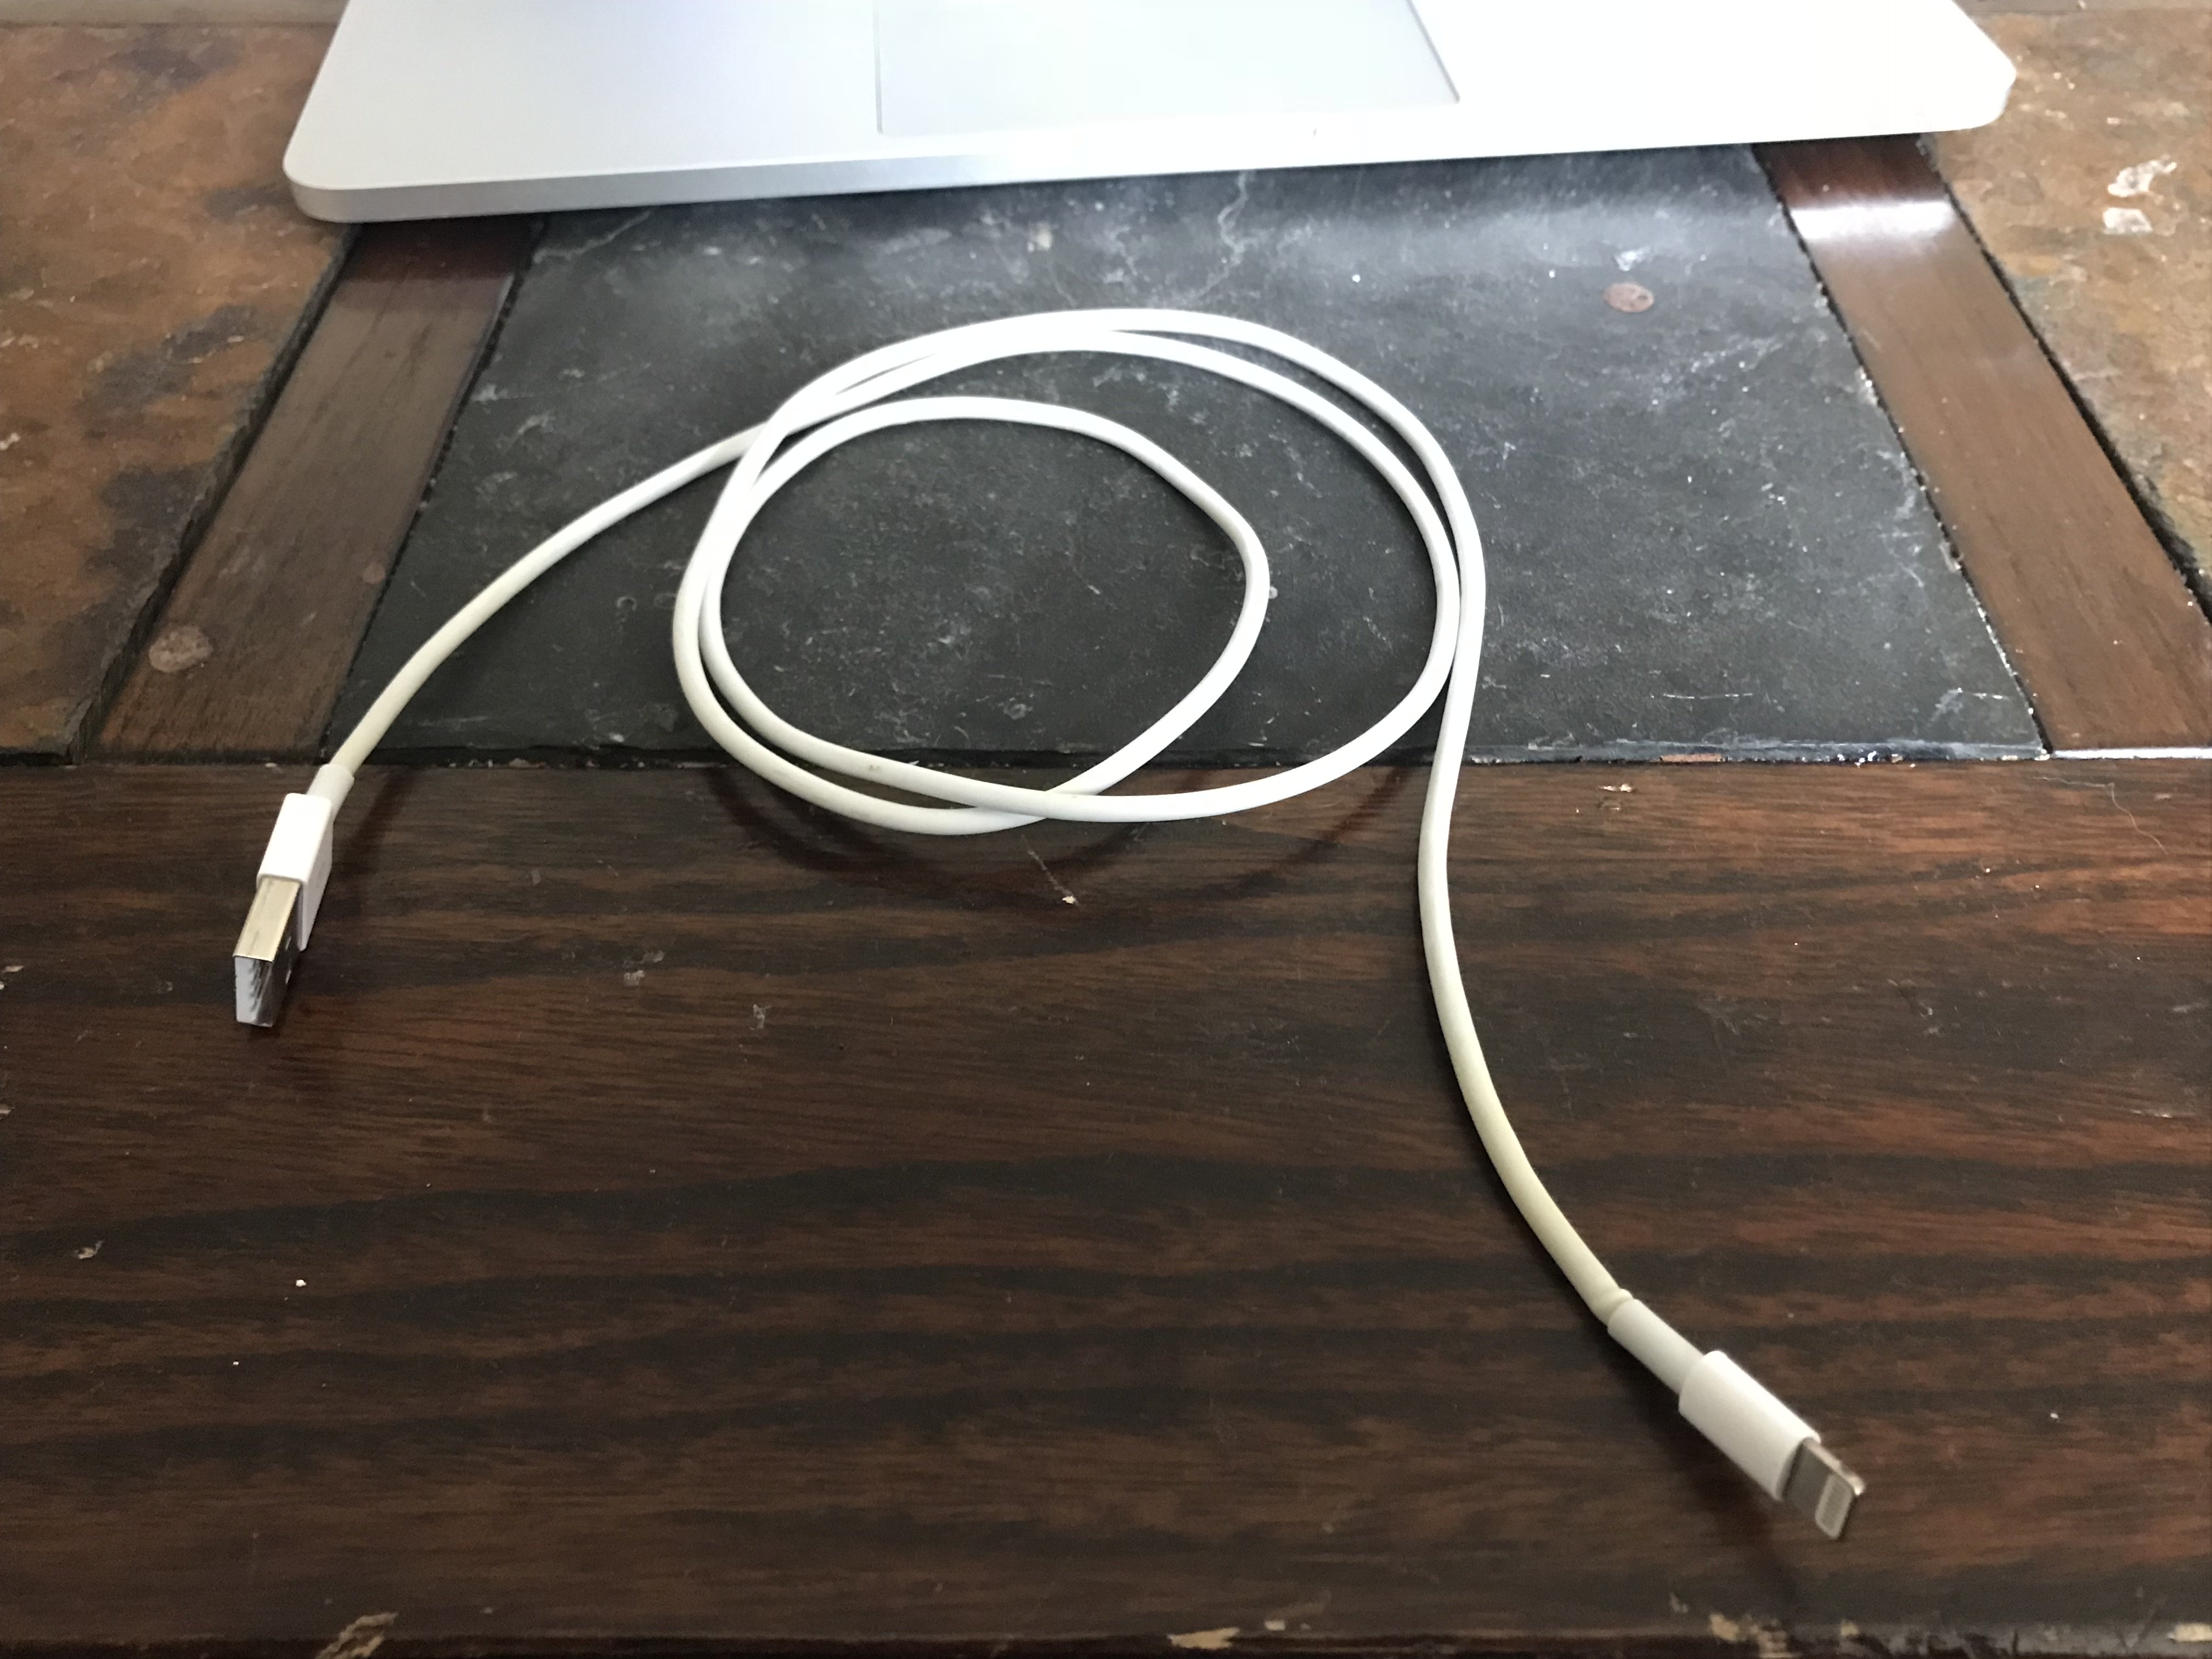
- Inspect the charging cable that's not working. Use a flashlight and look inside the USB end of the cable for lint, gunk, and other debris.
- If you see anything inside the USB end of the cable, brush it out using an anti-static brush of brand new toothbrush.
Applies To: iPhone 5,iPhone 5S,iPhone 5C,iPhone 6,iPhone 6 Plus,iPhone 6S,iPhone 6S Plus,iPhone SE,iPhone 7,iPhone 7 Plus,iPhone 8,iPhone 8 Plus,iPhone X,iPhone XS,iPhone XS Max,iPhone XR,iPhone 11,iPhone 11 Pro,iPhone 11 Pro Max,iPhone SE 2
View MoreTry Charging Your iPhone With Multiple Chargers
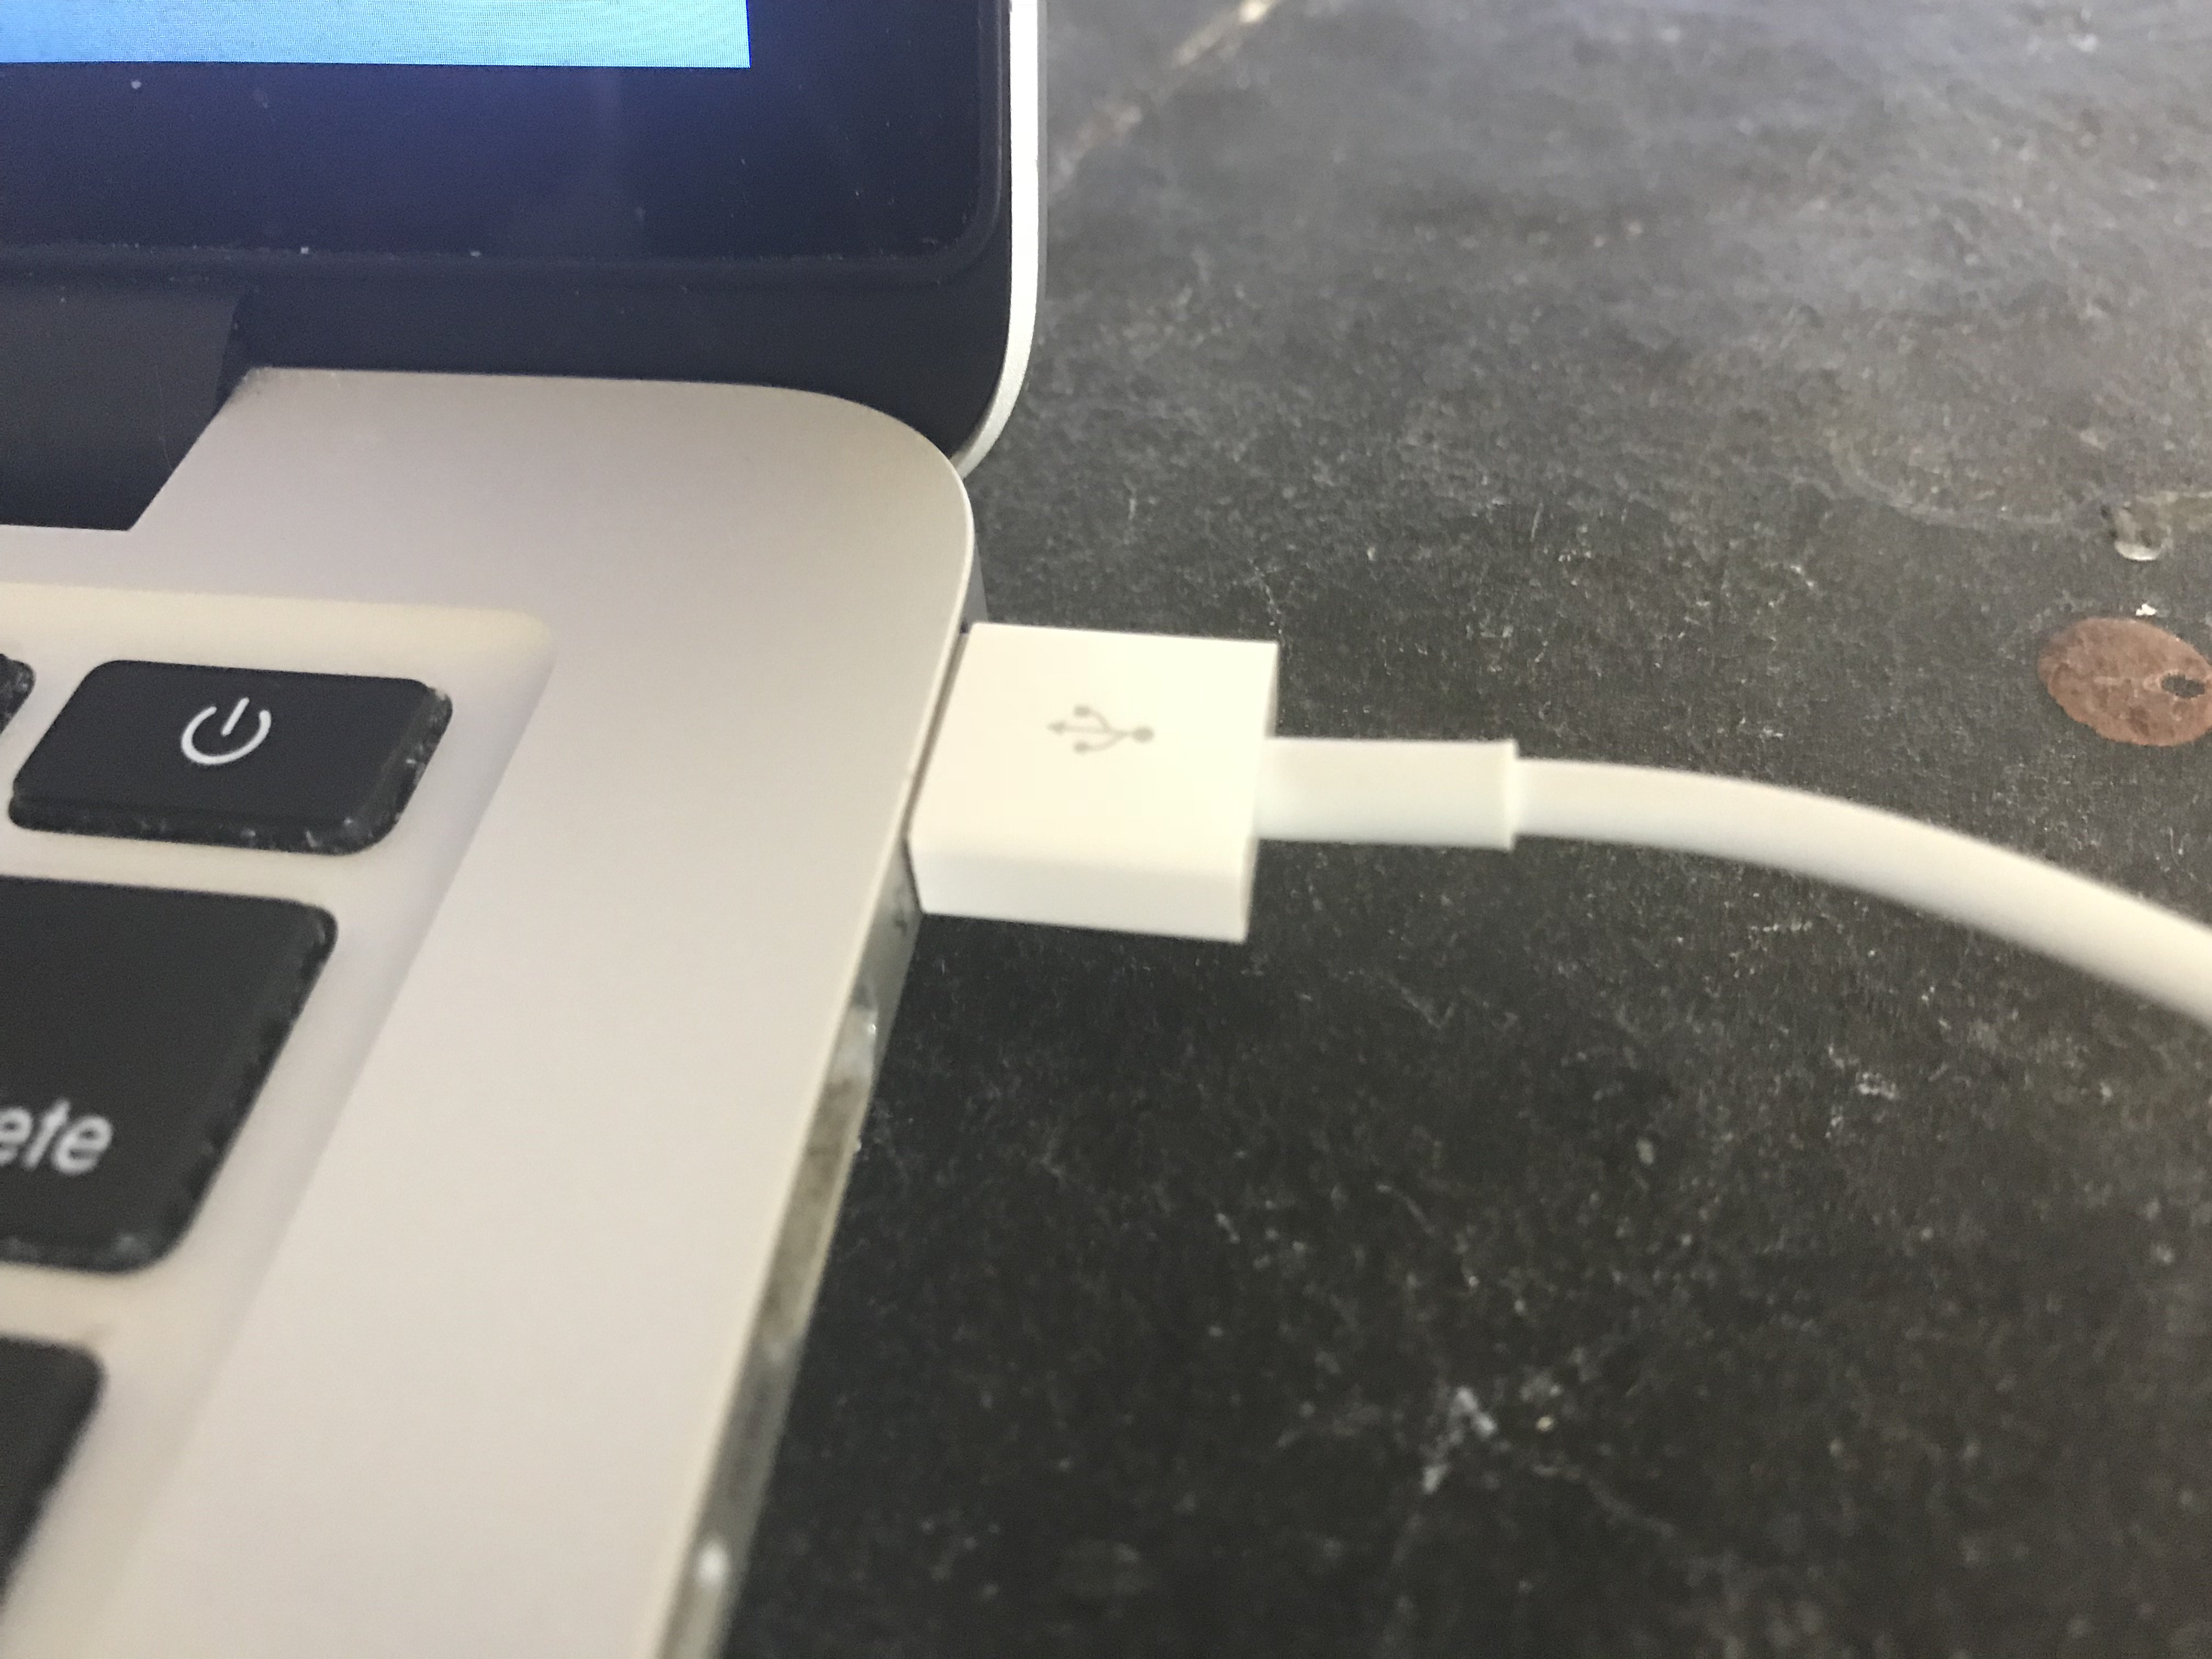
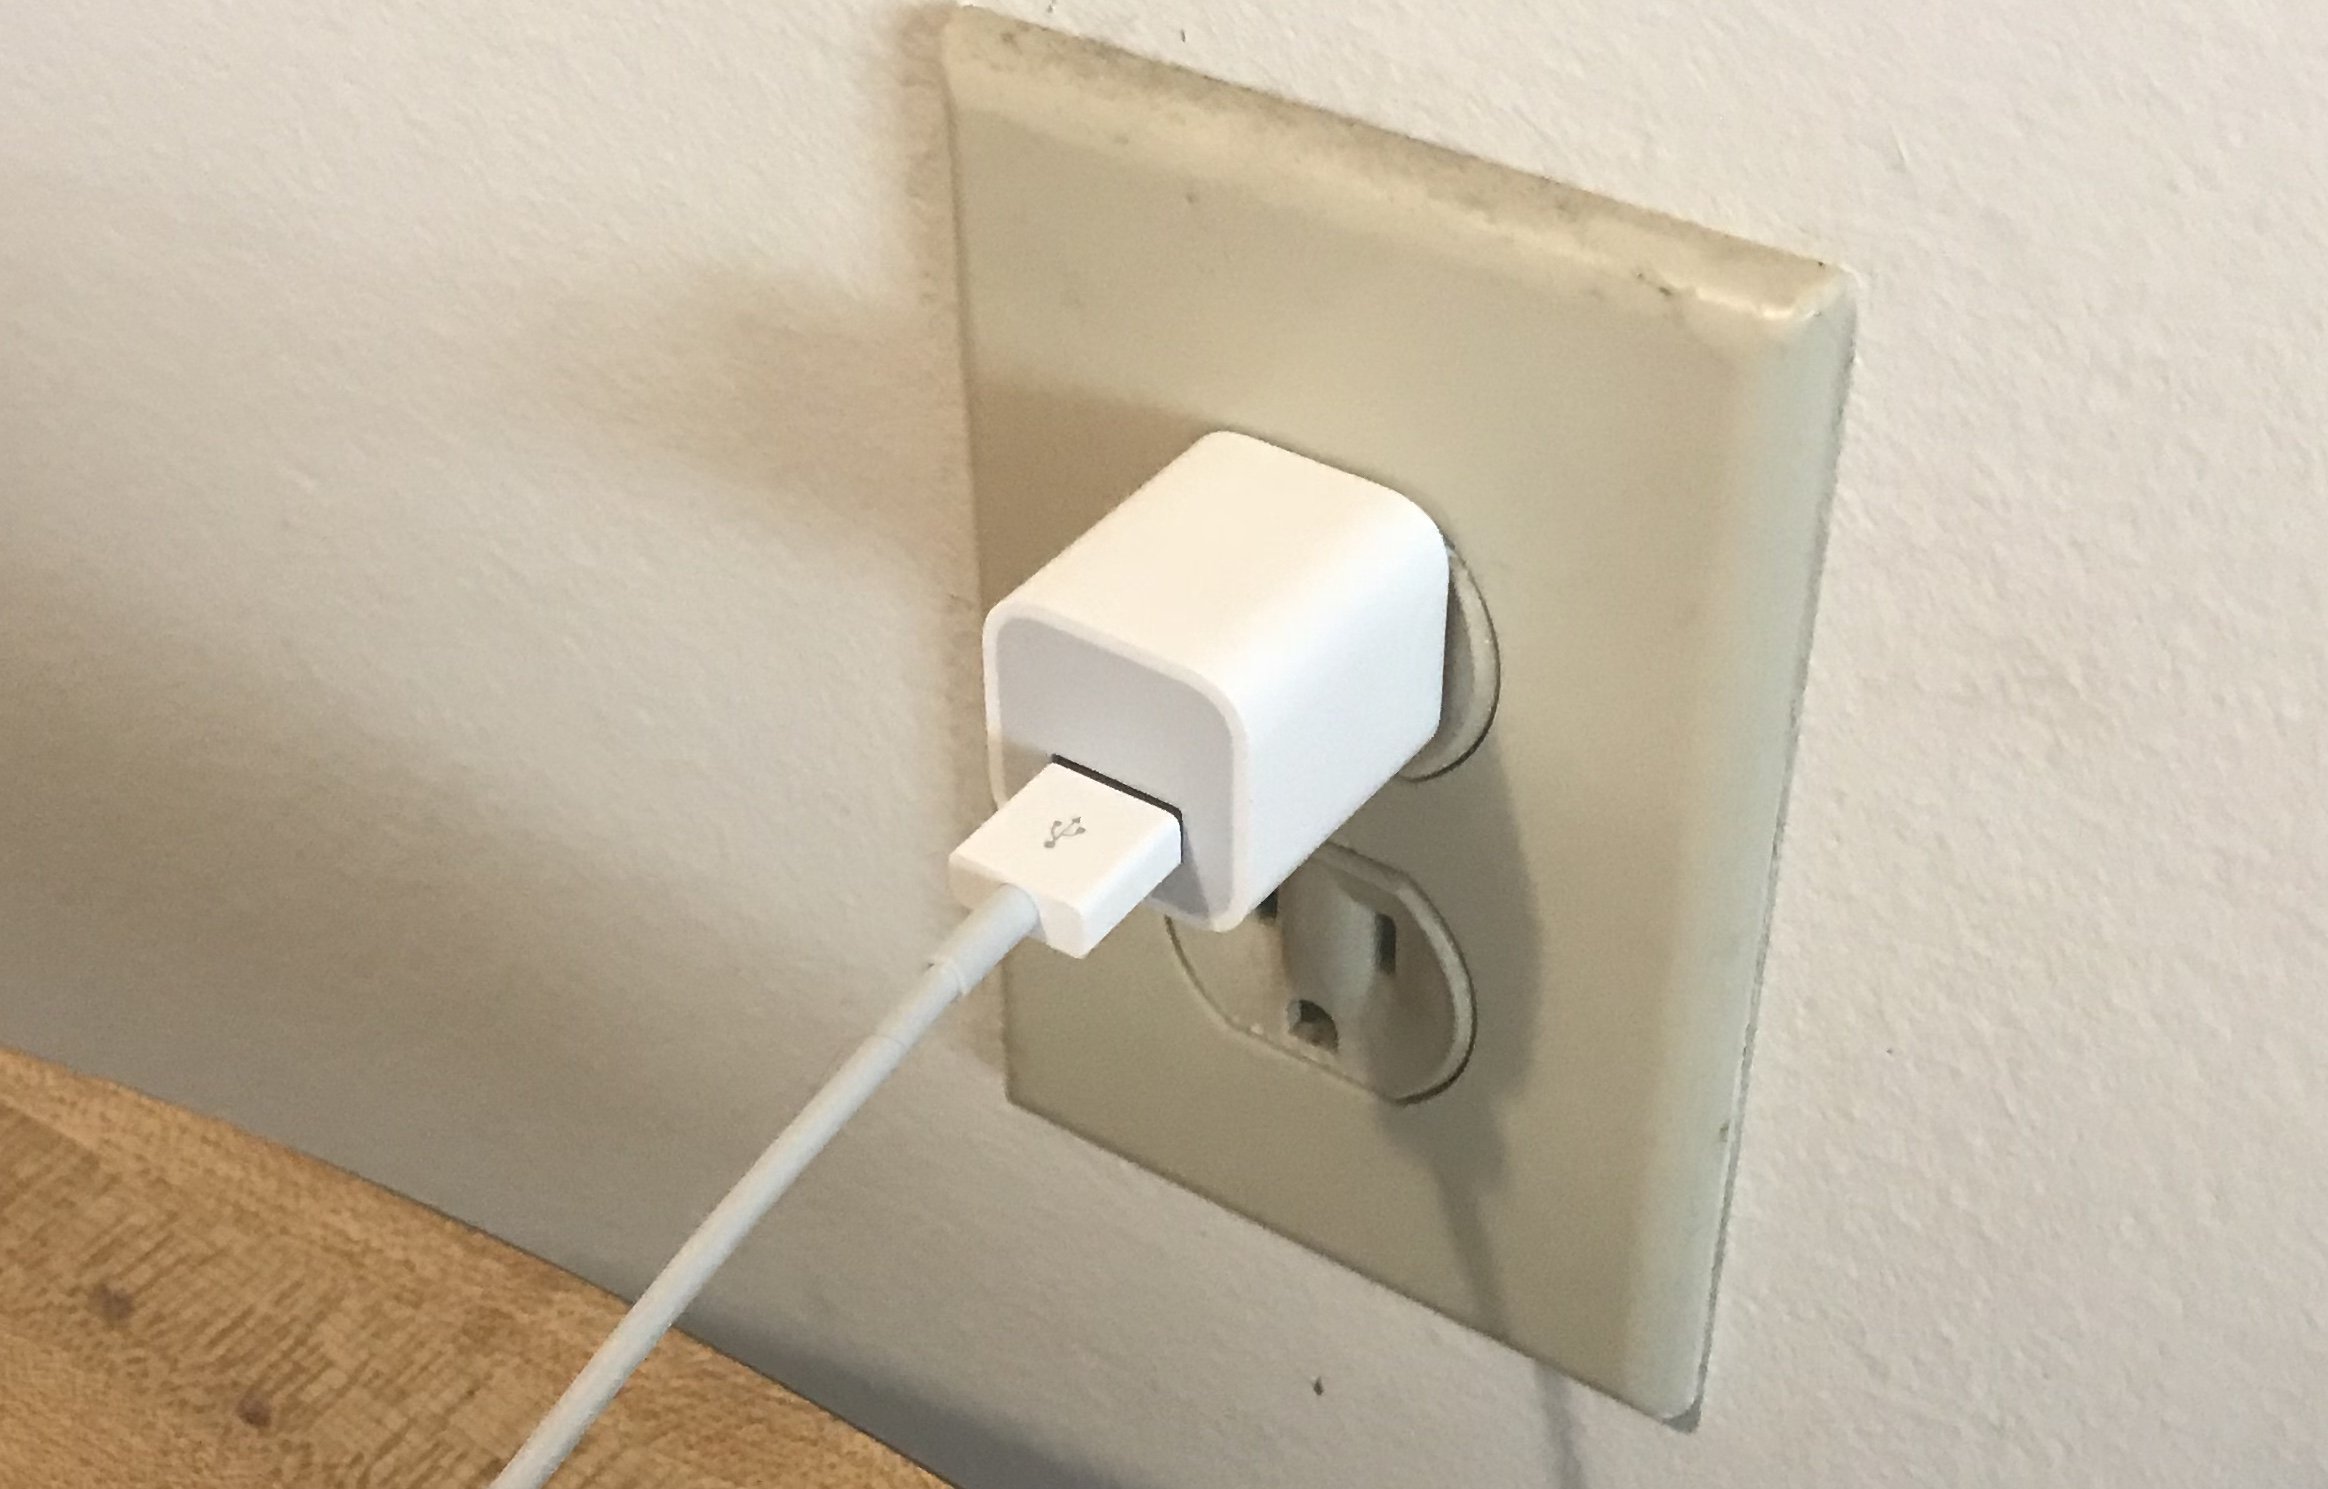
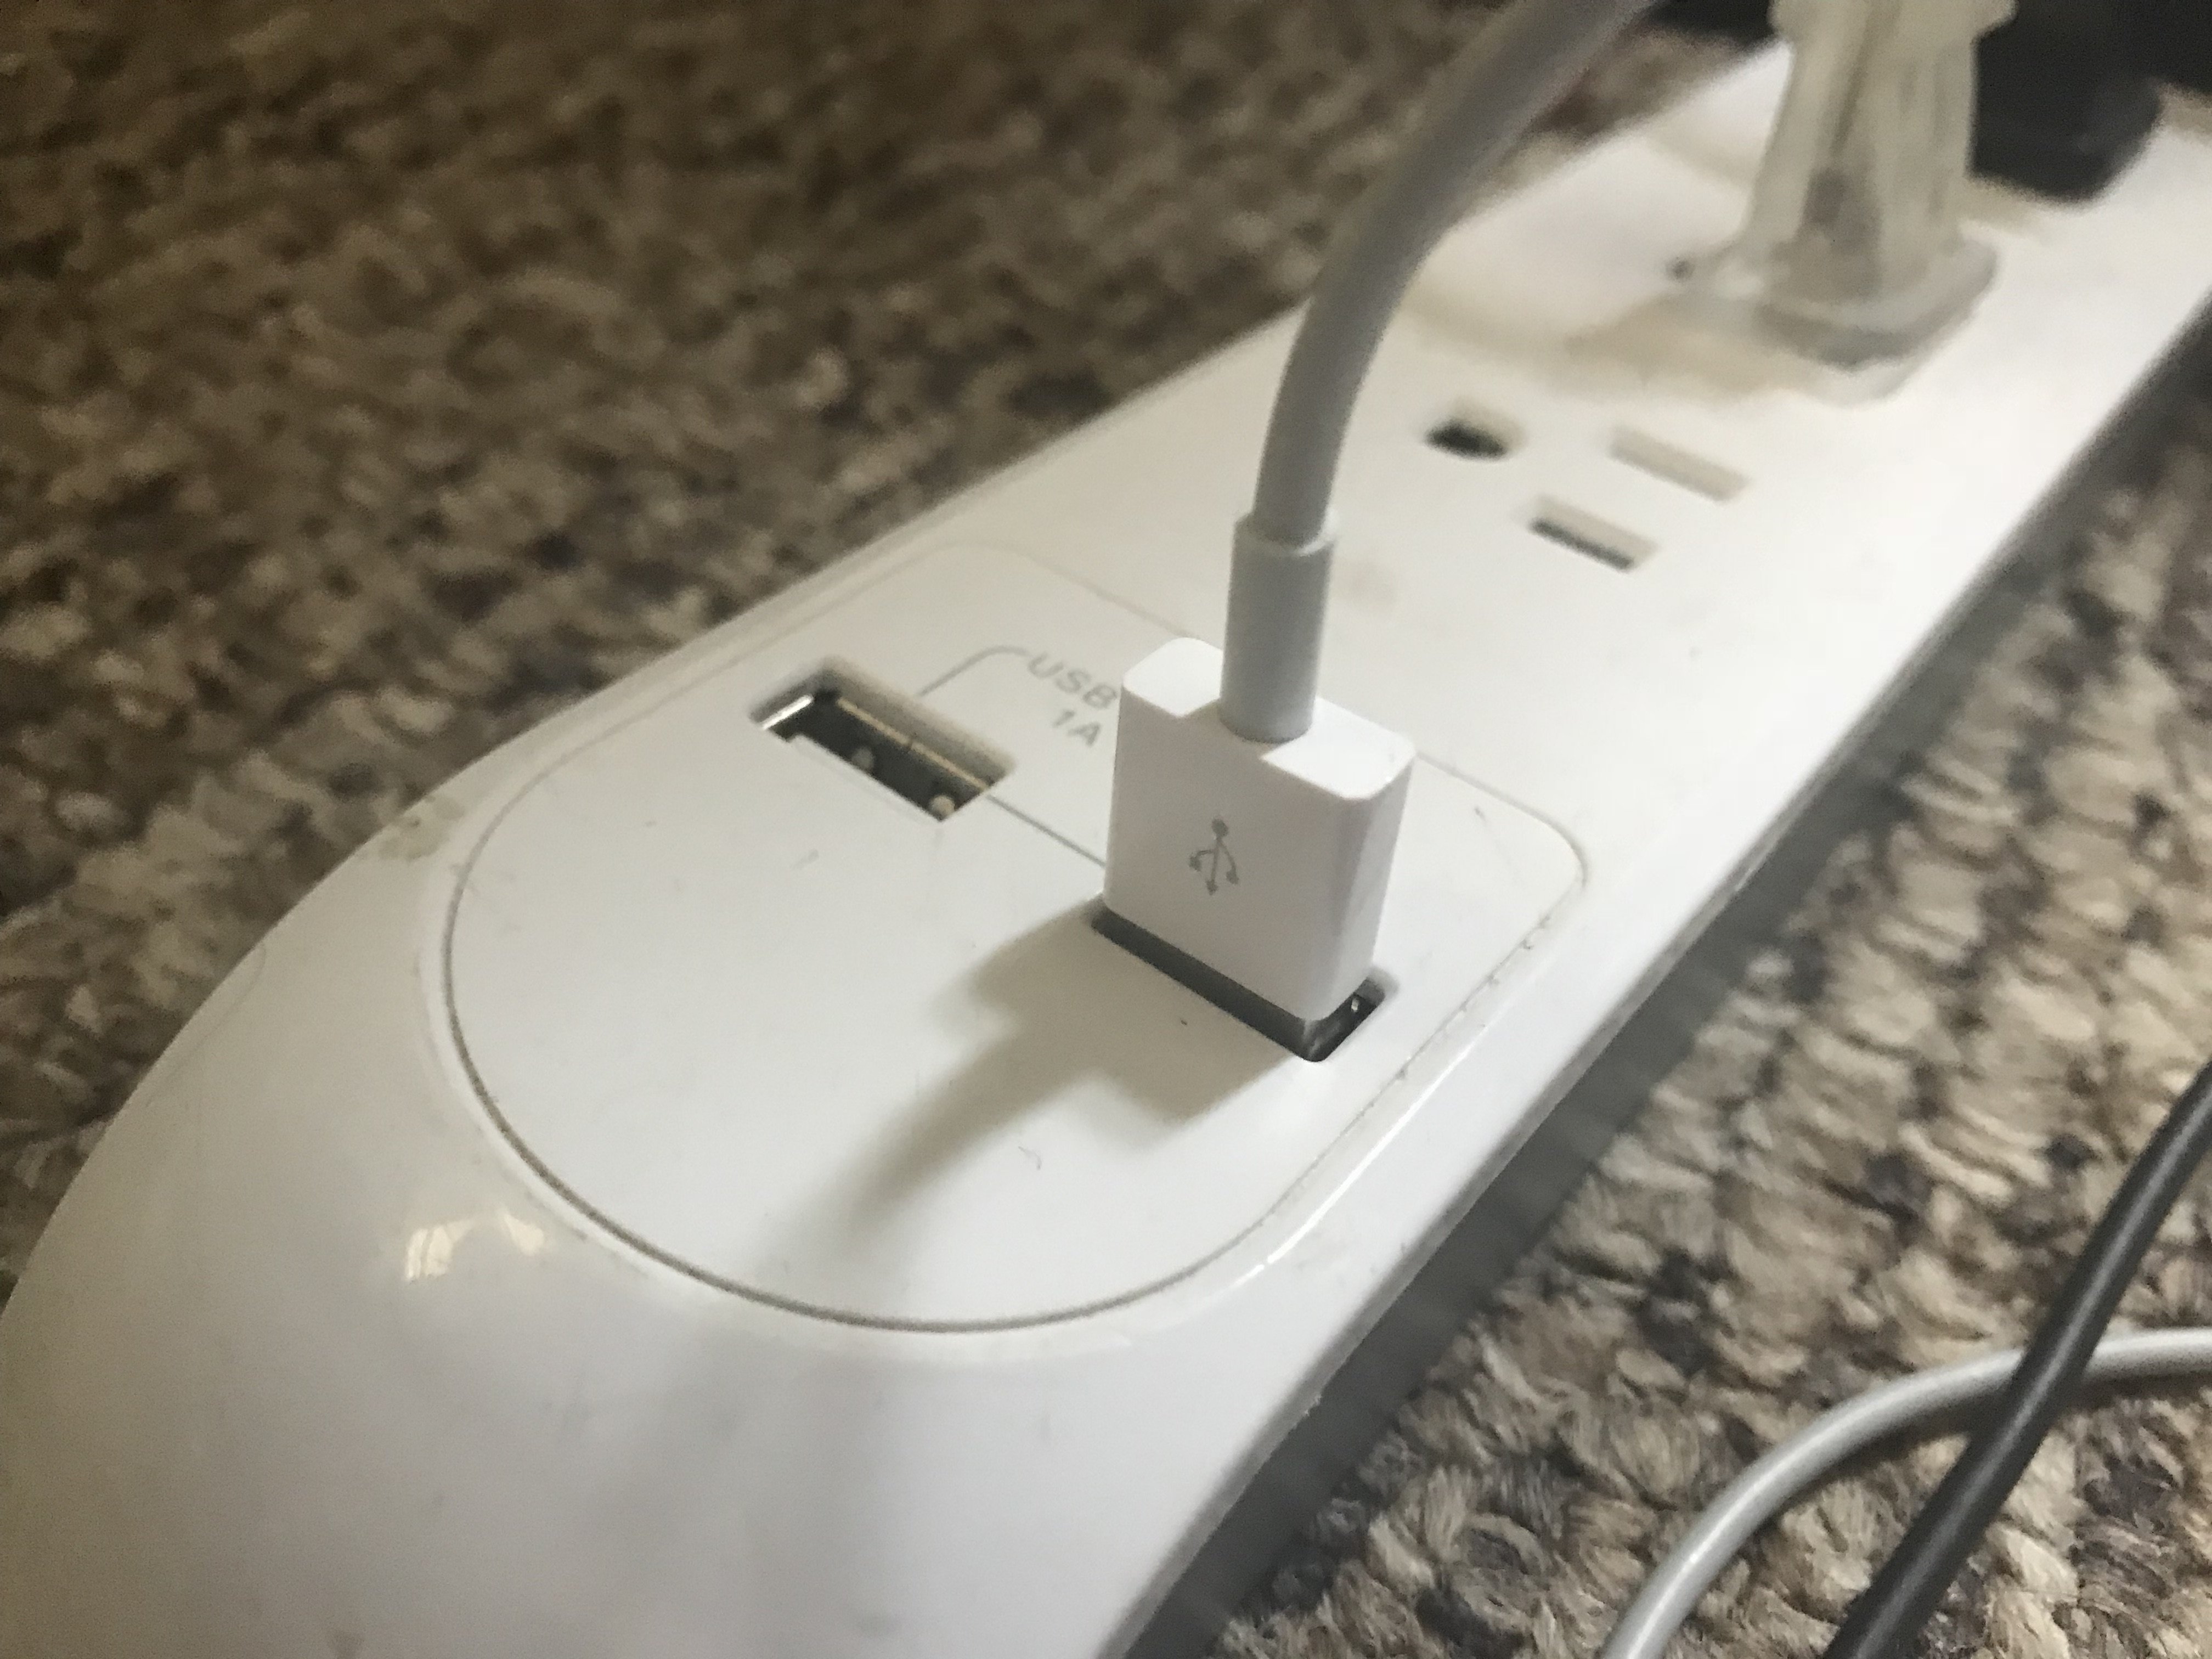
There are a lot of tools you can use to charge your iPhone — a wall charger, car adapter, or a USB port on your iPhone. Sometimes, your iPhone will charge with one of these chargers, but not another.
How Do I Try Charging My iPhone With Multiple Chargers?
- Using your Lightning cable (charging cable), attempt to charge your iPhone with multiple different charges.
- If you're using a wall charger, try plugging into multiple different outlets.
- If your iPhone charges with one charger, but not another, there's probably an issue with that charger.
Applies To: iPhone 5,iPhone 5S,iPhone 5C,iPhone 6,iPhone 6 Plus,iPhone 6S,iPhone 6S Plus,iPhone SE,iPhone 7,iPhone 7 Plus,iPhone 8,iPhone 8 Plus,iPhone X,iPhone XS,iPhone XS Max,iPhone XR,iPhone 11,iPhone 11 Pro,iPhone 11 Pro Max,iPhone SE 2
View MoreDFU Restore Your iPhone
A DFU restore has the potential to fix software problems by completely erasing the code which may be causing your problem. The code is rewritten as if your iPhone is brand new, so the software problem may get solved.
Think of it like a house that has cracks in the foundation. Rather than try and fix the cracks, we are building an entirely new foundation.
If you can, back up your iPhone before completing a DFU restore. Any time you do a restore, it erases everything from your iPhone. However, after the restore is completed, you restore all your backed up data back onto your iPhone.
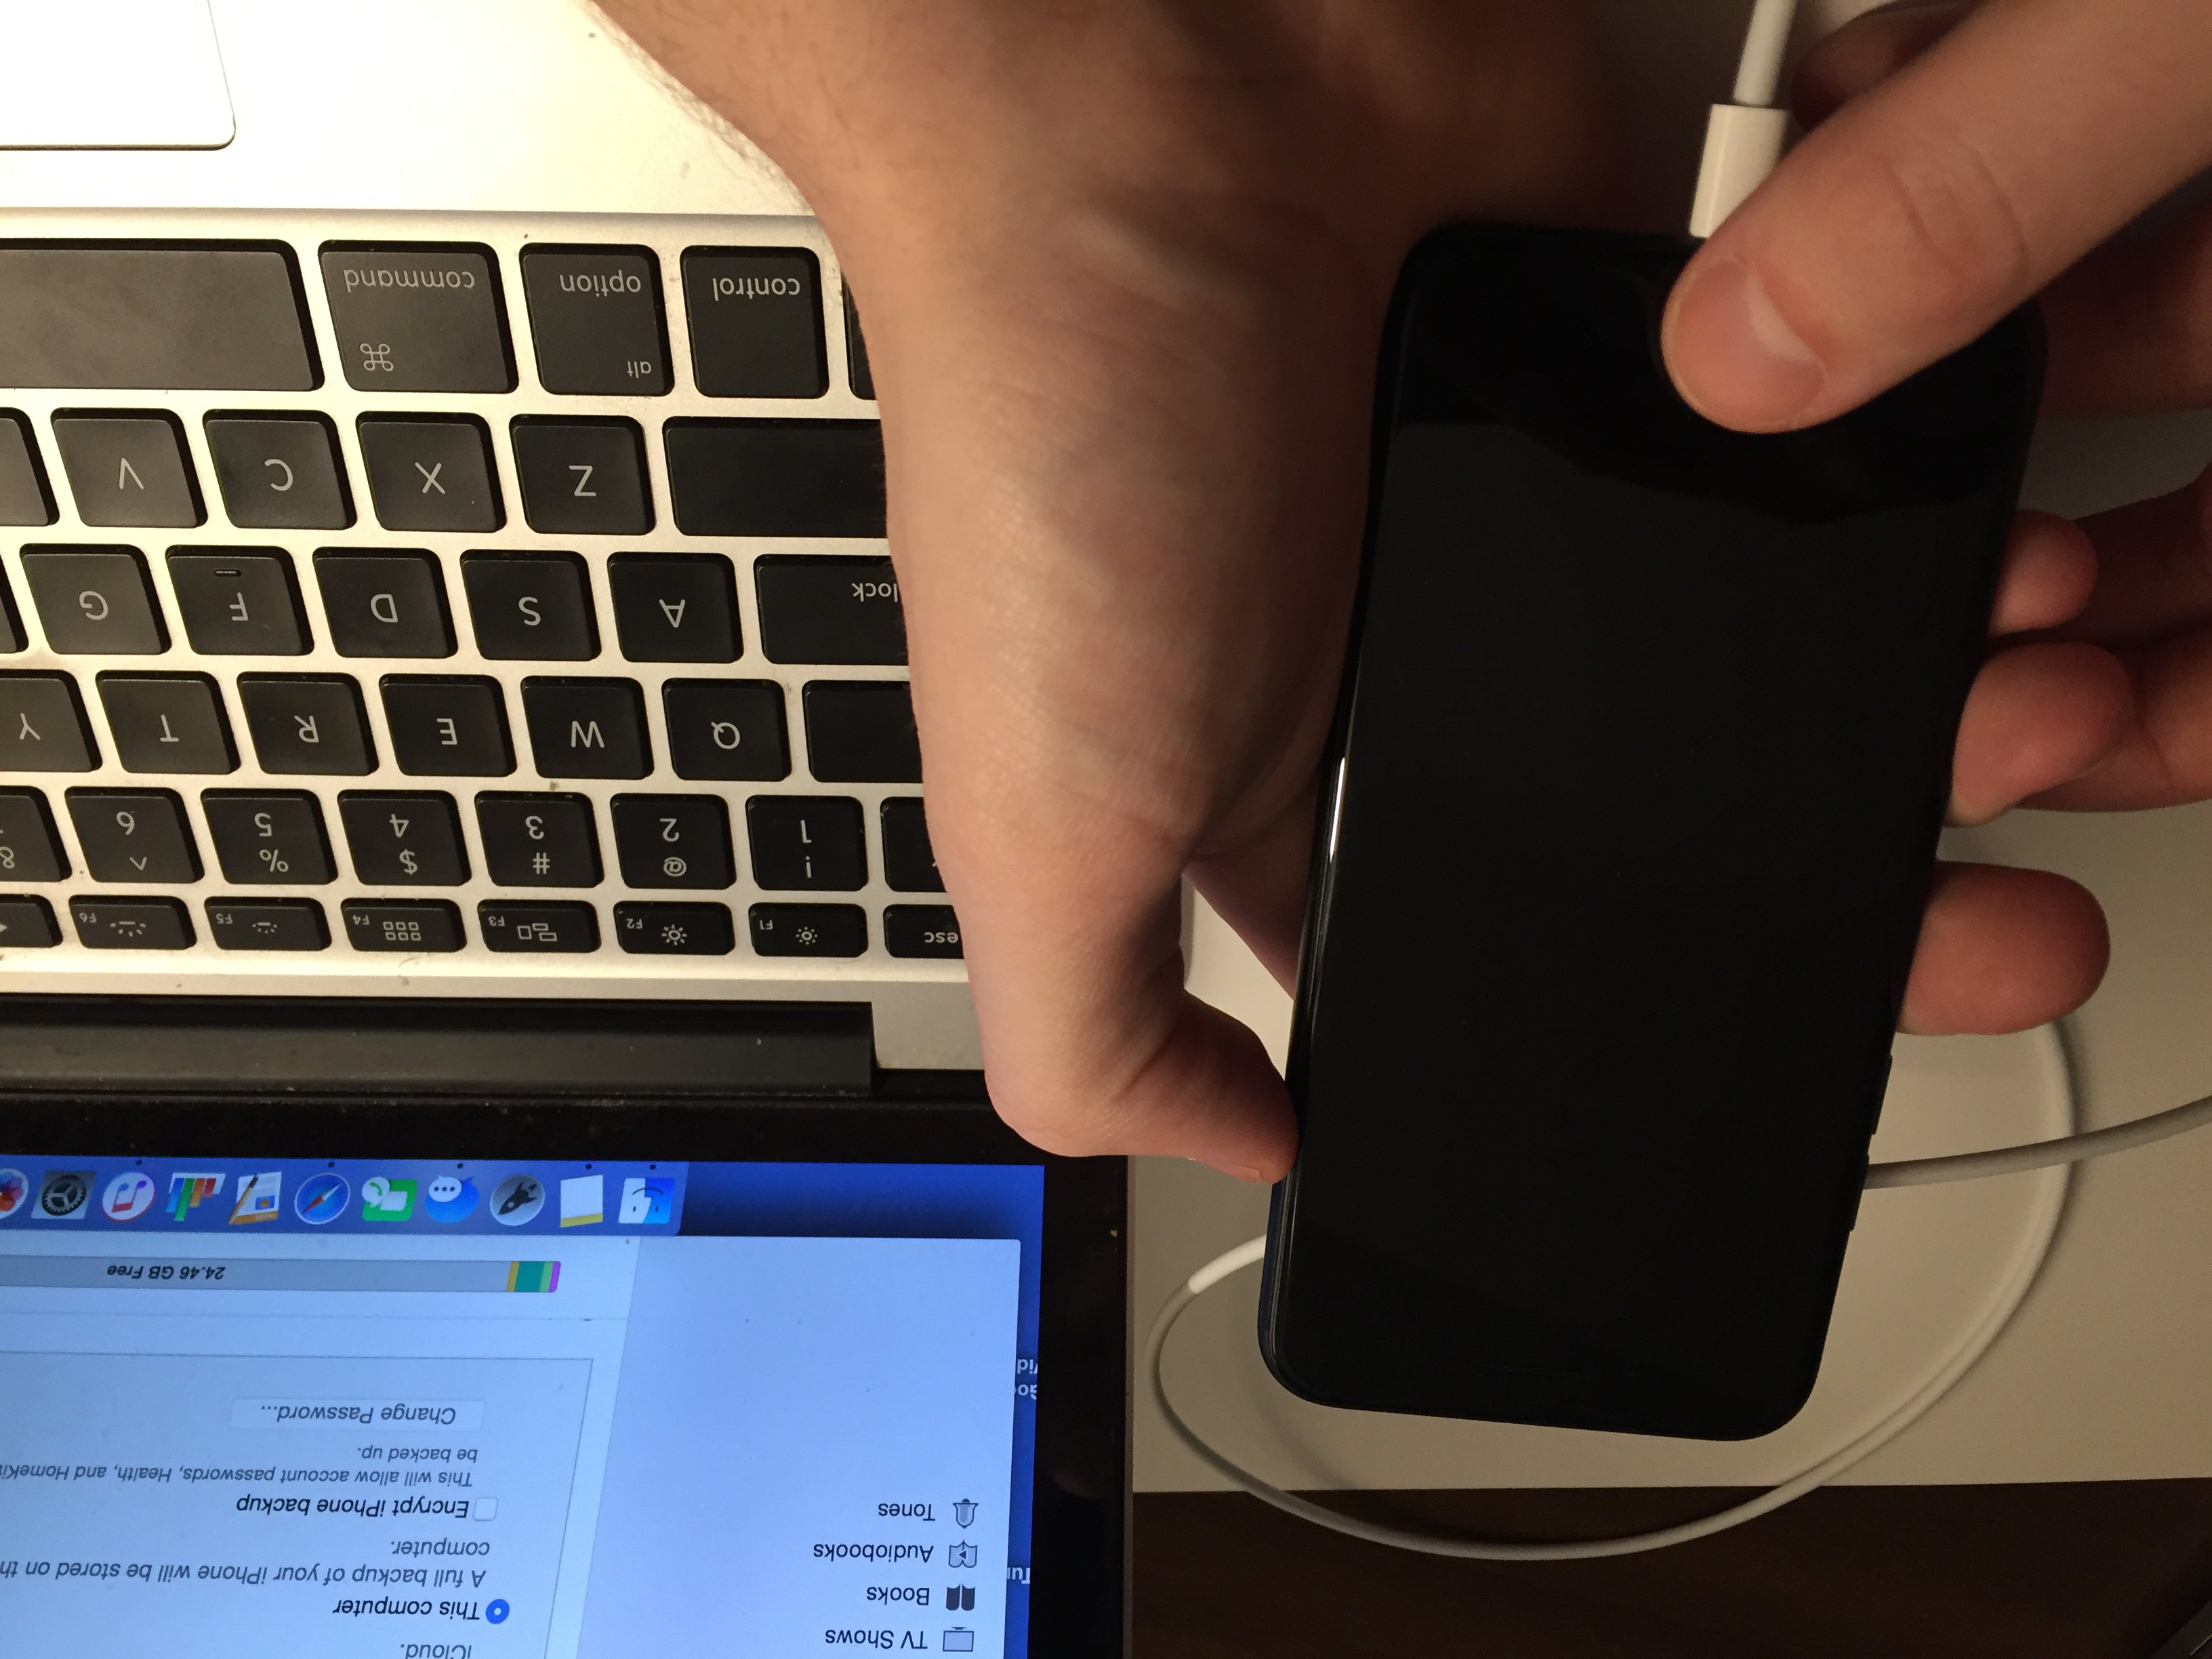
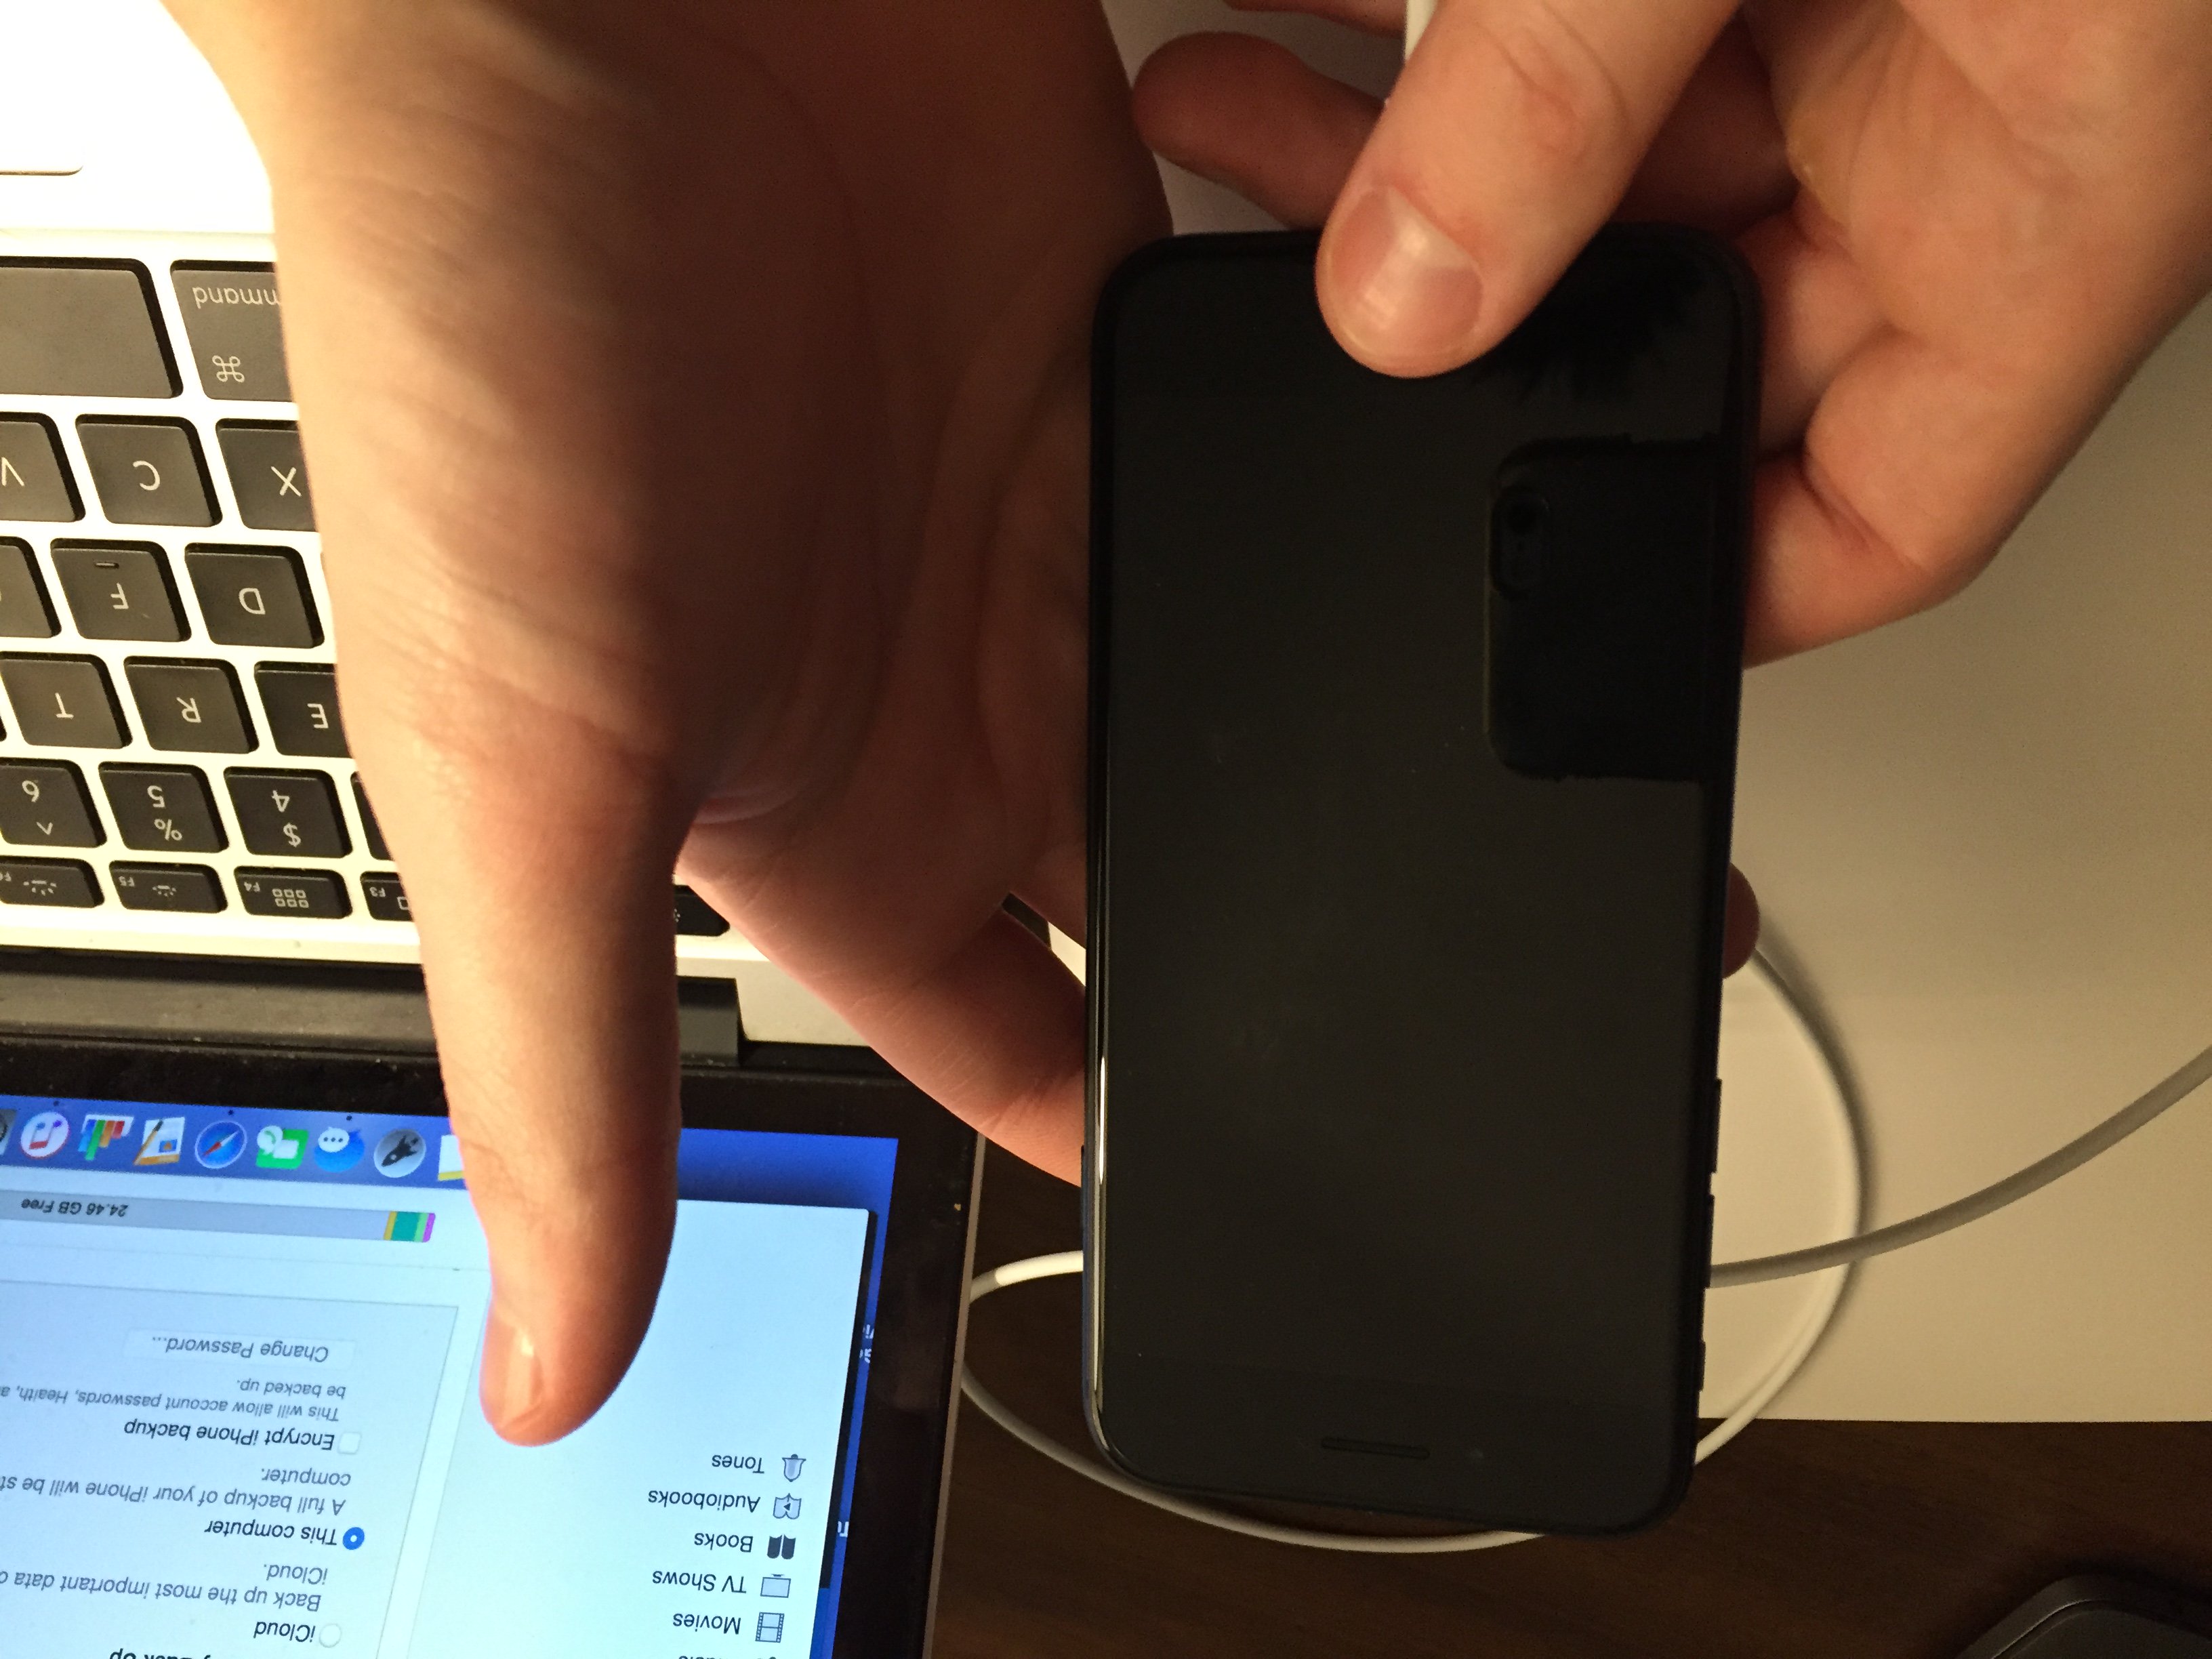
How Do I DFU Restore My iPhone?
How To DFU Restore An iPhone SE, 6s, Or Older
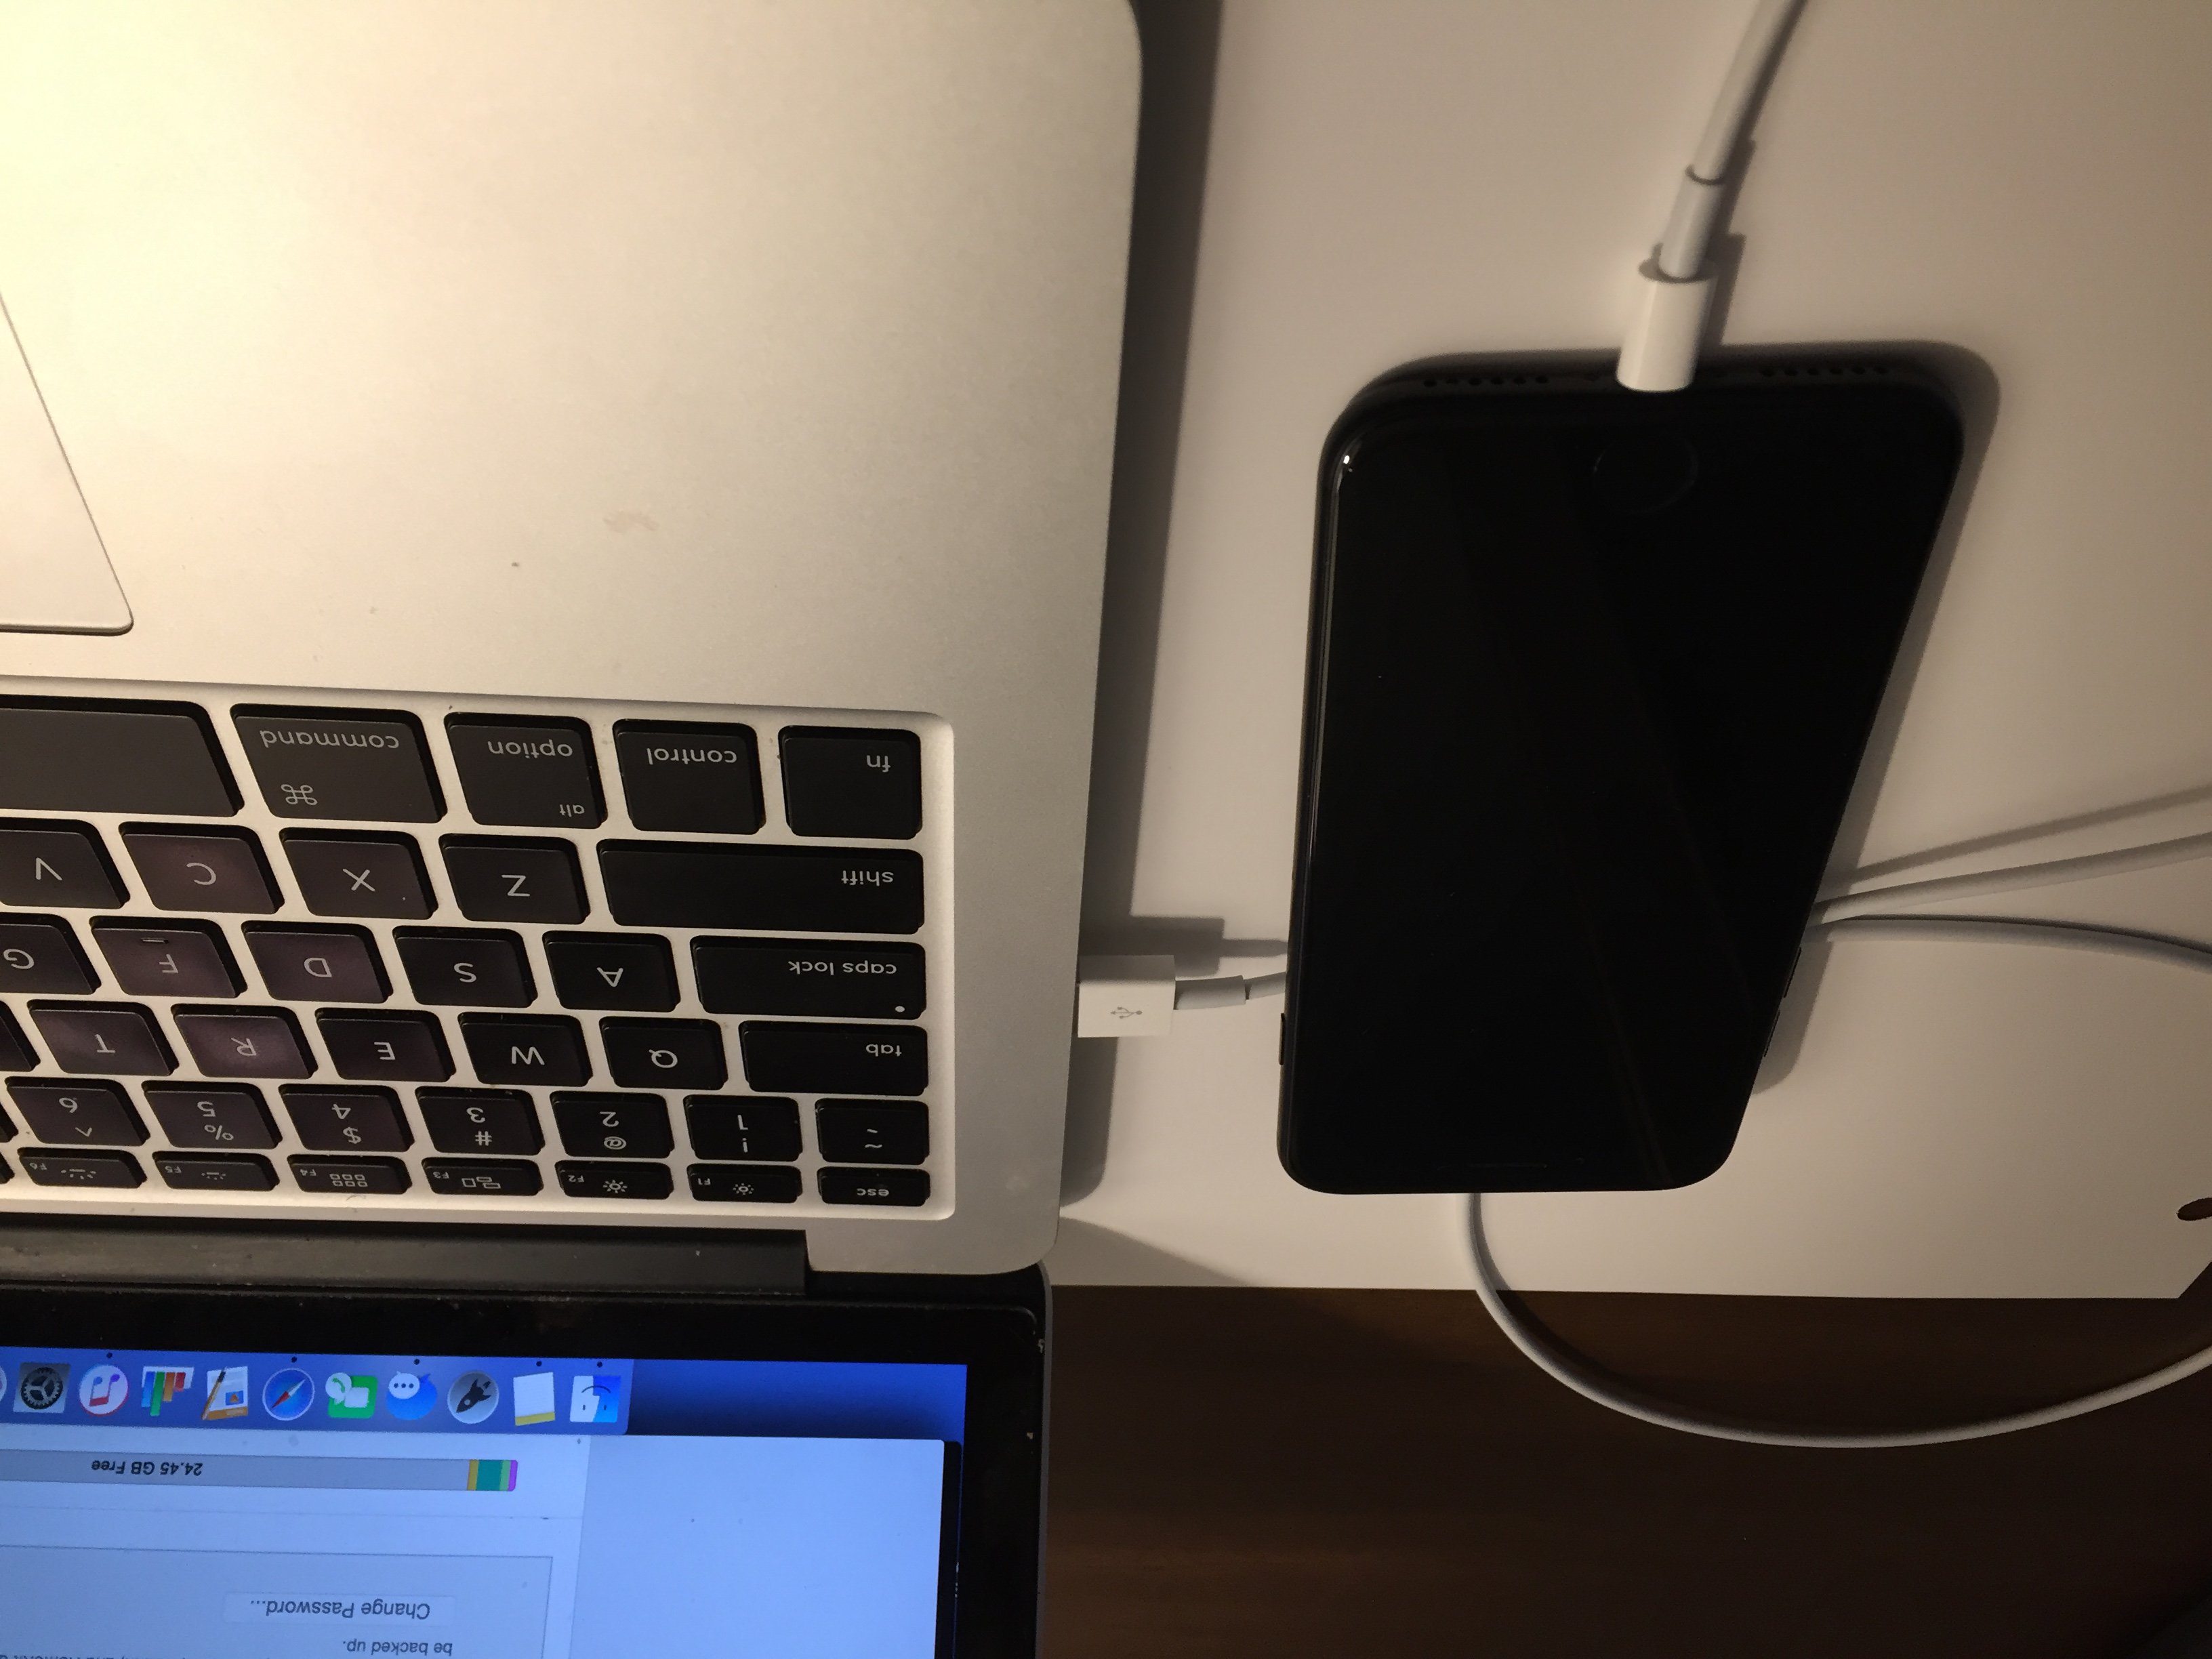
- Using a Lightning cable, plug your iPhone into a USB port on your computer.
- Open iTunes if you have a PC or Mac running Mojave 10.14 or earlier. Open Finder if you have a Mac running Catalina 10.15 or newer. It doesn’t matter if your iPhone is on or off.
- Press and hold the Home button and the power button simultaneously.
- After 8 seconds, release the power button, but continue to hold the Home button.
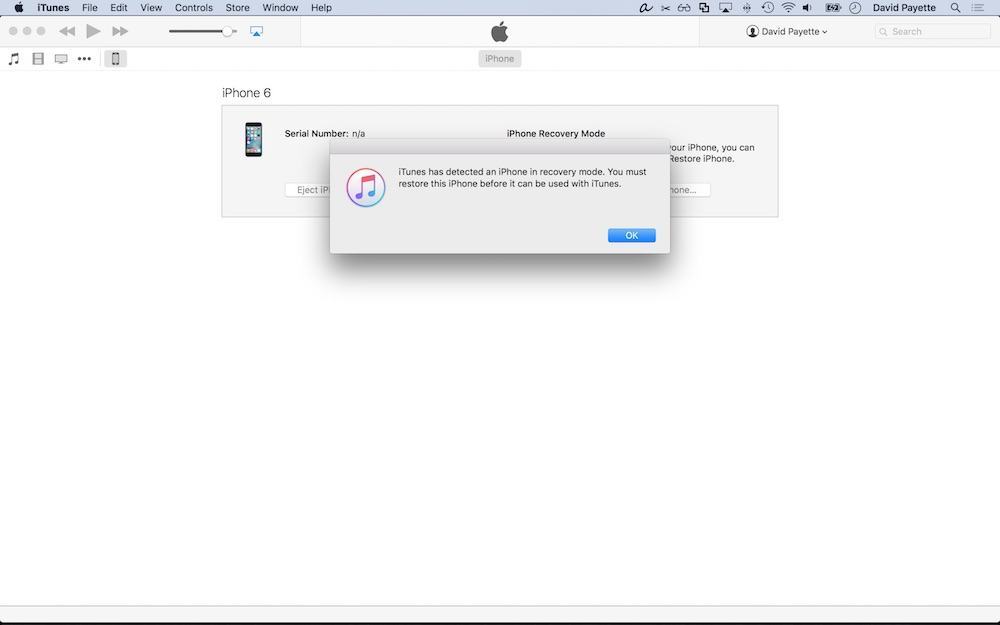
- Let go of the power button when your iPhone appears in iTunes or Finder.
- Your iPhone’s display will be completely black if you’ve successfully entered DFU mode. If it’s not, try again from the beginning.
- Restore your iPhone using iTunes or Finder.
How To DFU Restore An iPhone 7 Or 7 Plus
- Using a Lightning cable, plug your iPhone into a USB port on your computer.
- Open iTunes if you have a PC or Mac running Mojave 10.14 or earlier. Open Finder if you have a Mac running Catalina 10.15 or newer. It doesn’t matter if your iPhone is on or off.
- Press and hold the power and volume down button simultaneously.
- After 8 seconds, release the power button, but continue to hold the volume down button.
- Release the volume down button when your iPhone appears in iTunes or Finder.
- You'll know your iPhone is in DFU mode if the display is completely black.
- Restore your iPhone using iTunes or Finder.
How To DFU Restore An iPhone 8 Or Newer
- Connect your iPhone to your computer using a charging cable.
- Open iTunes (PCs and Macs running macOS 10.14 or older) or Finder (Macs running macOS 10.15 or newer).
- Quickly press and release the volume up button.
- Quickly press and release the volume down button.
- Press and hold the side button until the screen goes black.
- When the screen goes black, press and hold the volume down button while continuing to press and hold the side button.
- Hold both buttons for five seconds.
- After five seconds, release the side button while continuing to hold the volume down button.
- Keep holding the volume down button until your iPhone appears in Finder or iTunes.
- Restore your iPhone using iTunes or Finder.
Applies To: iPhone 5,iPhone 5S,iPhone 5C,iPhone 6,iPhone 6 Plus,iPhone 6S,iPhone 6S Plus,iPhone SE,iPhone 7,iPhone 7 Plus,iPhone 8,iPhone 8 Plus,iPhone X,iPhone XS,iPhone XS Max,iPhone XR,iPhone 11,iPhone 11 Pro,iPhone 11 Pro Max,iPhone SE 2
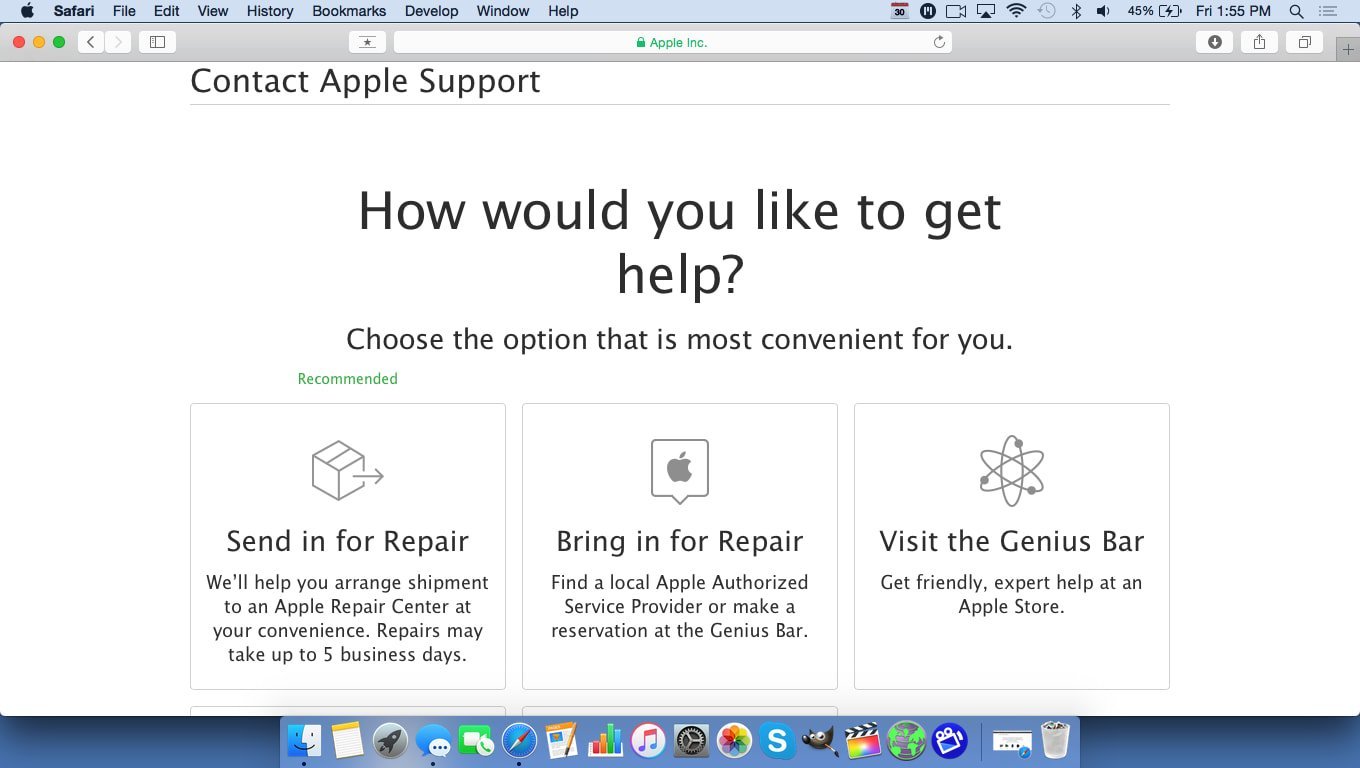
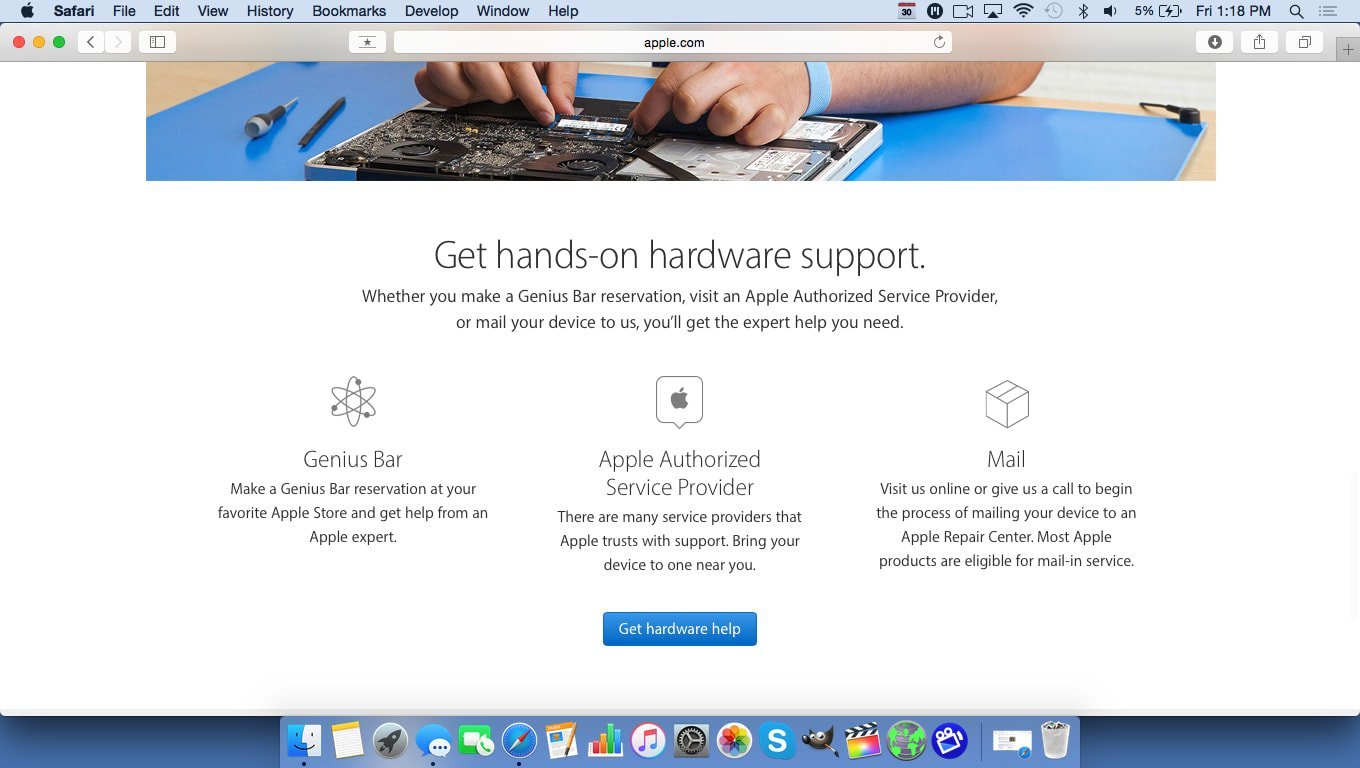
View MoreRepair Your iPhone With Apple
Apple repairs iPhones at the Genius Bar in Apple Stores and through their online mail-in repair service. Apple repairs are high-quality, but out-of-warranty repairs can be much more expensive than third-party solutions. If you're looking to save some money you're not covered by Apple's warranty, you may want to check out our other recommendations.

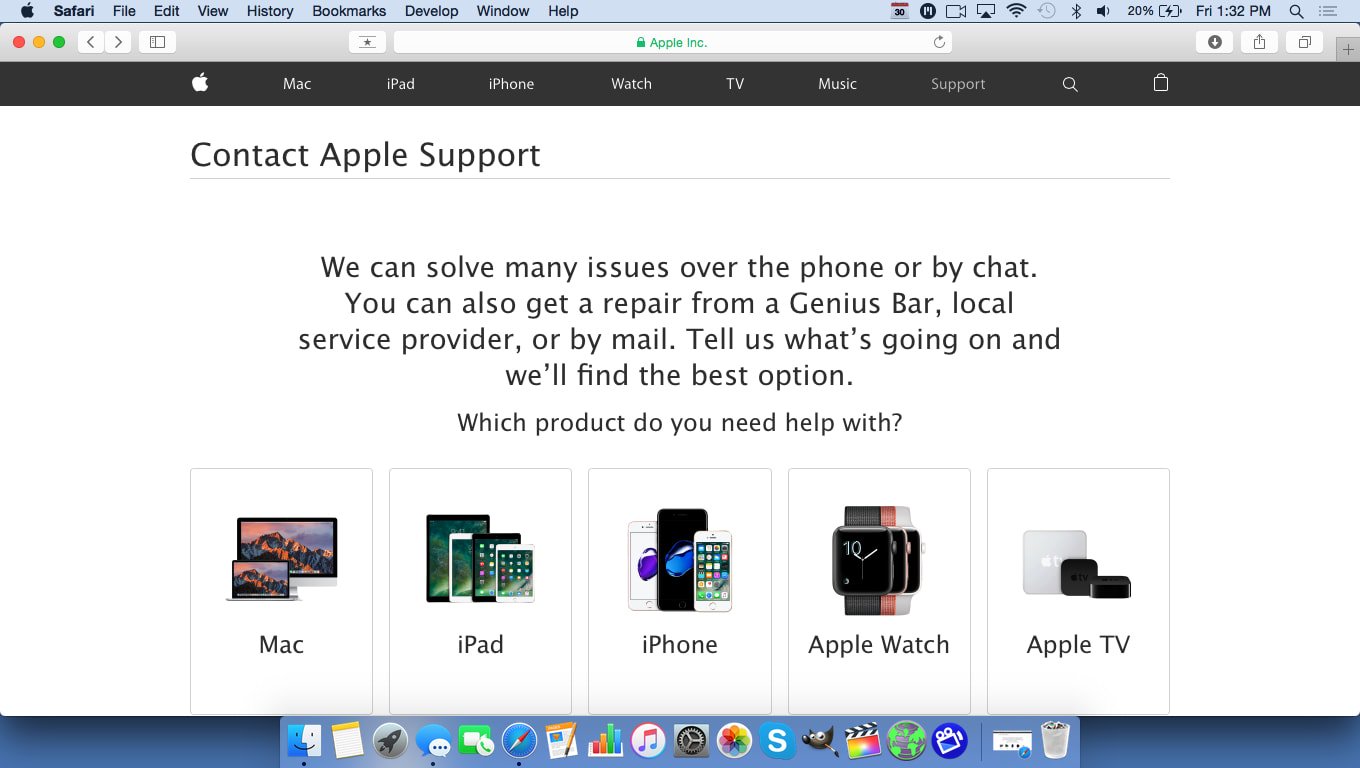
How Do I Repair My iPhone With Apple?
How To Repair Your iPhone With Apple's Mail-In Service
- Visit Apple's support website to begin the online mail-in repair process.
- Alternatively, call 1-800-MY-APPLE (1-800-692-7753) to set up a repair.
How To Repair Your iPhone At The Genius Bar Inside Your Local Apple Store
- Visit Apple's website to make a Genius Bar appointment before you go into the store. Apple Stores are extremely busy, and if you don't have an appointment, you may have to wait for hours or end up being turned away. (Editor's note: I'm a former Apple tech and we're not exaggerating — please, do yourself a favor and make an appointment first!)
- When you arrive, go to the Genius Bar to check in for your appointment.
- Genius Bar appointments always include free diagnosis. If you're under warranty, many repairs can be done on the spot, but it all depends upon which parts are in stock. If you're not under warranty, the Genius will give you a quote for the cost of a repair.
Applies To: iPhone 5,iPhone 5S,iPhone 5C,iPhone 6,iPhone 6 Plus,iPhone 6S,iPhone 6S Plus,iPhone SE,iPhone 7,iPhone 7 Plus,iPhone 8,iPhone 8 Plus,iPhone X,iPhone XS,iPhone XS Max,iPhone XR,iPhone 11,iPhone 11 Pro,iPhone 11 Pro Max,iPhone SE 2
View MoreCharged & Ready To Go!
Your iPhone is charging again because you've fixed this problem for good! We hope you'll share this article on social media so your friends and family know what to do when their iPhone 8 Plus is not charging. Thanks for reading!
Thank you! Your information was so helpful!
“How Do I Perform A Hard Reset On My iPhone 8 Or 8 Plus?
Simultaneously press and hold the volume down button and the power button until you see the Apple logo appear in the center of your iPhone’s display” as per instructions above…
FYI, using this function activates a 911 call.