
AirDrop Not Working On iPhone 8? Here's The Fix!
NOVEMBER 1, 2017
AirDrop won't work on your iPhone 8 and you're not sure why. Without AirDrop, sharing files between your iOS devices is a bit more difficult. In this article, I'll explain what to do when AirDrop is not working on your iPhone so you can fix the problem for good!
How To Set Up AirDrop On Your iPhone
Before you can use AirDrop on your iPhone, it needs to be set up properly. To do this, open Control Center by swiping up from below the bottom of your iPhone's display.
Next, press and hold the box in the upper left-hand corner on Control Center. Then, tap the AirDrop icon and select Contacts Only or Everyone. If you tap Receiving Off, your iPhone won't be able to receive files via AirDrop.

You'll know AirDrop is on when the icon is blue, and you'll be able to tell who you can AirDrop with by looking at the listing below AirDrop in Control Center.
How To Use AirDrop On Your iPhone 8
Now that AirDrop is set up on your iPhone, let's briefly walk through how to use it. First, find the file on your iPhone that you'd like to share. I'll use a photo to demonstrate.
Look for the Share button (which looks like a square with an arrow pointing up out of it) and tap it. In the Photos app, the Share button will usually be in the lower left-hand corner of the display.
Next, you'll see a list of the people you can AirDrop your file to in the sharing menu. Tap on the device you'd like to AirDrop your file to.

Once your file has been sent, you'll see the word Sent below the device name in the sharing menu.
If AirDrop is not working on your iPhone 8 even after you've turned it on, follow the steps below to diagnose and fix the root cause of the problem!
How To Fix AirDrop On iPhone 8
8 Steps TotalRestart Your iPhone
Restarting your iPhone can sometimes fix minor software glitches and errors.
How Do I Restart My iPhone?
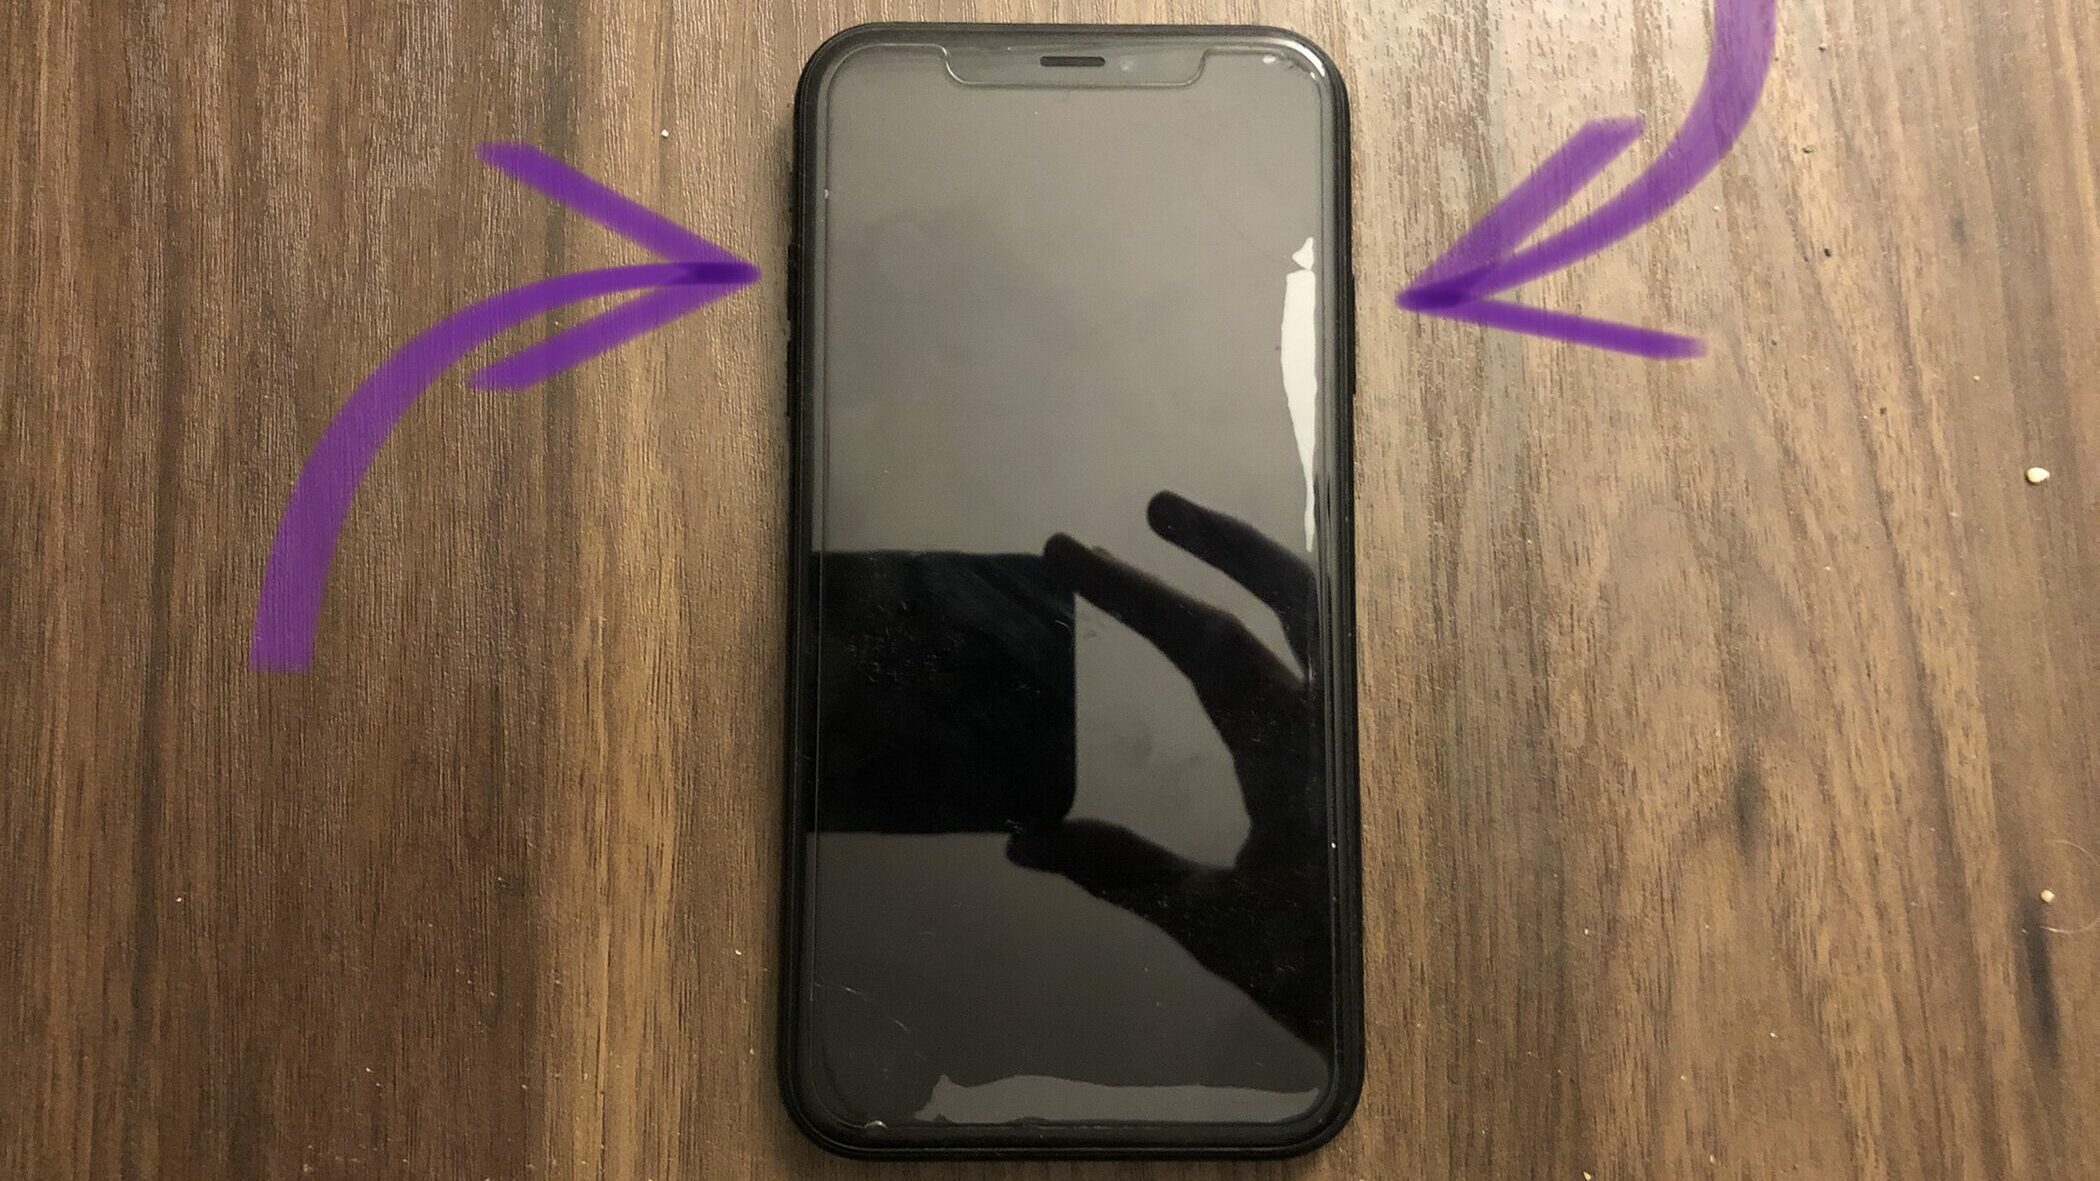
- Press and hold the power button (iPhones without Face ID) or the side button and either volume button (iPhones with Face ID) on your iPhone until the slide to power off slider appears on the display.
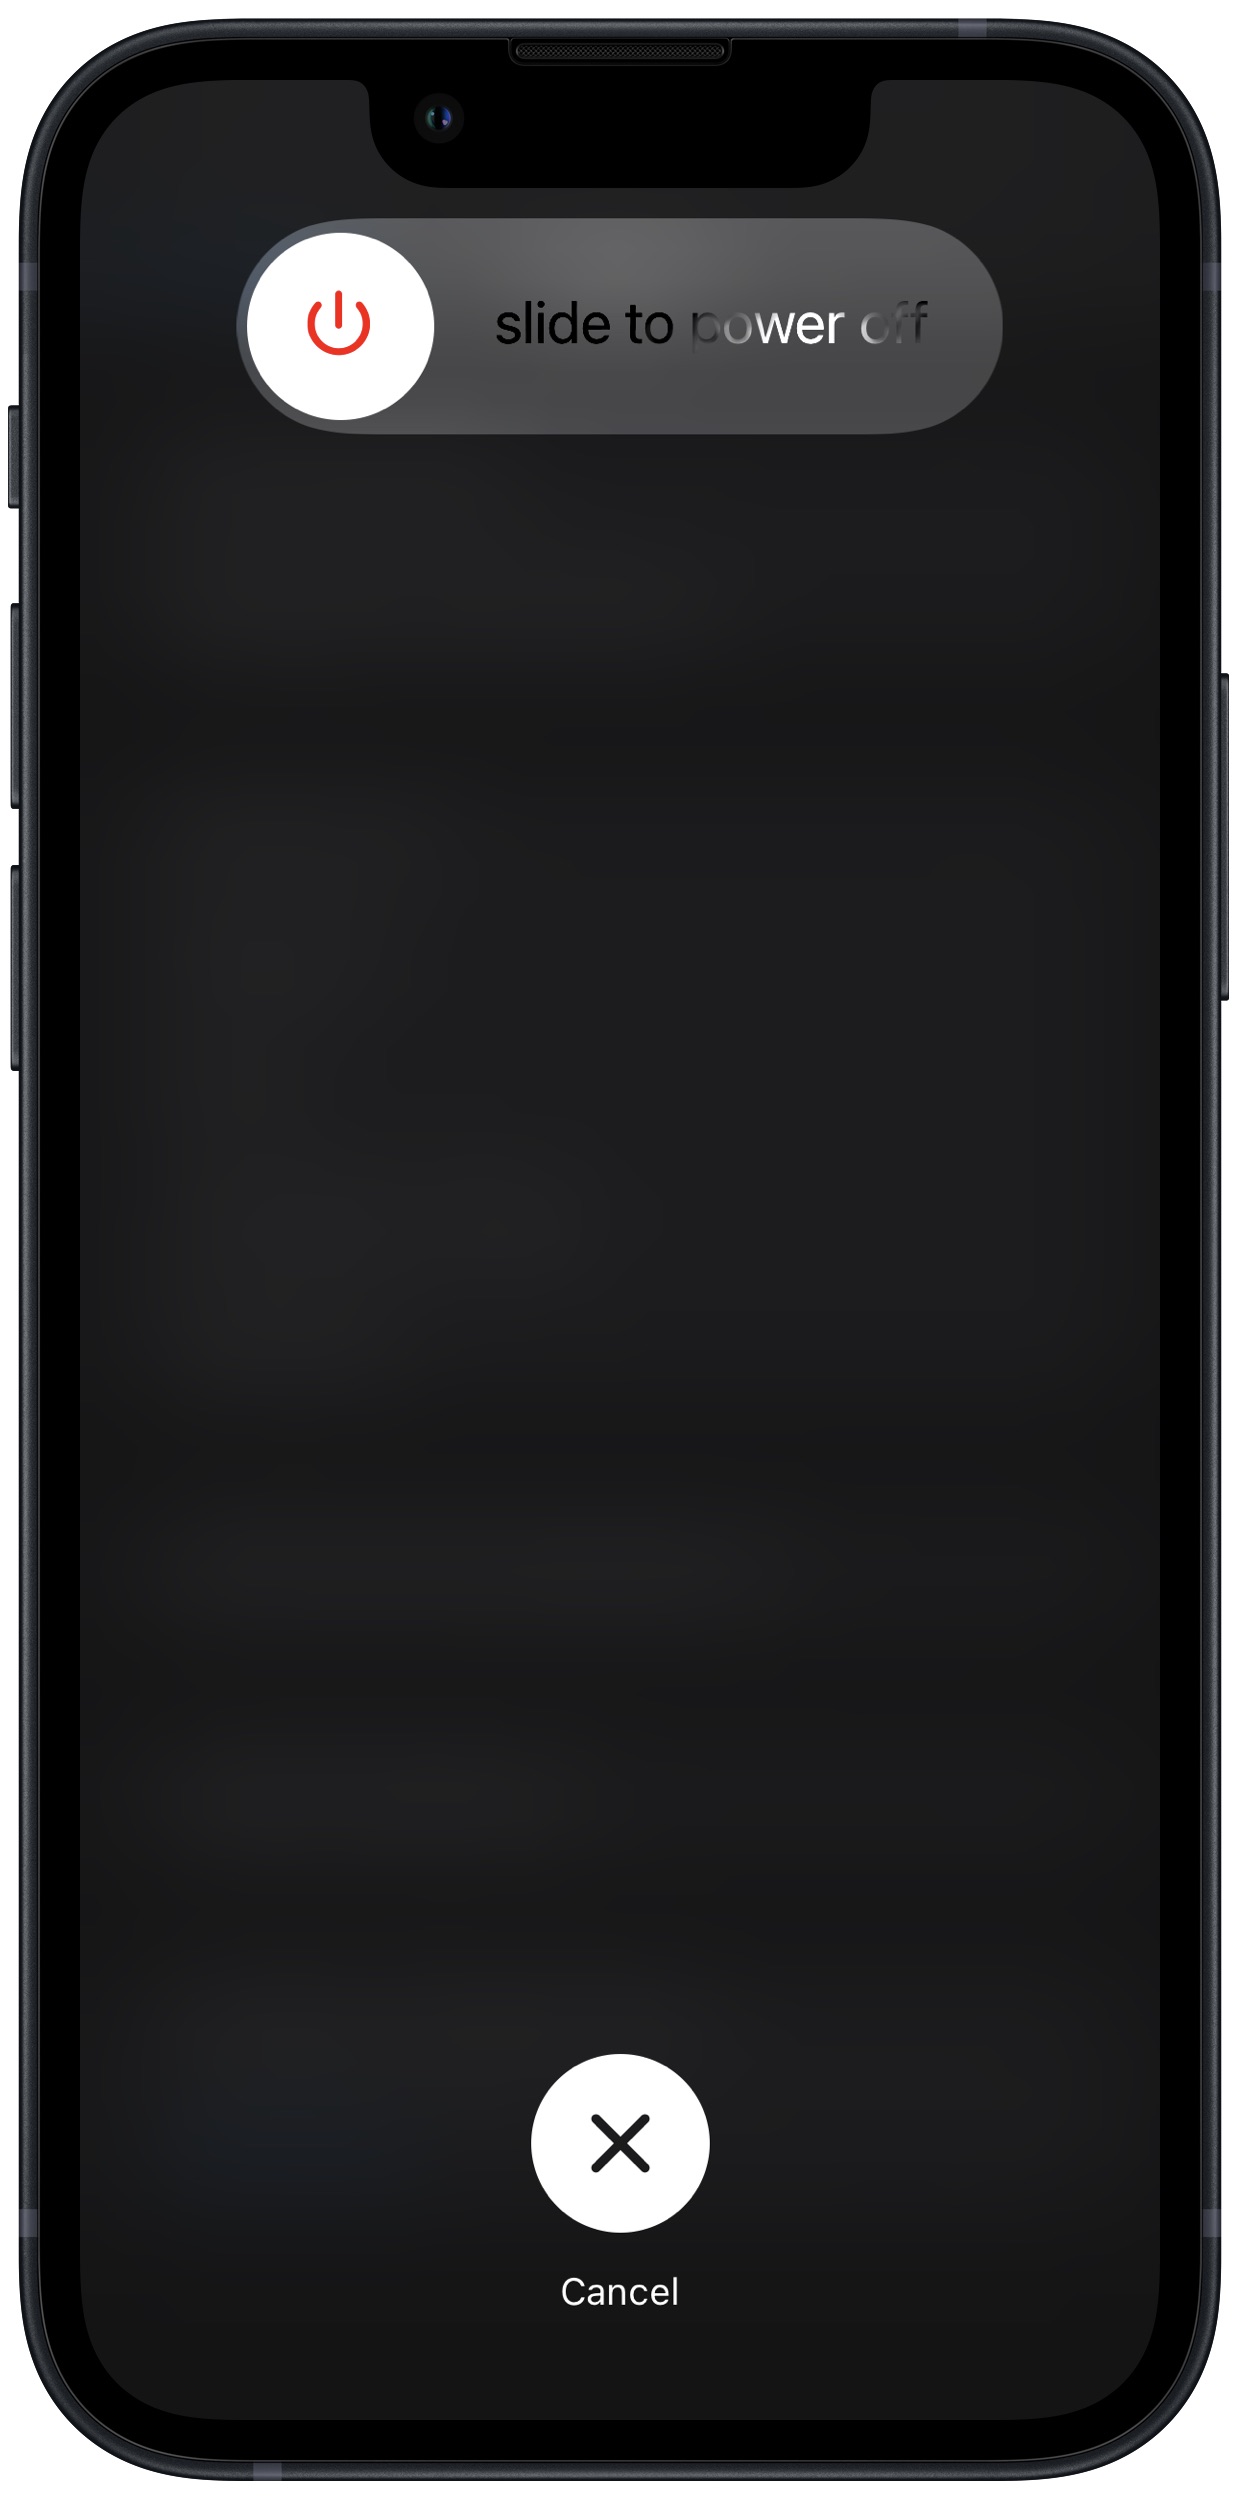
- Swipe the red power icon from left to right to turn off your iPhone.
- Wait about 30 seconds, then press and hold the power button (iPhones without Face ID) or the side button (iPhones with Face ID) again until the Apple logo appears in the center of the display.
Turn Off Your iPhone In The Settings App (Option 1)
- Open the Settings app on your iPhone.
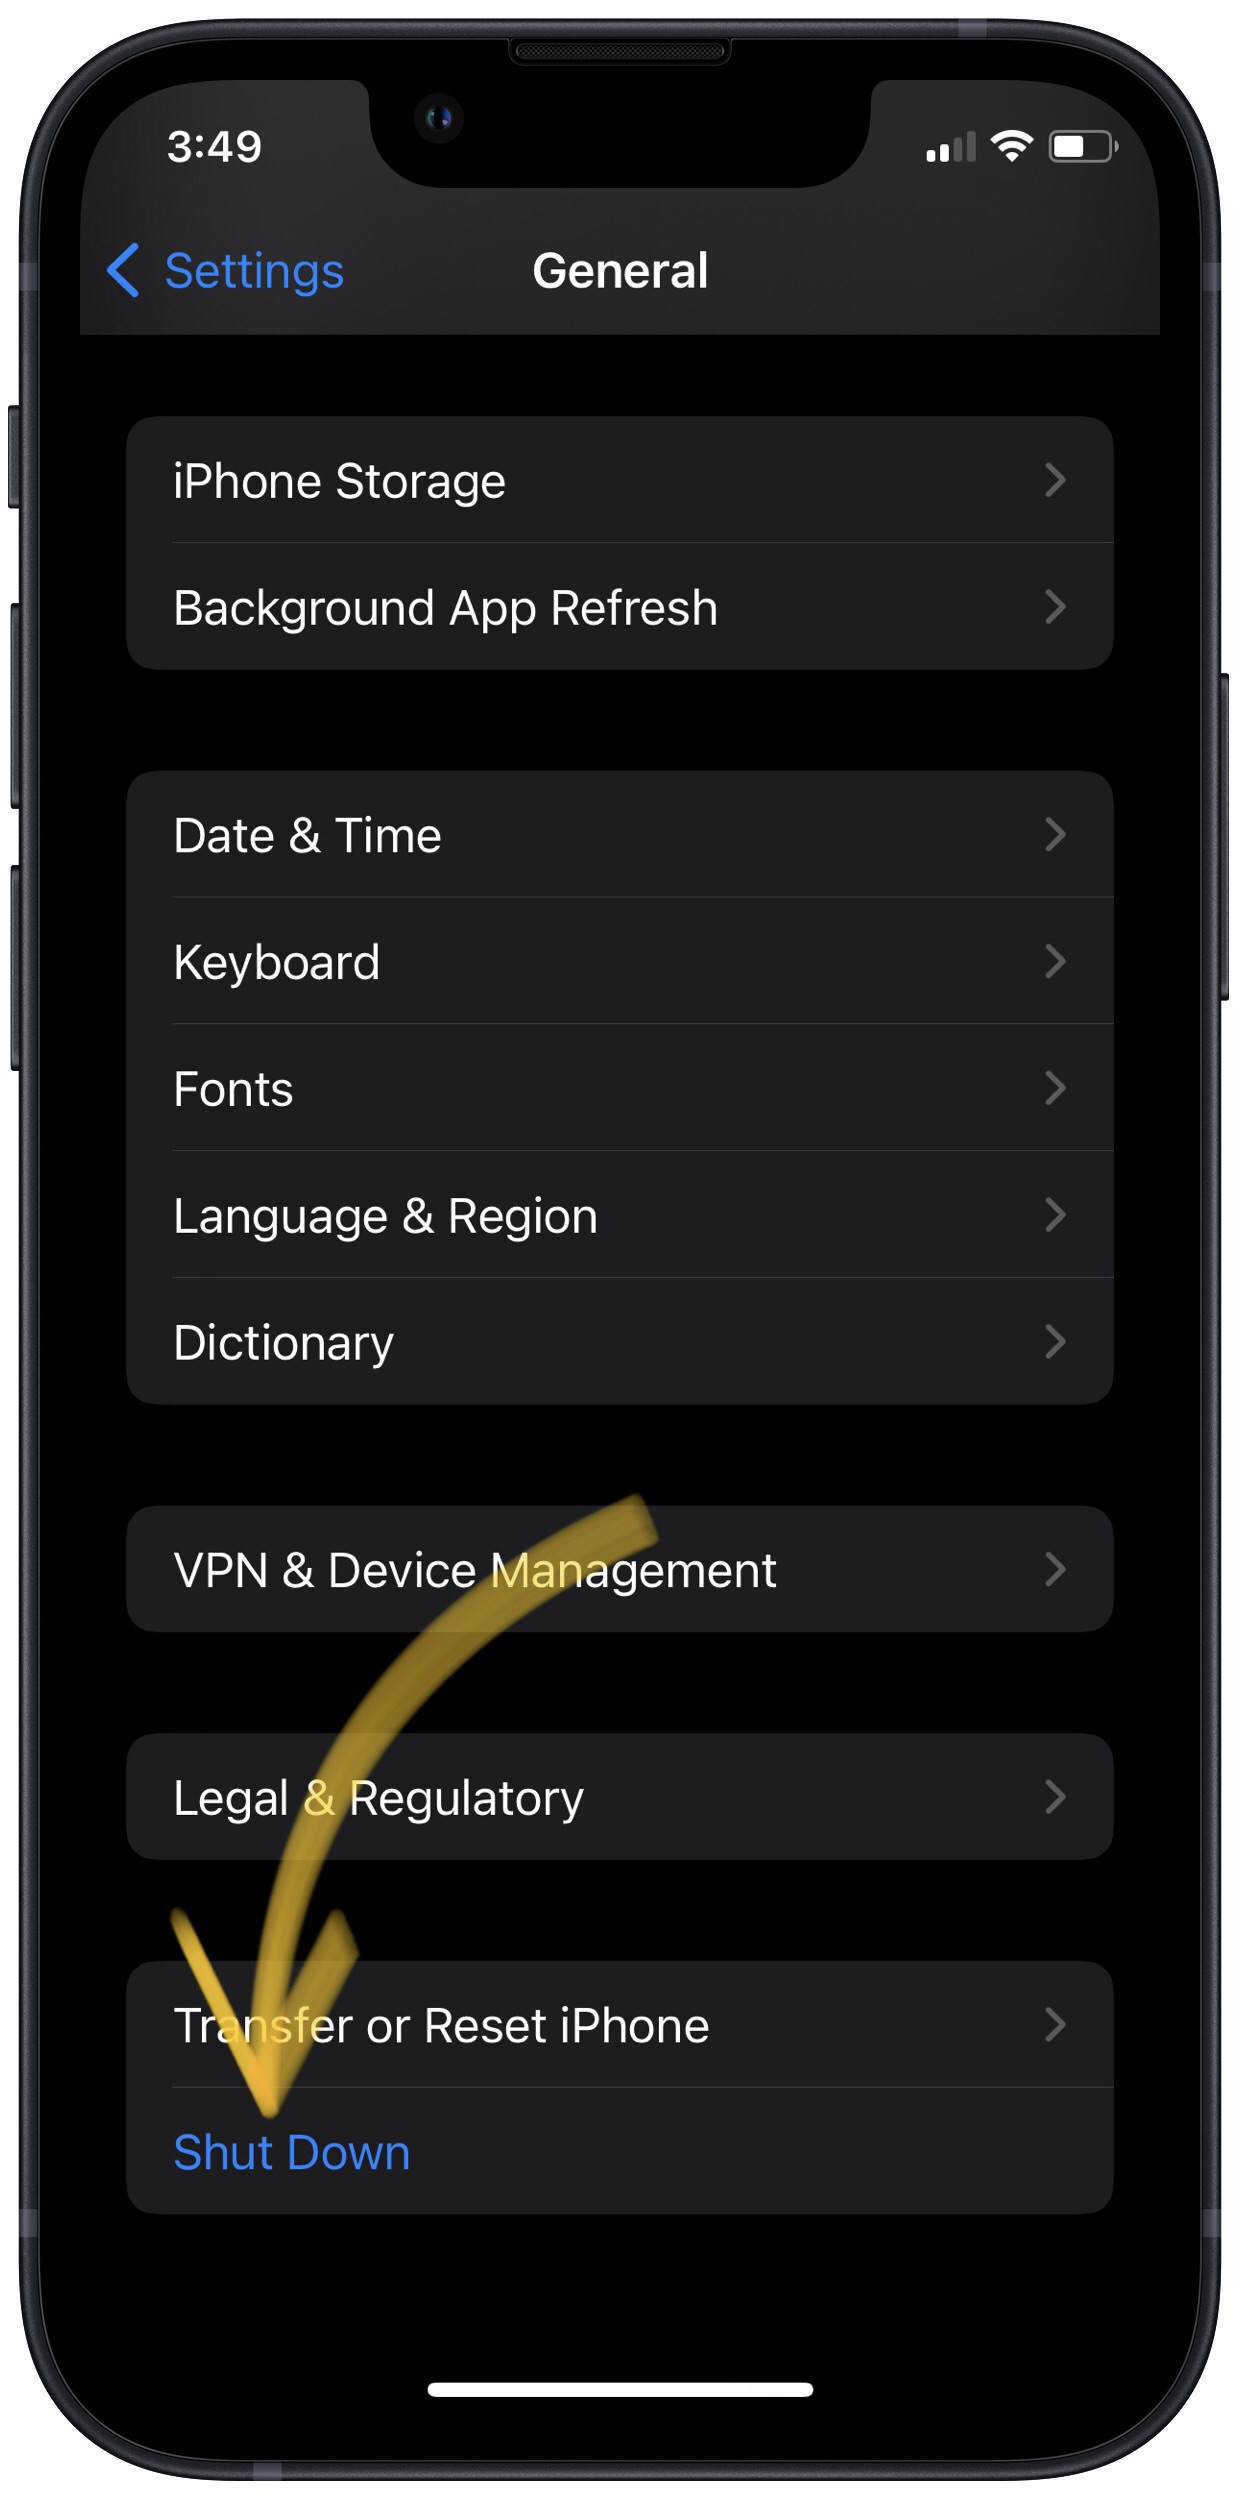
- Tap General.
- Scroll to the bottom and tap Shut Down.
- Swipe the red power icon from left to right.
- Plug your iPhone into a power source using a Lightning cable to turn it on again.
Turn Off Your iPhone Using AssistiveTouch
- Watch our YouTube video or follow the steps below!
- Open the Settings app.
- Tap General.
- Tap Accessibility.
- Tap AssistiveTouch.
- Turn on the switch next to AssistiveTouch.
- Tap the AssistiveTouch button when it appears on the display.
- Tap Device.
- Tap More.
- Tap Restart.
- Tap Restart again when the confirmation alert appears.
Applies To: iPhone 5,iPhone 5S,iPhone 5C,iPhone 6,iPhone 6 Plus,iPhone 6S,iPhone 6S Plus,iPhone SE,iPhone 7,iPhone 7 Plus,iPhone 8,iPhone 8 Plus,iPhone X,iPhone XS,iPhone XS Max,iPhone XR,iPhone 11,iPhone 11 Pro,iPhone 11 Pro Max,iPhone SE 2
View MoreMake Sure Your Apple Devices Are Within Range Of Each Other
In order to use features like Handoff or AirDrop, your Apple devices need to be within range of each other. Often times, these features will make use of Wi-Fi or Bluetooth connections, which might not work if your device or devices are too far away.
- Hold your Apple devices right next to each other when using a feature like Handoff and AirDrop.
- Typically, about 25-30 feet is the maximum distance your devices can be apart from each other and still interact wirelessly.
Applies To: MacBook Air,MacBook Pro,Mac Mini,MacBook,iMac,iMac Pro,Mac Pro,AirPods,AirPods Pro,iPhone 5,iPhone 5S,iPhone 5C,iPhone 6,iPhone 6 Plus,iPhone 6S,iPhone 6S Plus,iPhone SE,iPhone 7,iPhone 7 Plus,iPhone 8,iPhone 8 Plus,iPhone X,iPhone XS,iPhone XS Max,iPhone XR,iPhone 11,iPhone 11 Pro,iPhone 11 Pro Max,iPhone SE 2
View MoreTurn Off Personal Hotspot On Your iPhone
When you turn on personal hotspot on your iPhone, you won't be able to use other wireless features such as AirDrop.
- Open up the Settings app on your iPhone.
- Tap Personal Hotspot.
- Turn off the switch next to Personal Hotspot.
Applies To: iPhone 5,iPhone 5S,iPhone 5C,iPhone 6,iPhone 6 Plus,iPhone 6S,iPhone 6S Plus,iPhone SE,iPhone 7,iPhone 7 Plus,iPhone 8,iPhone 8 Plus,iPhone X,iPhone XS,iPhone XS Max,iPhone XR,iPhone 11,iPhone 11 Pro,iPhone 11 Pro Max,iPhone SE 2
View MoreTurn Bluetooth Off And Back On Again
Turning Bluetooth off and back on again is sometimes enough to fix minor connectivity issues between your iPhone and Bluetooth devices.
How Do I Turn Bluetooth Off And Back On Again?
There are three ways to turn Bluetooth off and back on:
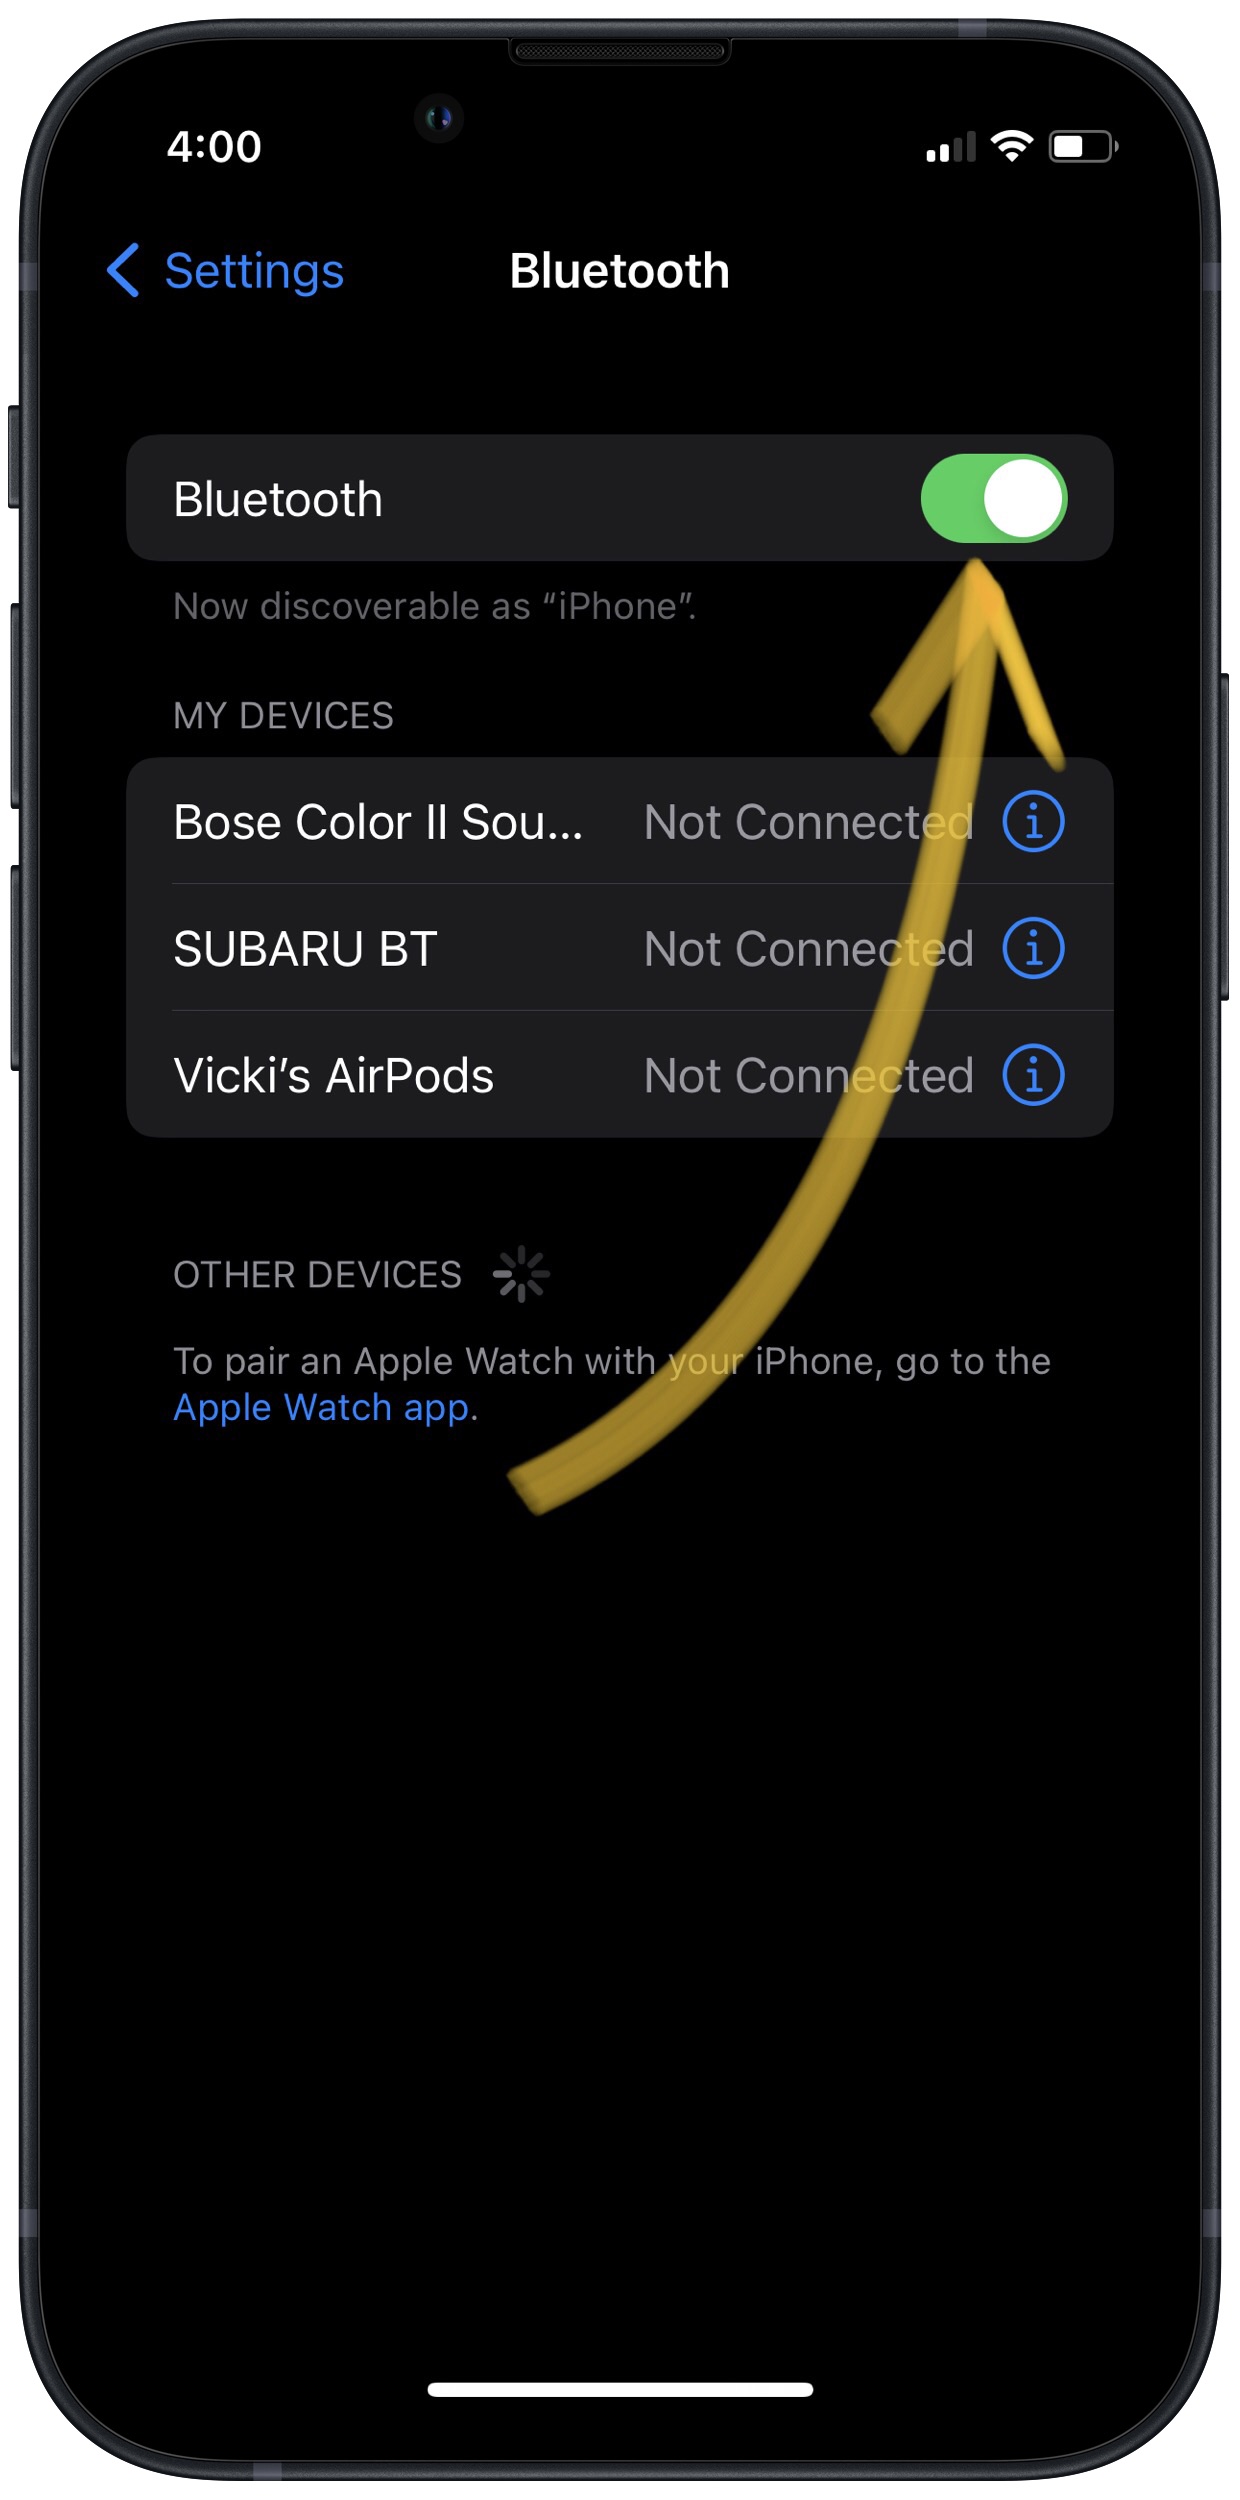
In The Settings App
- Open the Settings app.
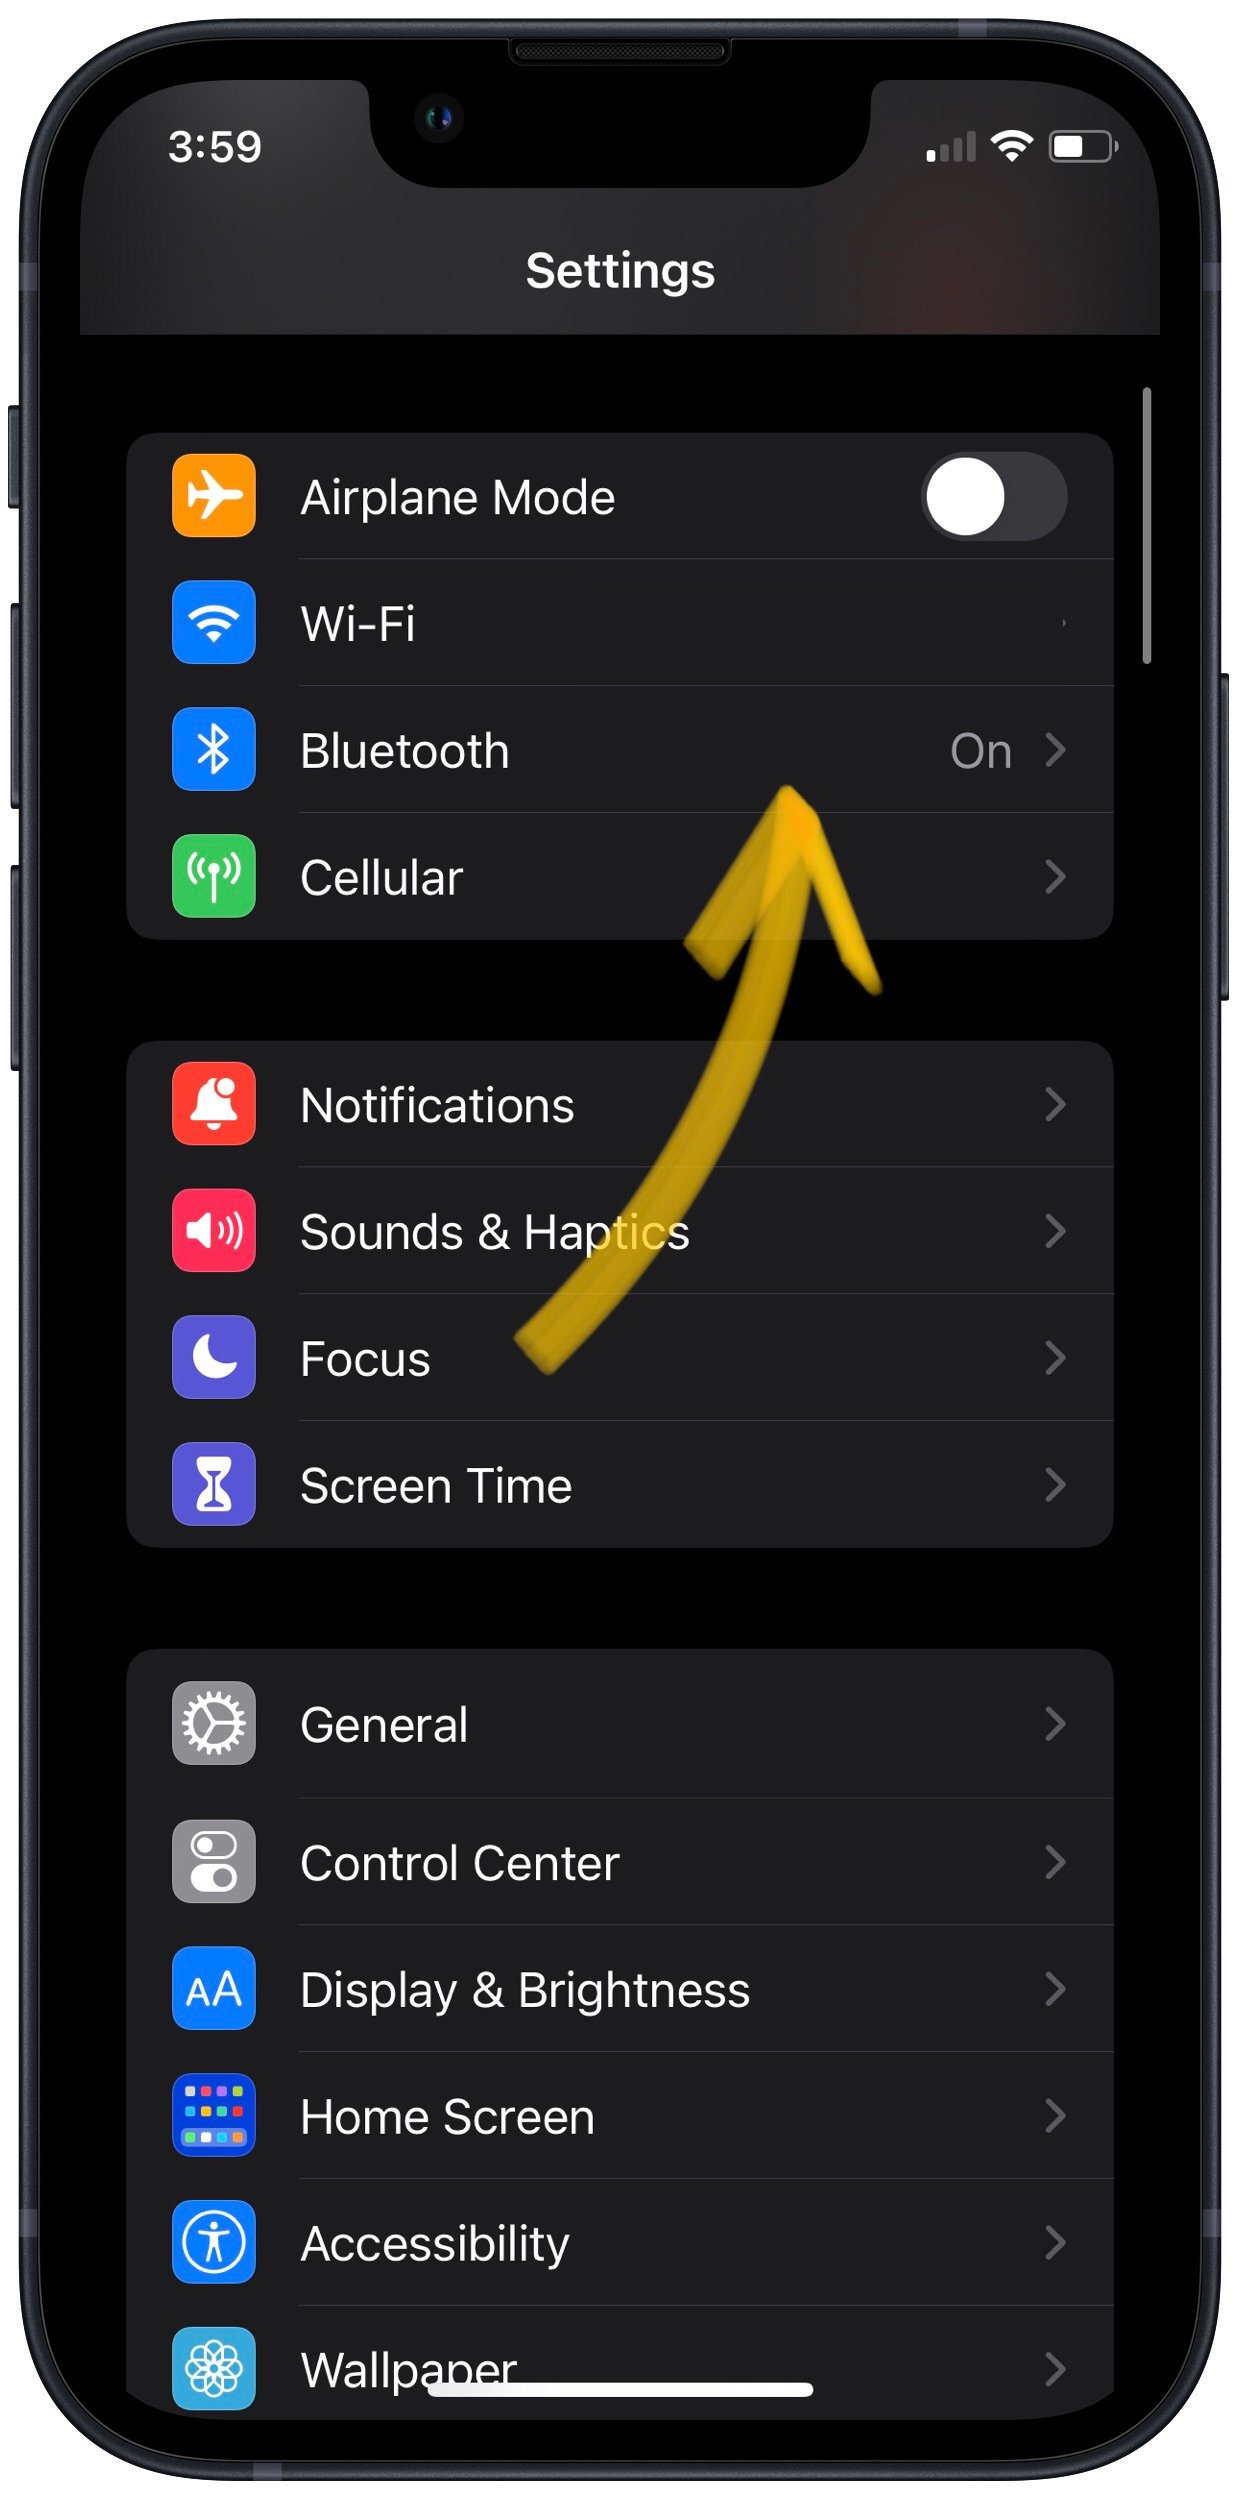
- Tap Bluetooth.
- Tap the green switch next to Bluetooth to turn it off. You'll know Bluetooth is off when the switch is gray.
- Tap the switch again to turn Bluetooth back on. You'll the Bluetooth is on when the switch turns green.
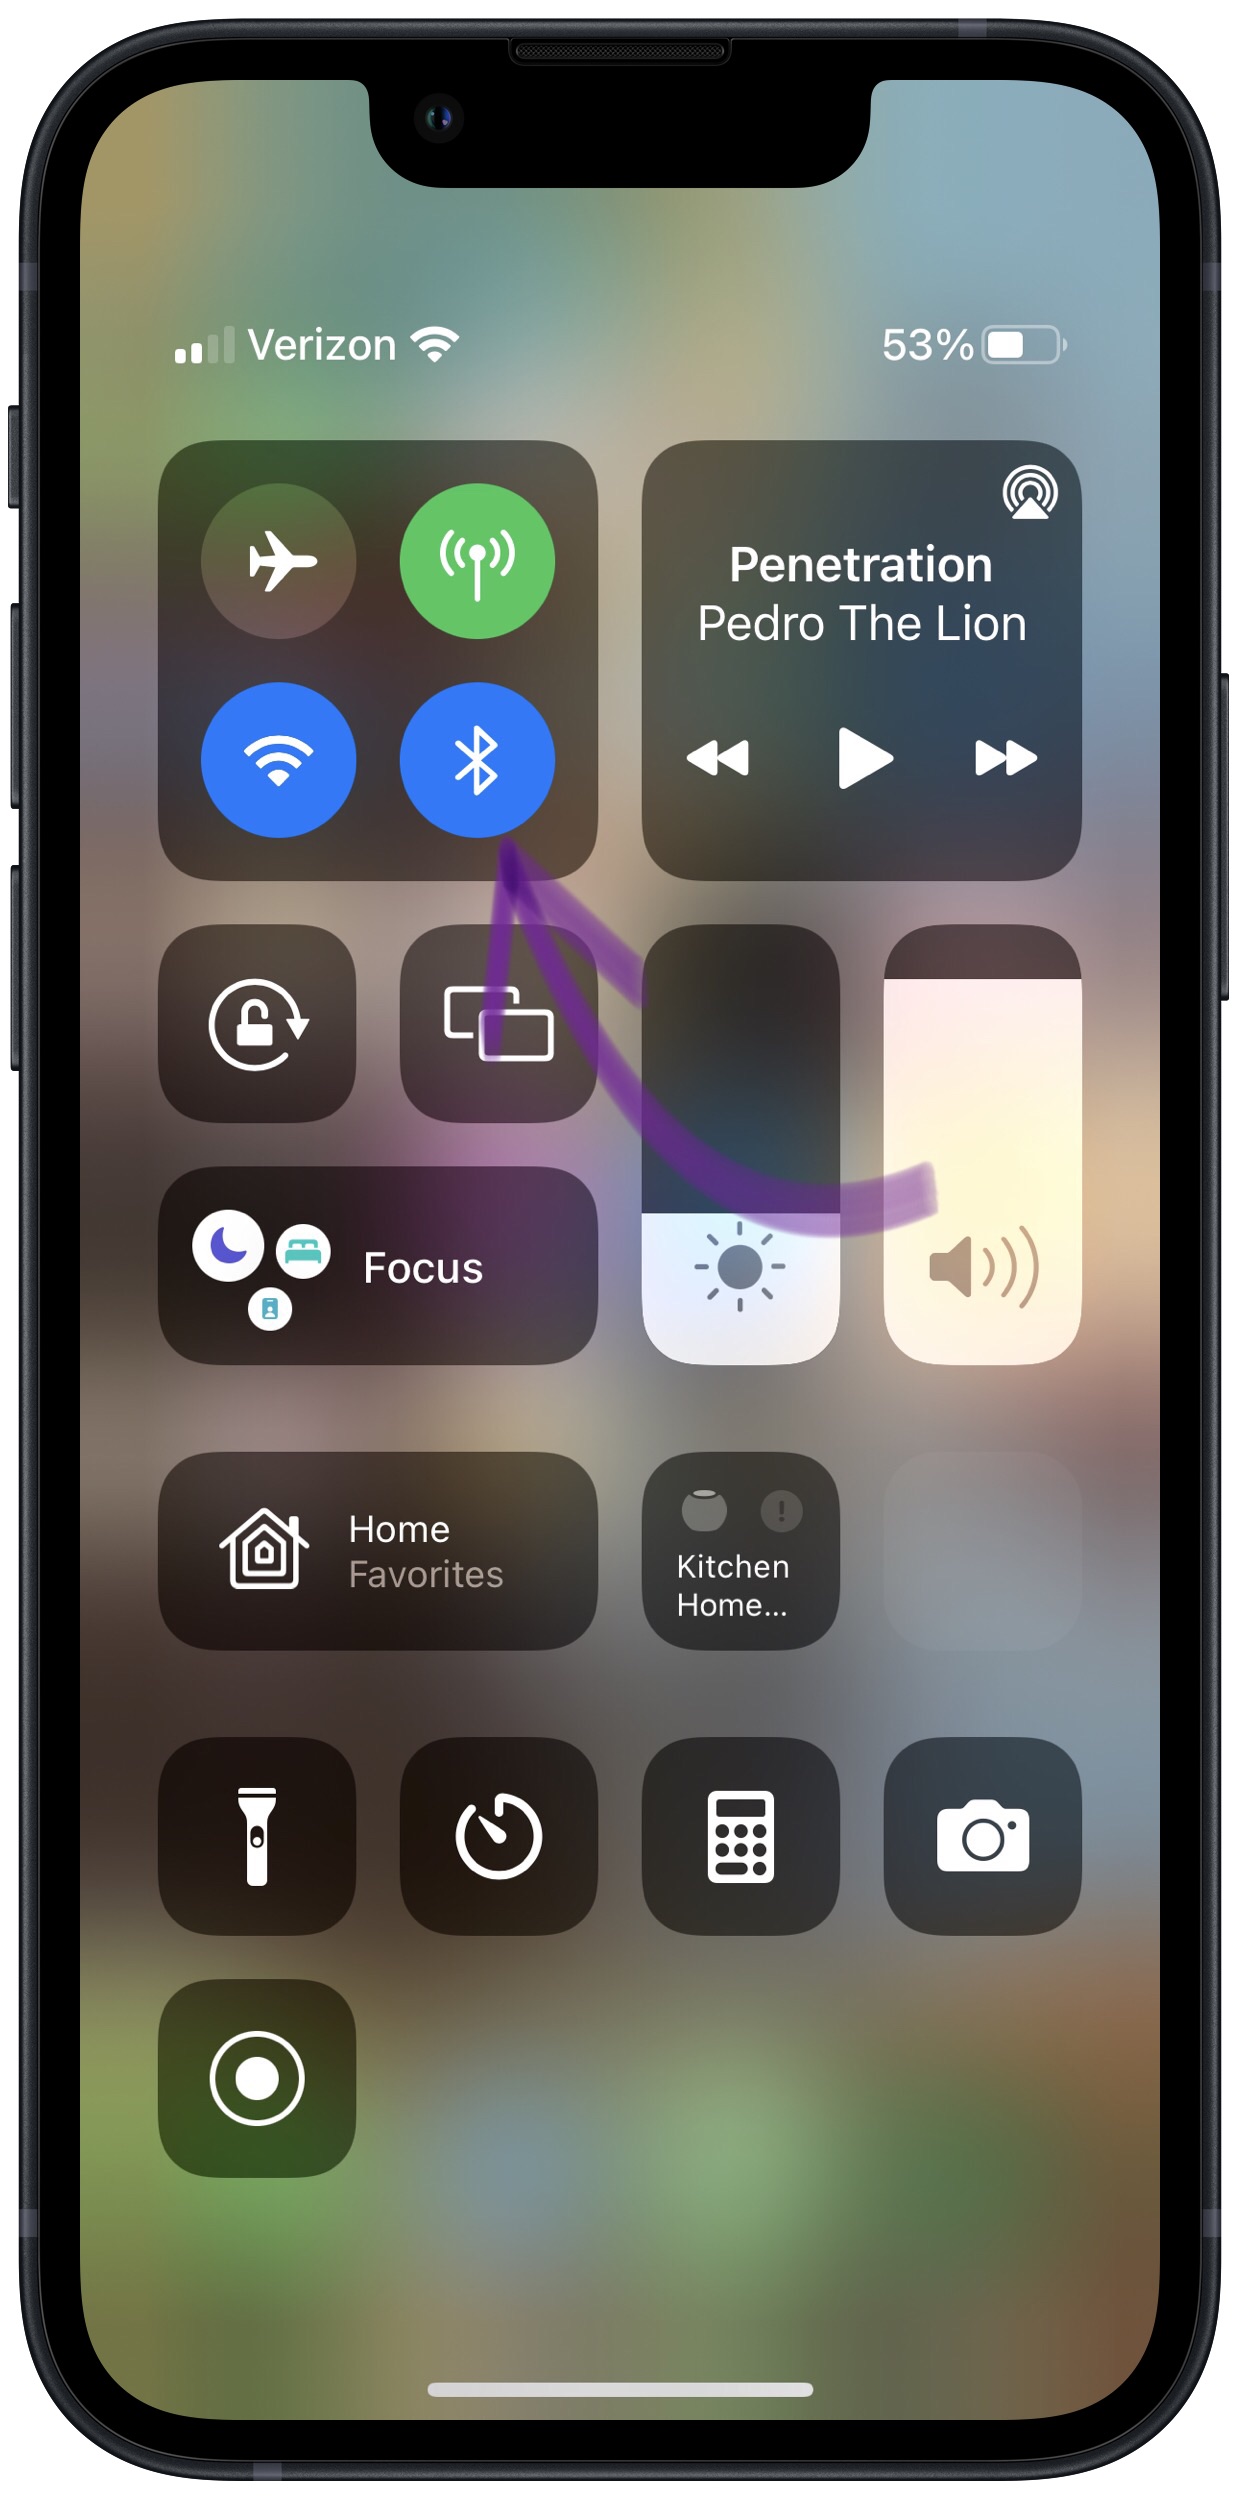
In Control Center
- Open Control Center by swiping up from below the bottom of the screen (iPhones without Face ID) or down from the upper right-hand corner of the screen (iPhones with Face ID).
- Tapap the Bluetooth icon, which looks like a "B" made of triangles. You'll know Bluetooth is off when the icon is black with a gray background.
- To turn Bluetooth back on, tap the Bluetooth icon once again. You'll know Bluetooth is on when the icon is white with a blue background.
Using Siri
- Open Siri by pressing and holding the Home button (iPhones without Face ID) or the side button (iPhones with Face ID) until Siri appears, or by saying, "Hey Siri."
- To turn off Bluetooth, say, "Turn off Bluetooth."
- To turn Bluetooth back on, say, "Turn on Bluetooth."
Applies To: iPhone 5,iPhone 5S,iPhone 5C,iPhone 6,iPhone 6 Plus,iPhone 6S,iPhone 6S Plus,iPhone SE,iPhone 7,iPhone 7 Plus,iPhone 8,iPhone 8 Plus,iPhone X,iPhone XS,iPhone XS Max,iPhone XR,iPhone 11,iPhone 11 Pro,iPhone 11 Pro Max,iPhone SE 2
View MoreTurn Wi-Fi Off And Back On Again
Turning Wi-Fi off and back on again can sometimes fix minor technical issues that may causing your problem.


How Do I Turn Wi-Fi Off And Back On Again?
There are two ways to turn Wi-Fi off and back on again:
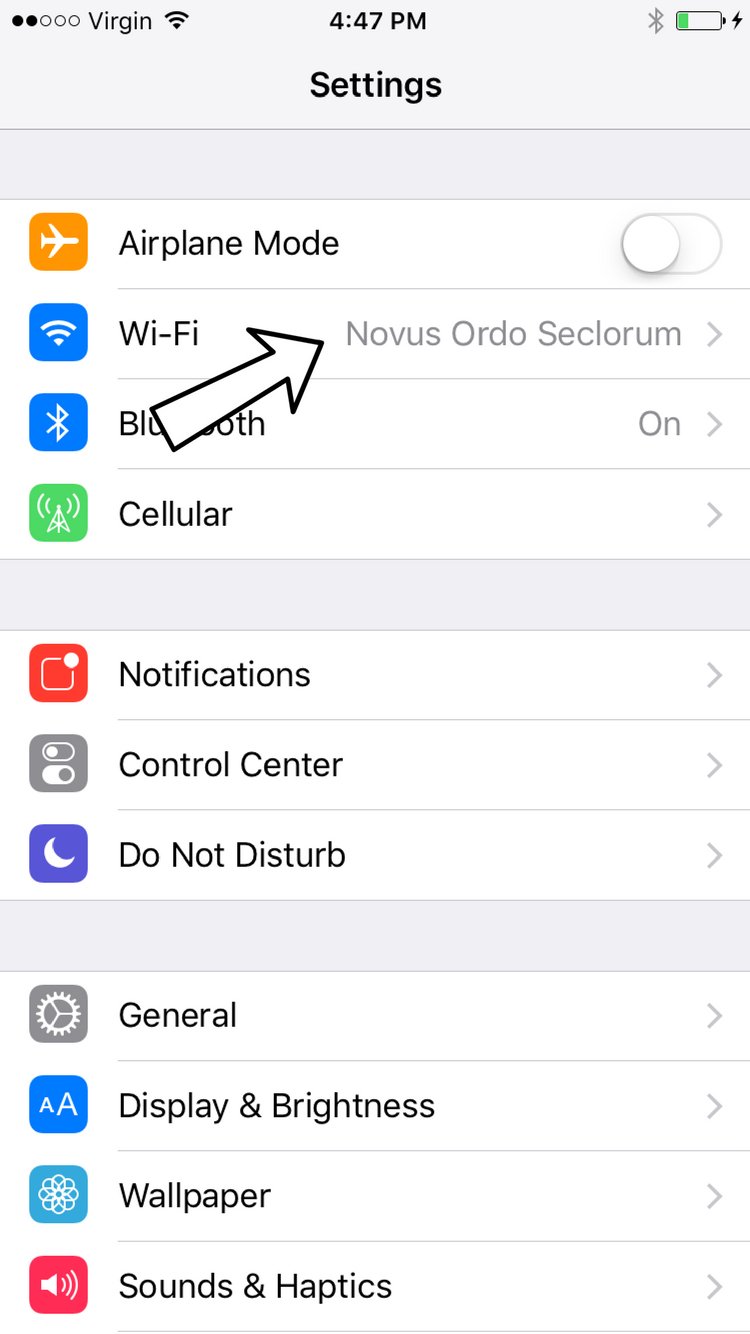
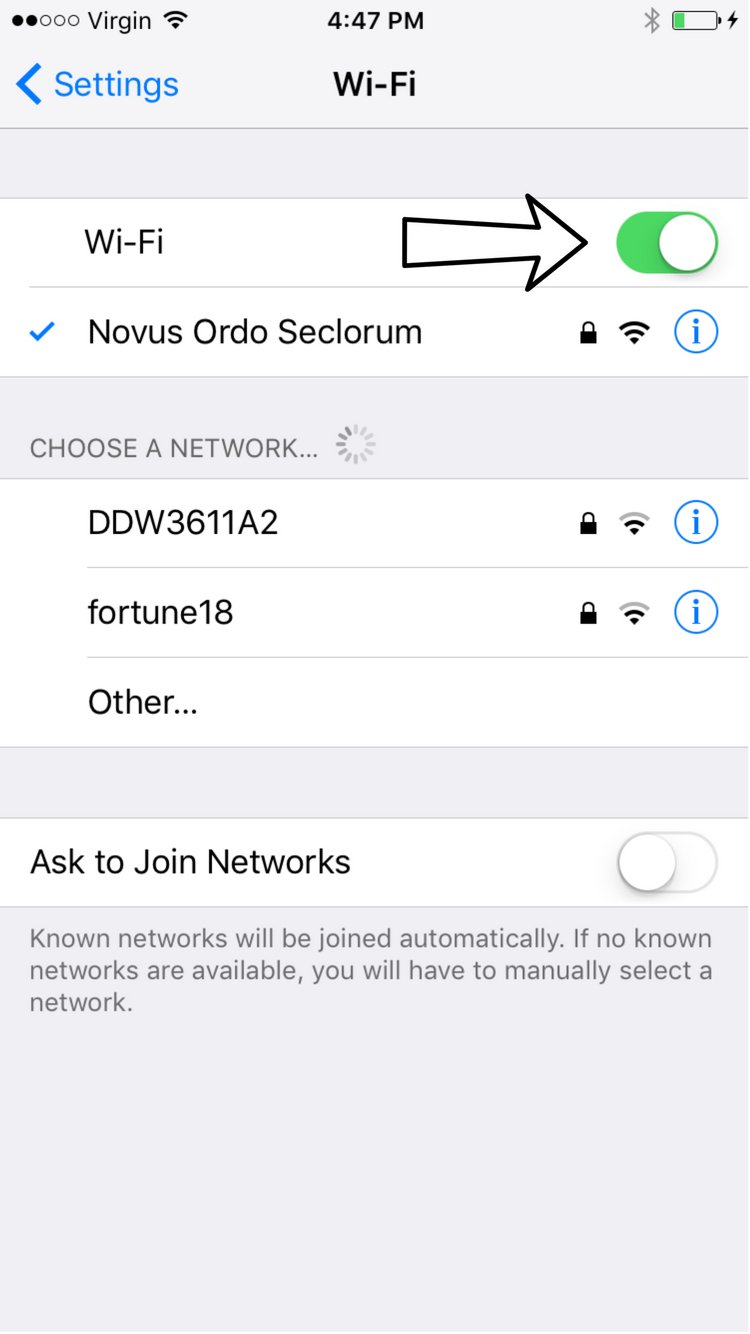
Turn Wi-Fi Off And Back On Again In The Settings App
- Open the Settings app.
- Tap Wi-Fi.
- Tap the switch next to Wi-Fi.
- You'll know Wi-Fi is off when the switch is gray.
- To turn Wi-Fi back on, tap the switch again.
- You'll know Wi-Fi is on when the switch is green.
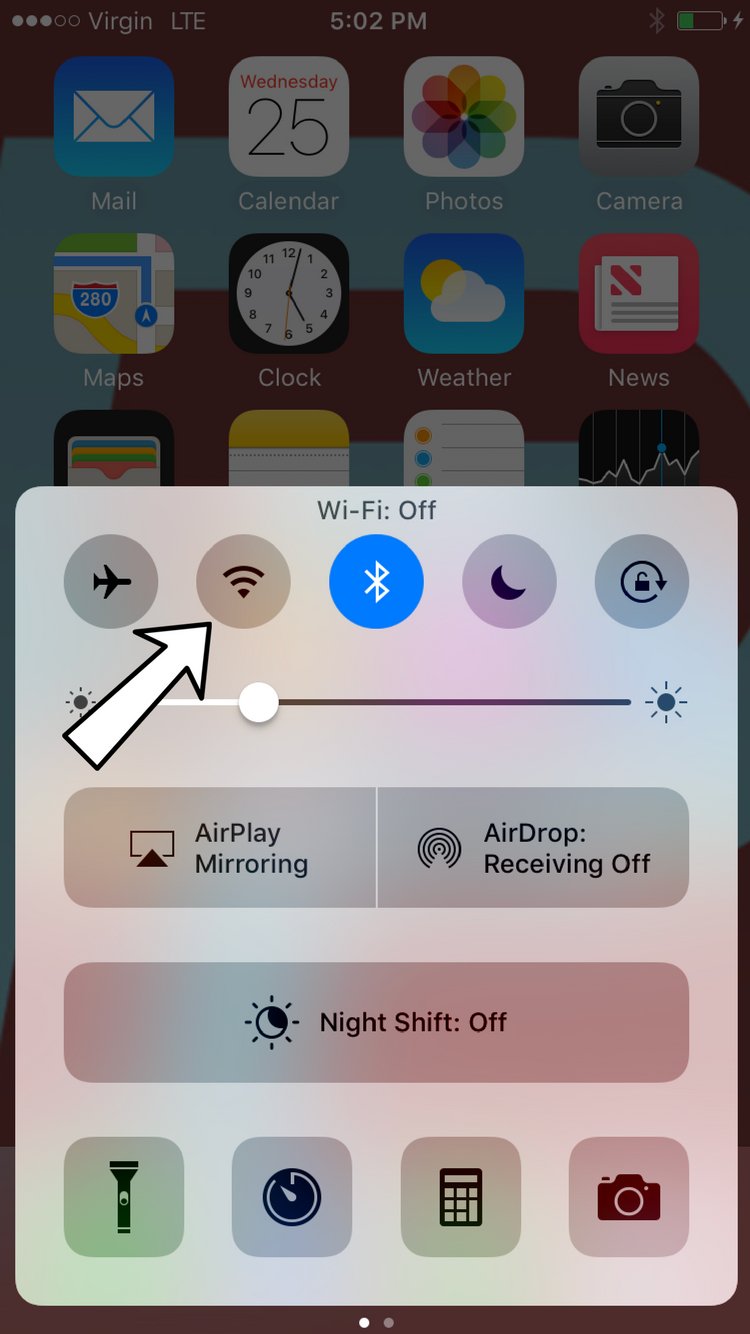
Turn Wi-Fi Off And Back On Again In Control Center
- Swipe up from below the bottom of the screen to open Control Center.
- Tap the Wi-Fi icon.
- You'll know Wi-Fi is off when the icon is black inside of a gray circle.

- Tap the icon again to turn Wi-Fi back on.
- You'll know W-Fi is on when the icon is white inside of a blue circle.

Applies To: iPhone 5,iPhone 5S,iPhone 5C,iPhone 6,iPhone 6 Plus,iPhone 6S,iPhone 6S Plus,iPhone SE,iPhone 7,iPhone 7 Plus,iPhone 8,iPhone 8 Plus,iPhone X,iPhone XS,iPhone XS Max,iPhone XR,iPhone 11,iPhone 11 Pro,iPhone 11 Pro Max,iPhone SE 2
View MoreUpdate iOS On Your iPhone
If your iPhone is running an outdated version of iOS, you may run into problems that could be fixed simply by updating to the most recent version of iOS.
How Do I Update iOS On My iPhone?
There are two ways to update iOS on your iPhone: in the Settings app and by using iTunes.
Update iOS In The Settings App
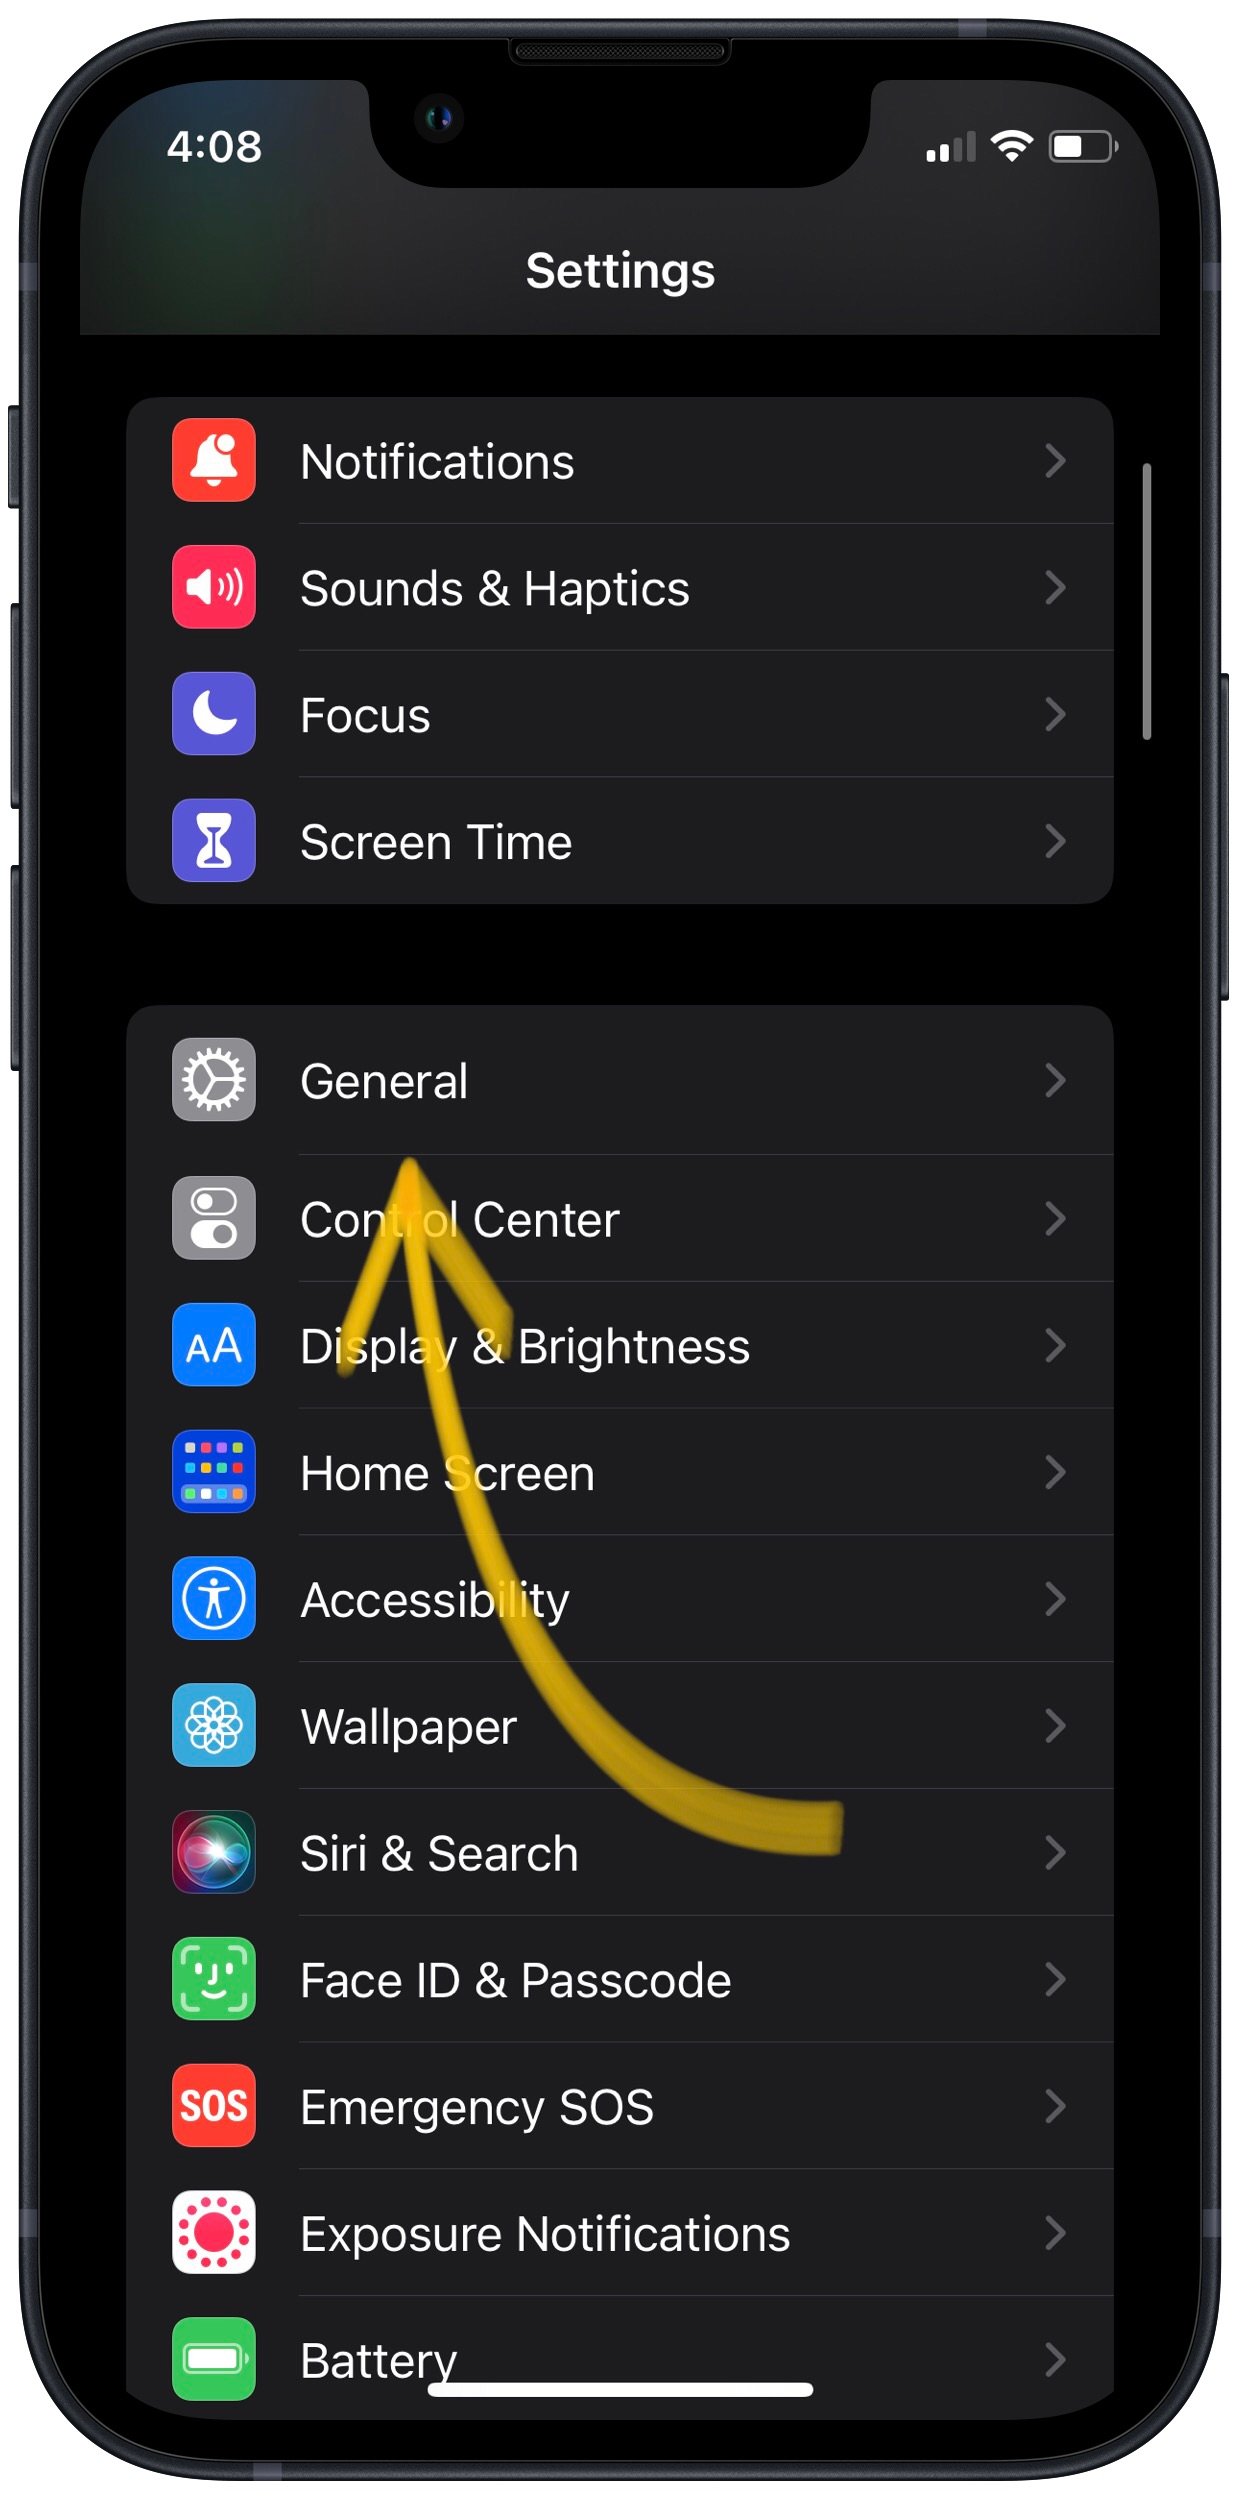
- Open up the Settings app.
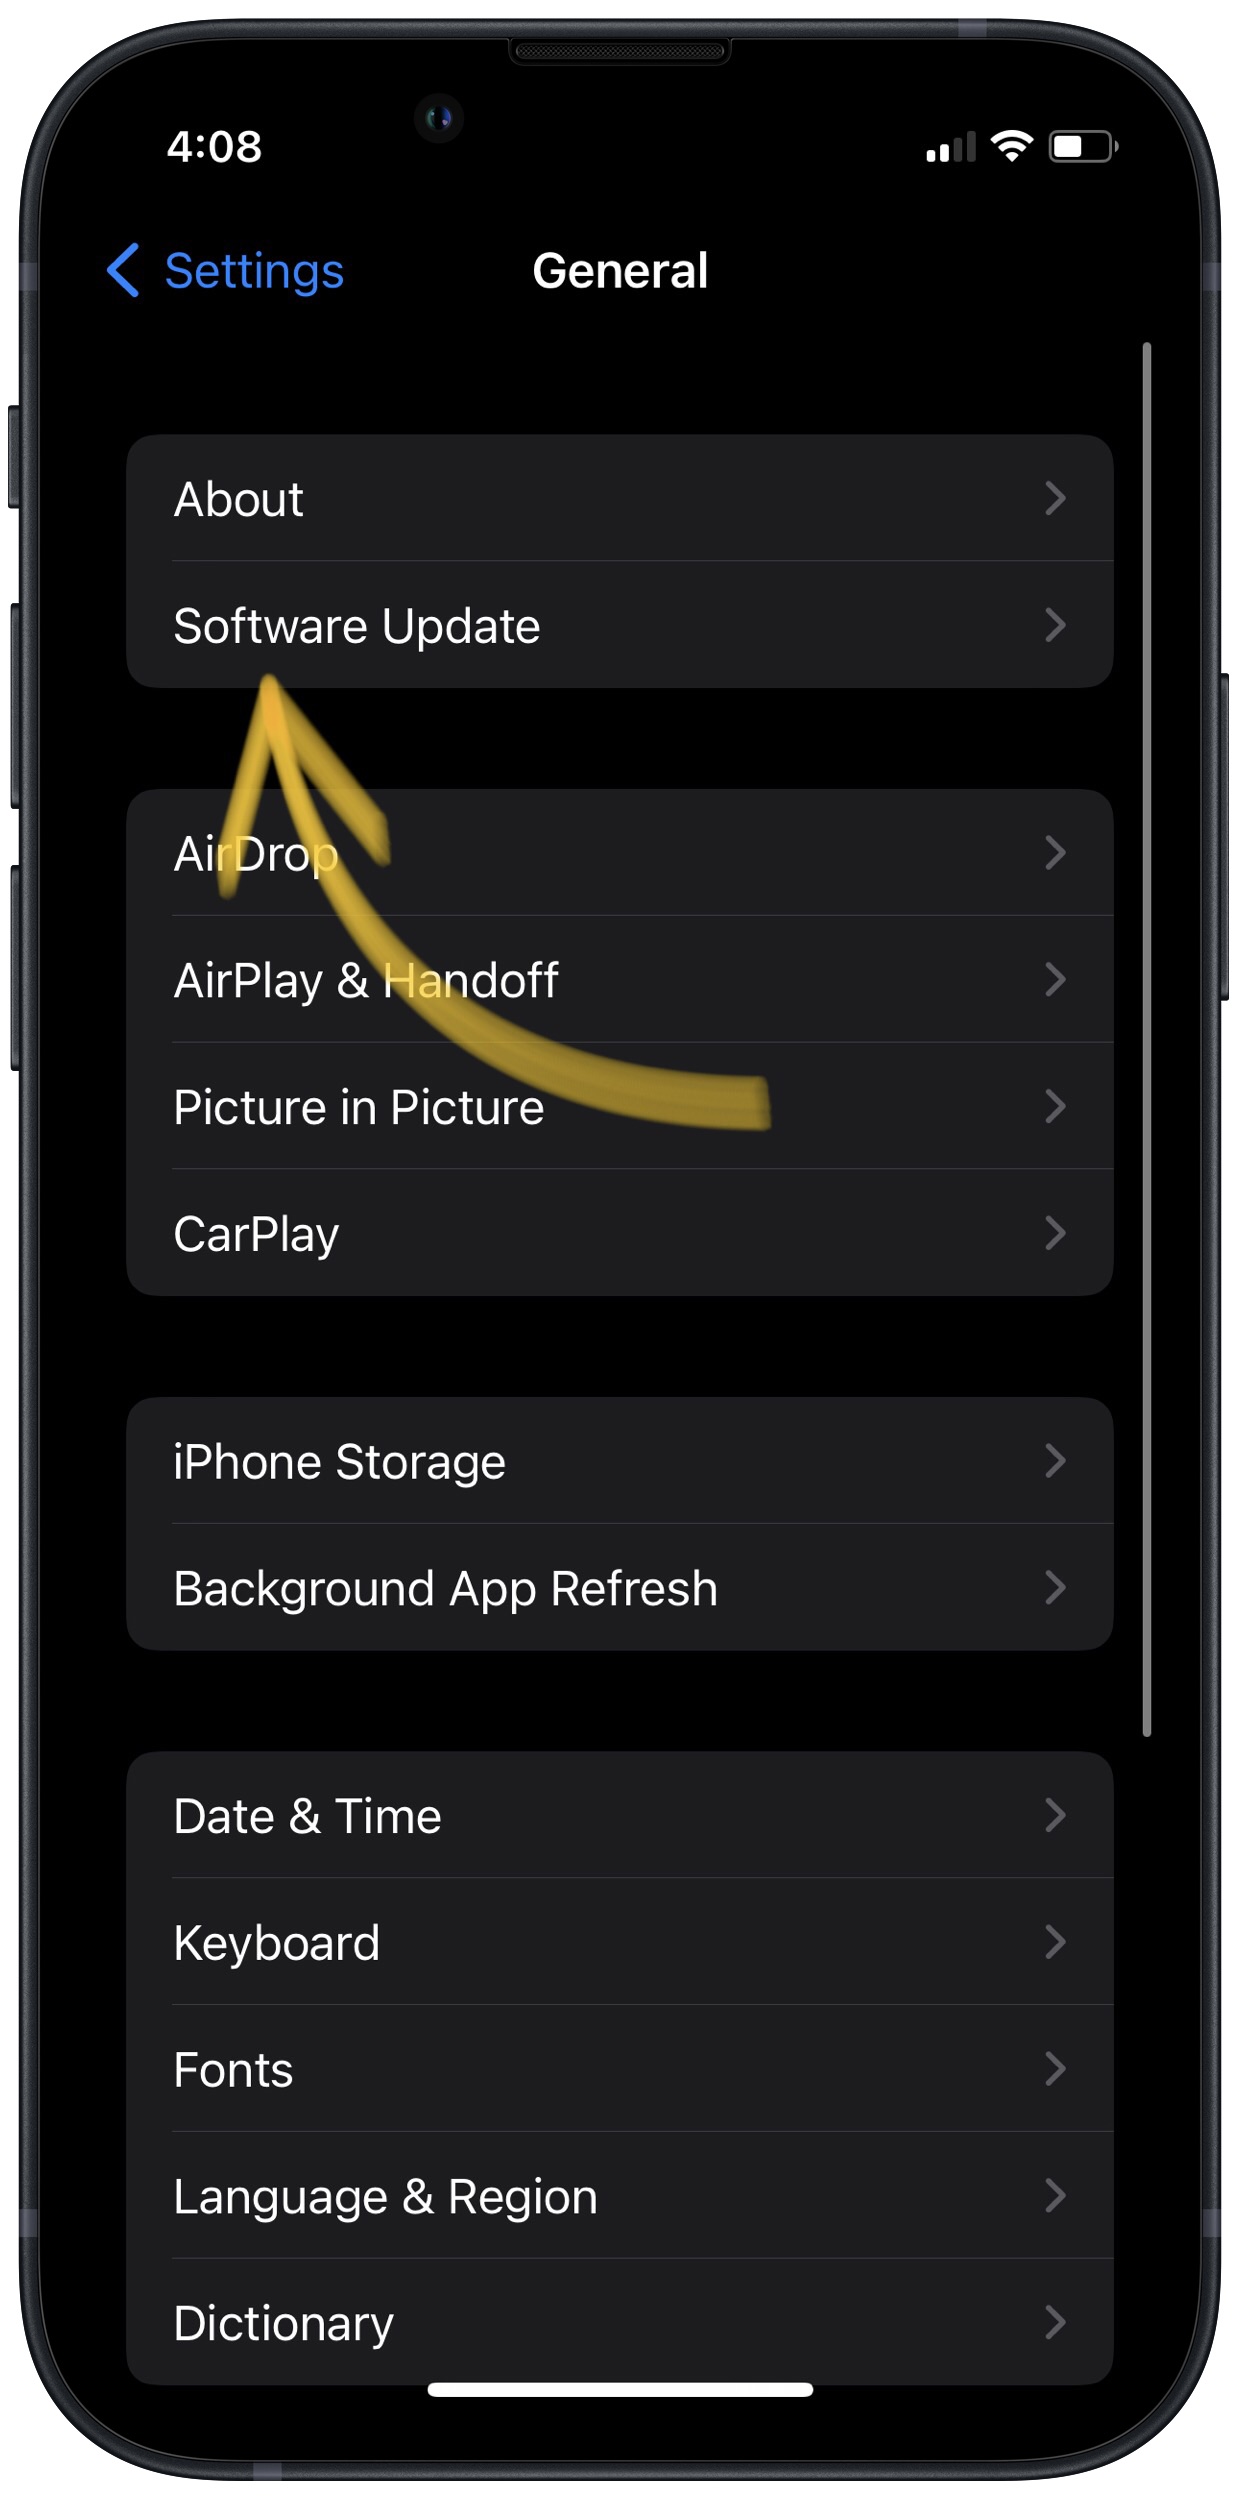
- Tap General.
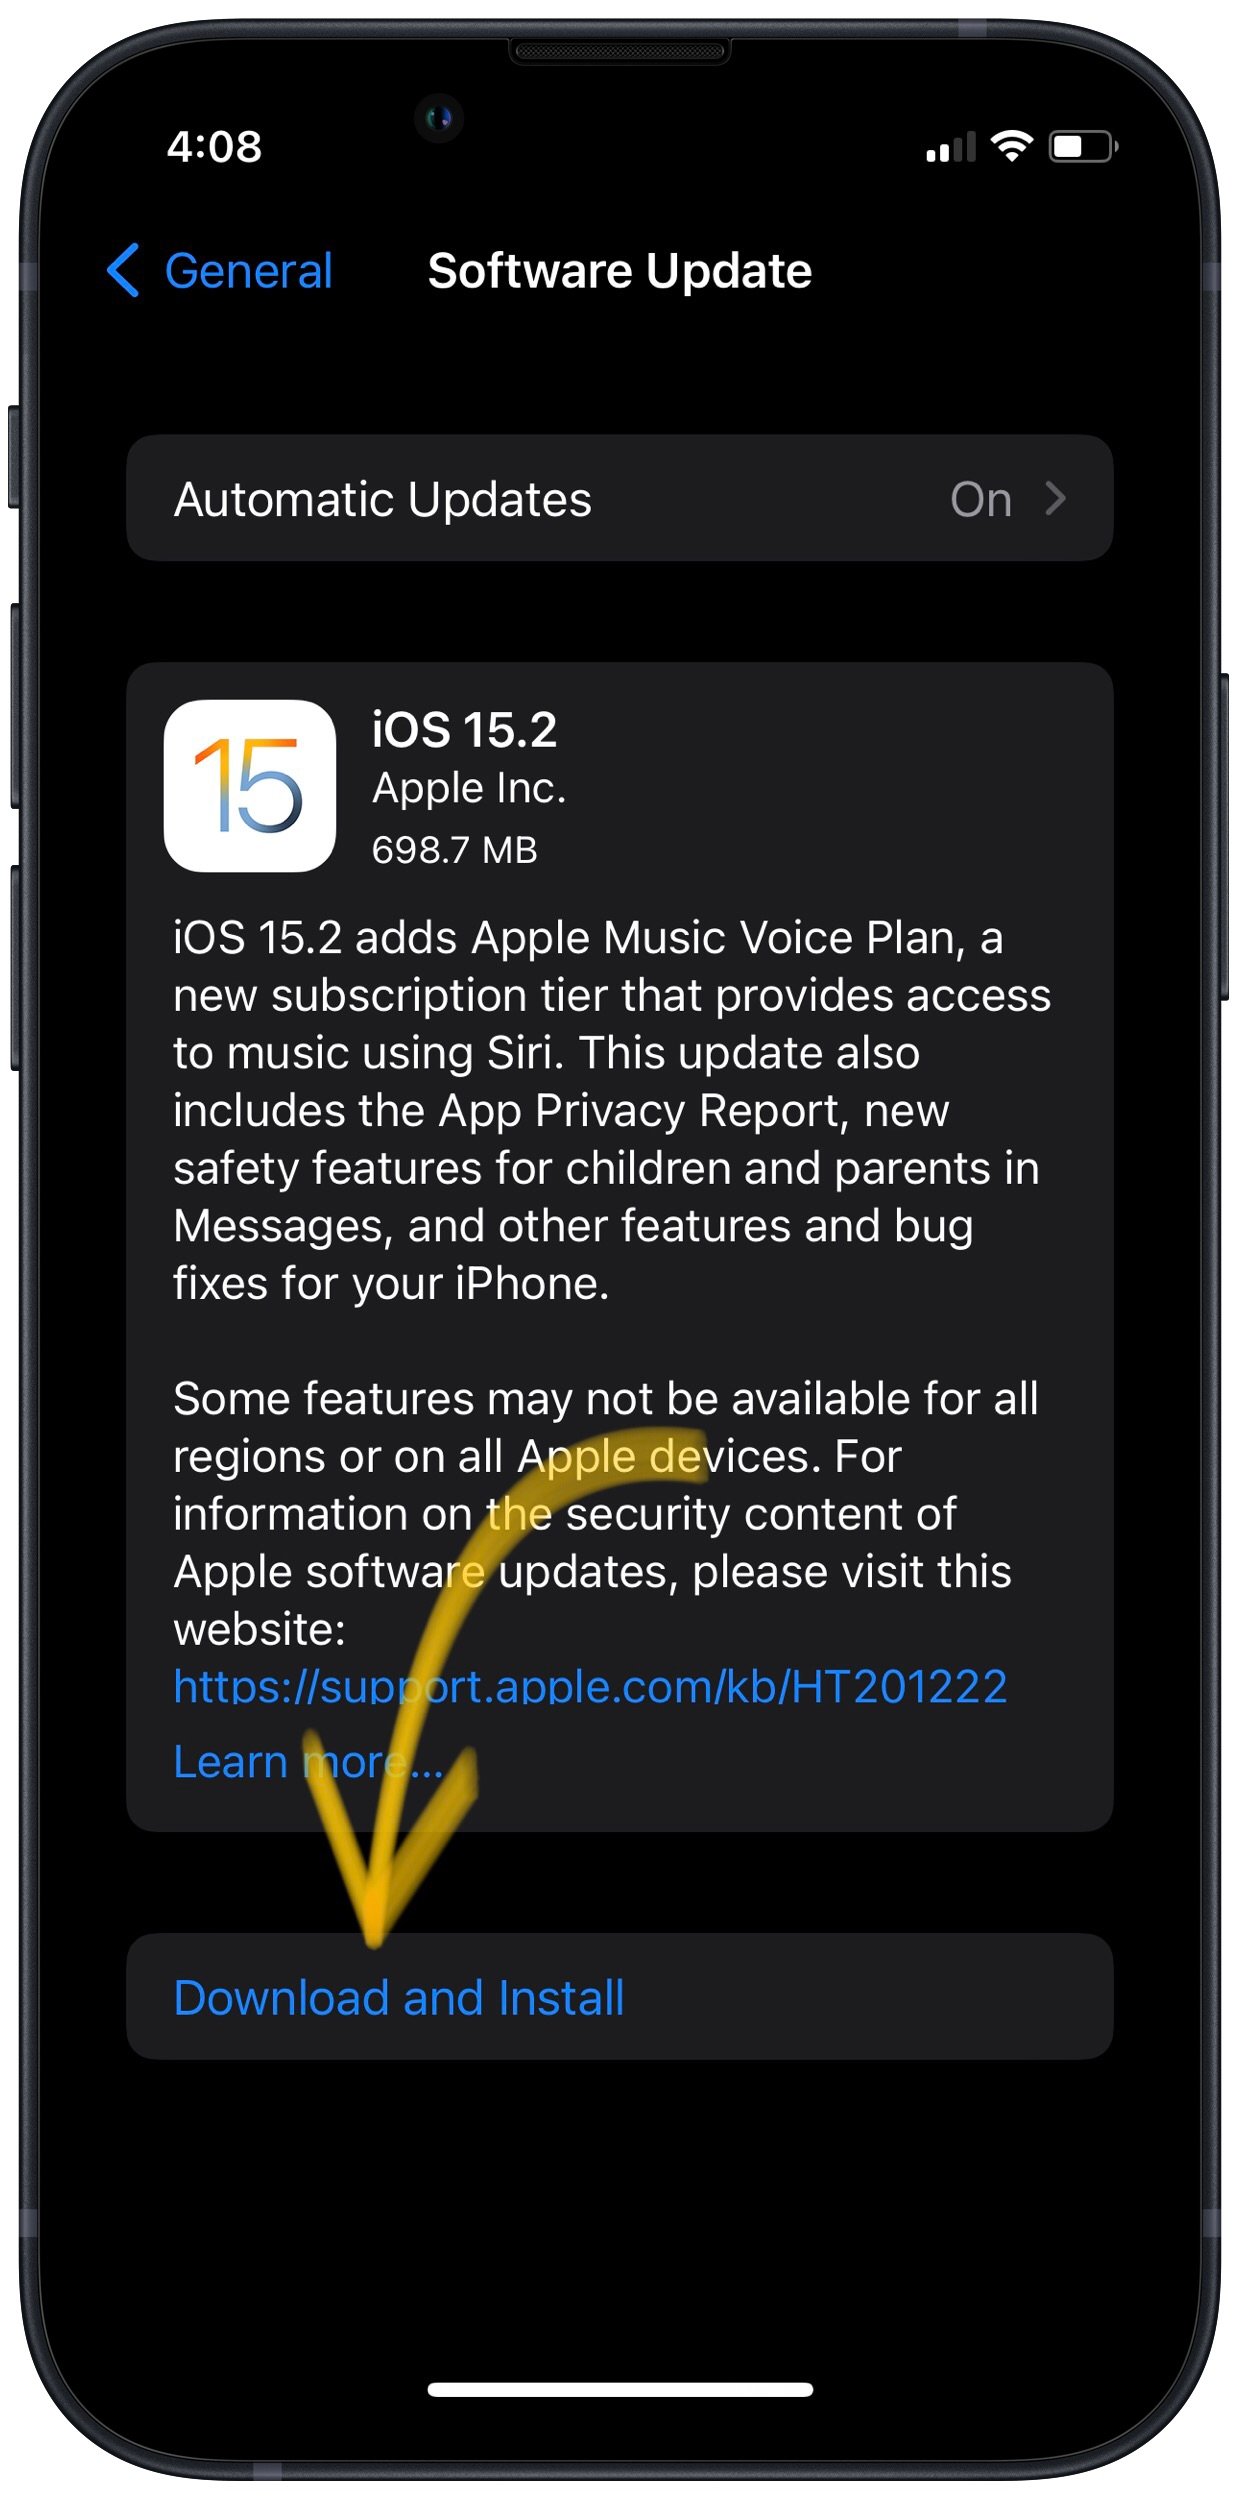
- Tap Software Update.
- If an update is available, tap Install Now or Download and Install.
Update iOS Using iTunes (PCs and Macs running macOS 10.14 or older)
- Connect your iPhone to a computer using a Lightning cable.
- Open iTunes.
- Click the Phone button in the upper left-hand corner of iTunes (see image 3).
- Click Check For Update.
- If an update is available, click Download and Install.
Update iOS Using Finder (Macs running macOS 10.15 or newer)
- Connect your iPhone to your Mac using a charging cable.
- Open Finder.
- Click on your iPhone under Locations.
- Click the General tab.
- Click Check for Update.
- Click Download and Install if an iOS update is available.
Applies To: iPhone 5,iPhone 5S,iPhone 5C,iPhone 6,iPhone 6 Plus,iPhone 6S,iPhone 6S Plus,iPhone SE,iPhone 7,iPhone 7 Plus,iPhone 8,iPhone 8 Plus,iPhone X,iPhone XS,iPhone XS Max,iPhone XR,iPhone 11,iPhone 11 Pro,iPhone 11 Pro Max,iPhone SE 2
View MoreDFU Restore Your iPhone
A DFU restore has the potential to fix software problems by completely erasing the code which may be causing your problem. The code is rewritten as if your iPhone is brand new, so the software problem may get solved.
Think of it like a house that has cracks in the foundation. Rather than try and fix the cracks, we are building an entirely new foundation.
If you can, back up your iPhone before completing a DFU restore. Any time you do a restore, it erases everything from your iPhone. However, after the restore is completed, you restore all your backed up data back onto your iPhone.
How Do I DFU Restore My iPhone?
How To DFU Restore An iPhone SE, 6s, Or Older
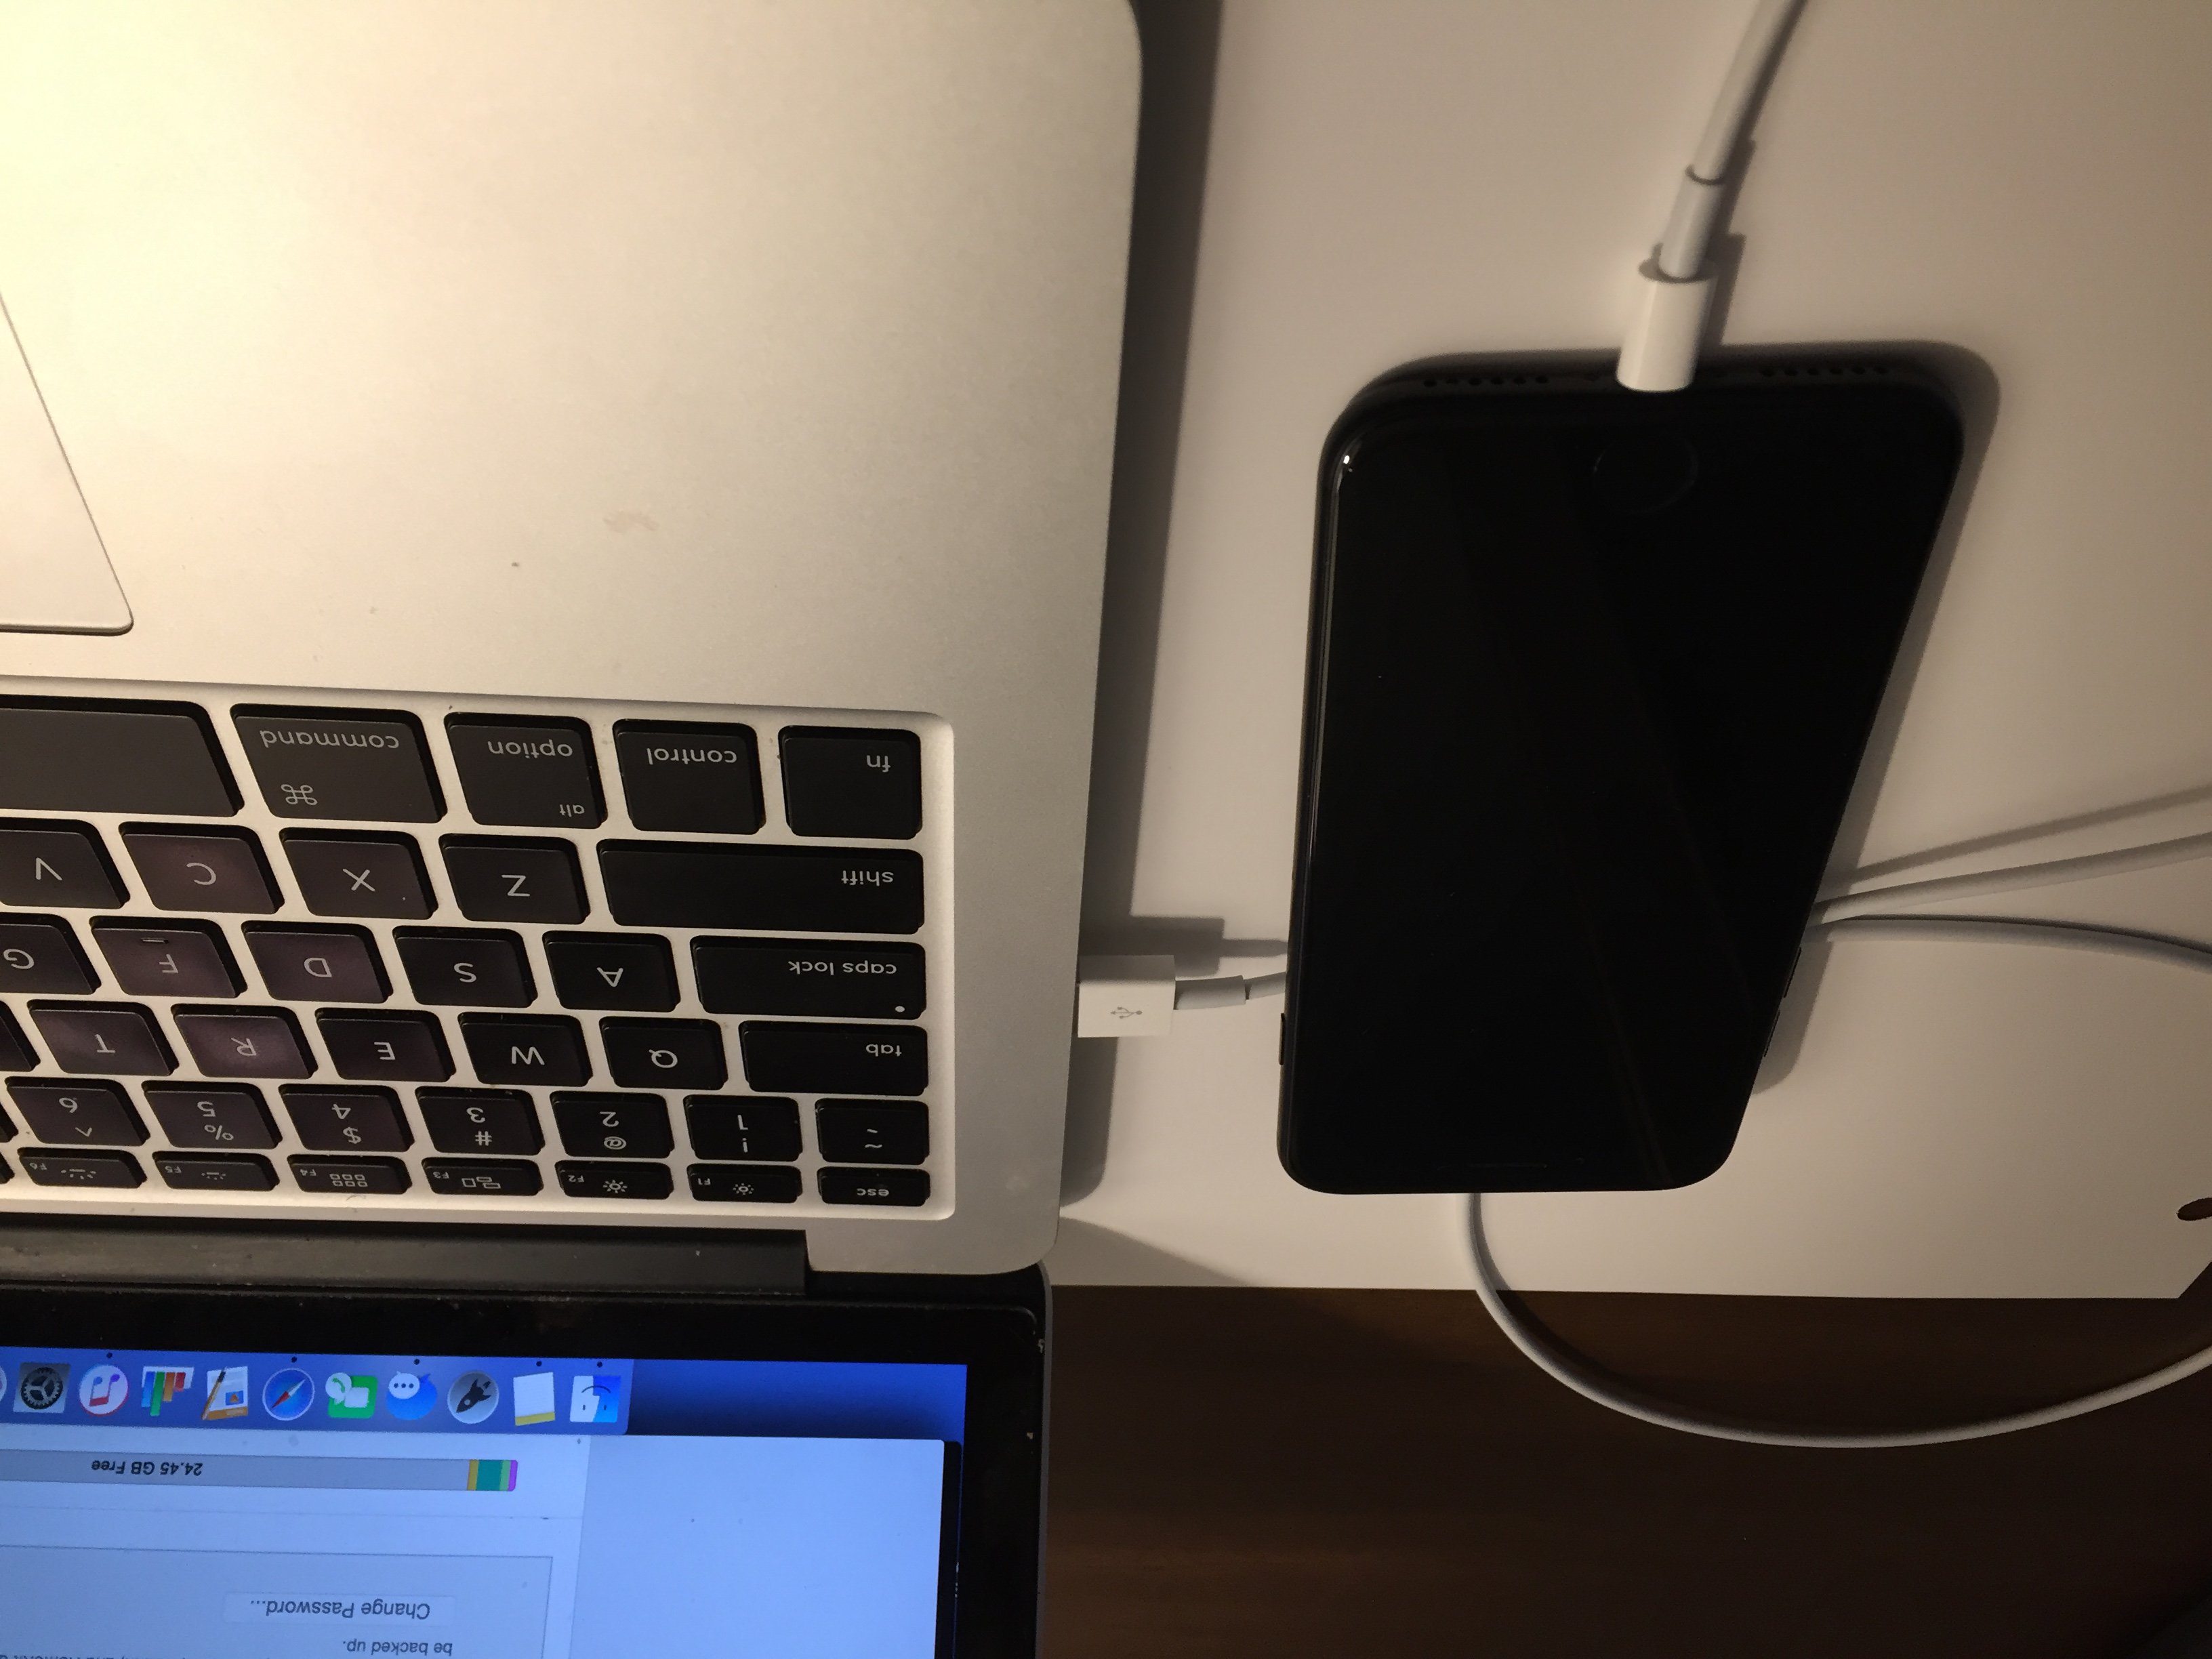
- Using a Lightning cable, plug your iPhone into a USB port on your computer.
- Open iTunes if you have a PC or Mac running Mojave 10.14 or earlier. Open Finder if you have a Mac running Catalina 10.15 or newer. It doesn’t matter if your iPhone is on or off.
- Press and hold the Home button and the power button simultaneously.
- After 8 seconds, release the power button, but continue to hold the Home button.
- Let go of the power button when your iPhone appears in iTunes or Finder.
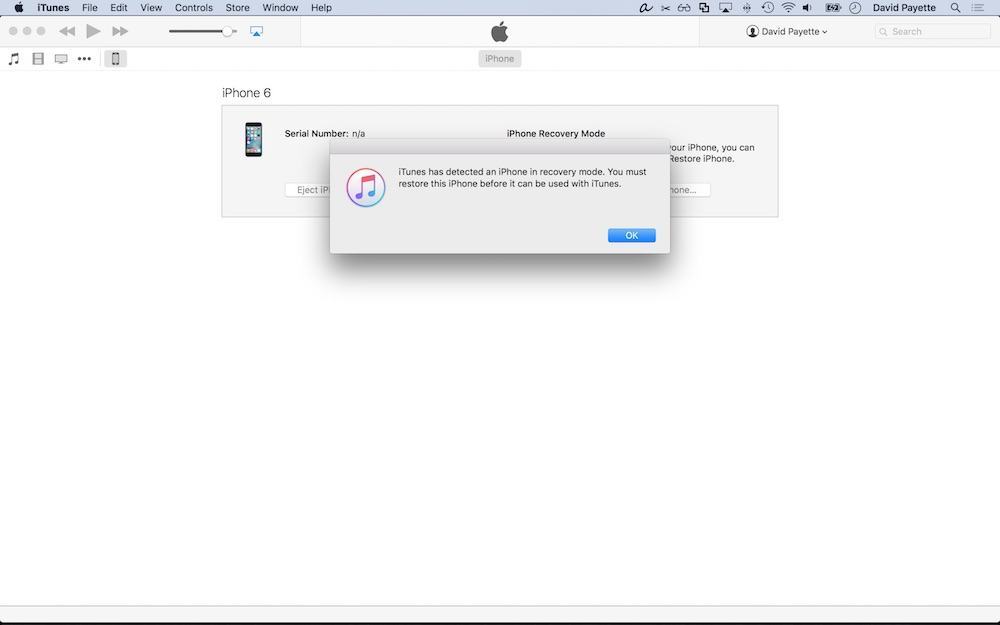
- Your iPhone’s display will be completely black if you’ve successfully entered DFU mode. If it’s not, try again from the beginning.
- Restore your iPhone using iTunes or Finder.
How To DFU Restore An iPhone 7 Or 7 Plus
- Using a Lightning cable, plug your iPhone into a USB port on your computer.
- Open iTunes if you have a PC or Mac running Mojave 10.14 or earlier. Open Finder if you have a Mac running Catalina 10.15 or newer. It doesn’t matter if your iPhone is on or off.
- Press and hold the power and volume down button simultaneously.
- After 8 seconds, release the power button, but continue to hold the volume down button.
- Release the volume down button when your iPhone appears in iTunes or Finder.
- You'll know your iPhone is in DFU mode if the display is completely black.
- Restore your iPhone using iTunes or Finder.
How To DFU Restore An iPhone 8 Or Newer
- Connect your iPhone to your computer using a charging cable.
- Open iTunes (PCs and Macs running macOS 10.14 or older) or Finder (Macs running macOS 10.15 or newer).
- Quickly press and release the volume up button.
- Quickly press and release the volume down button.
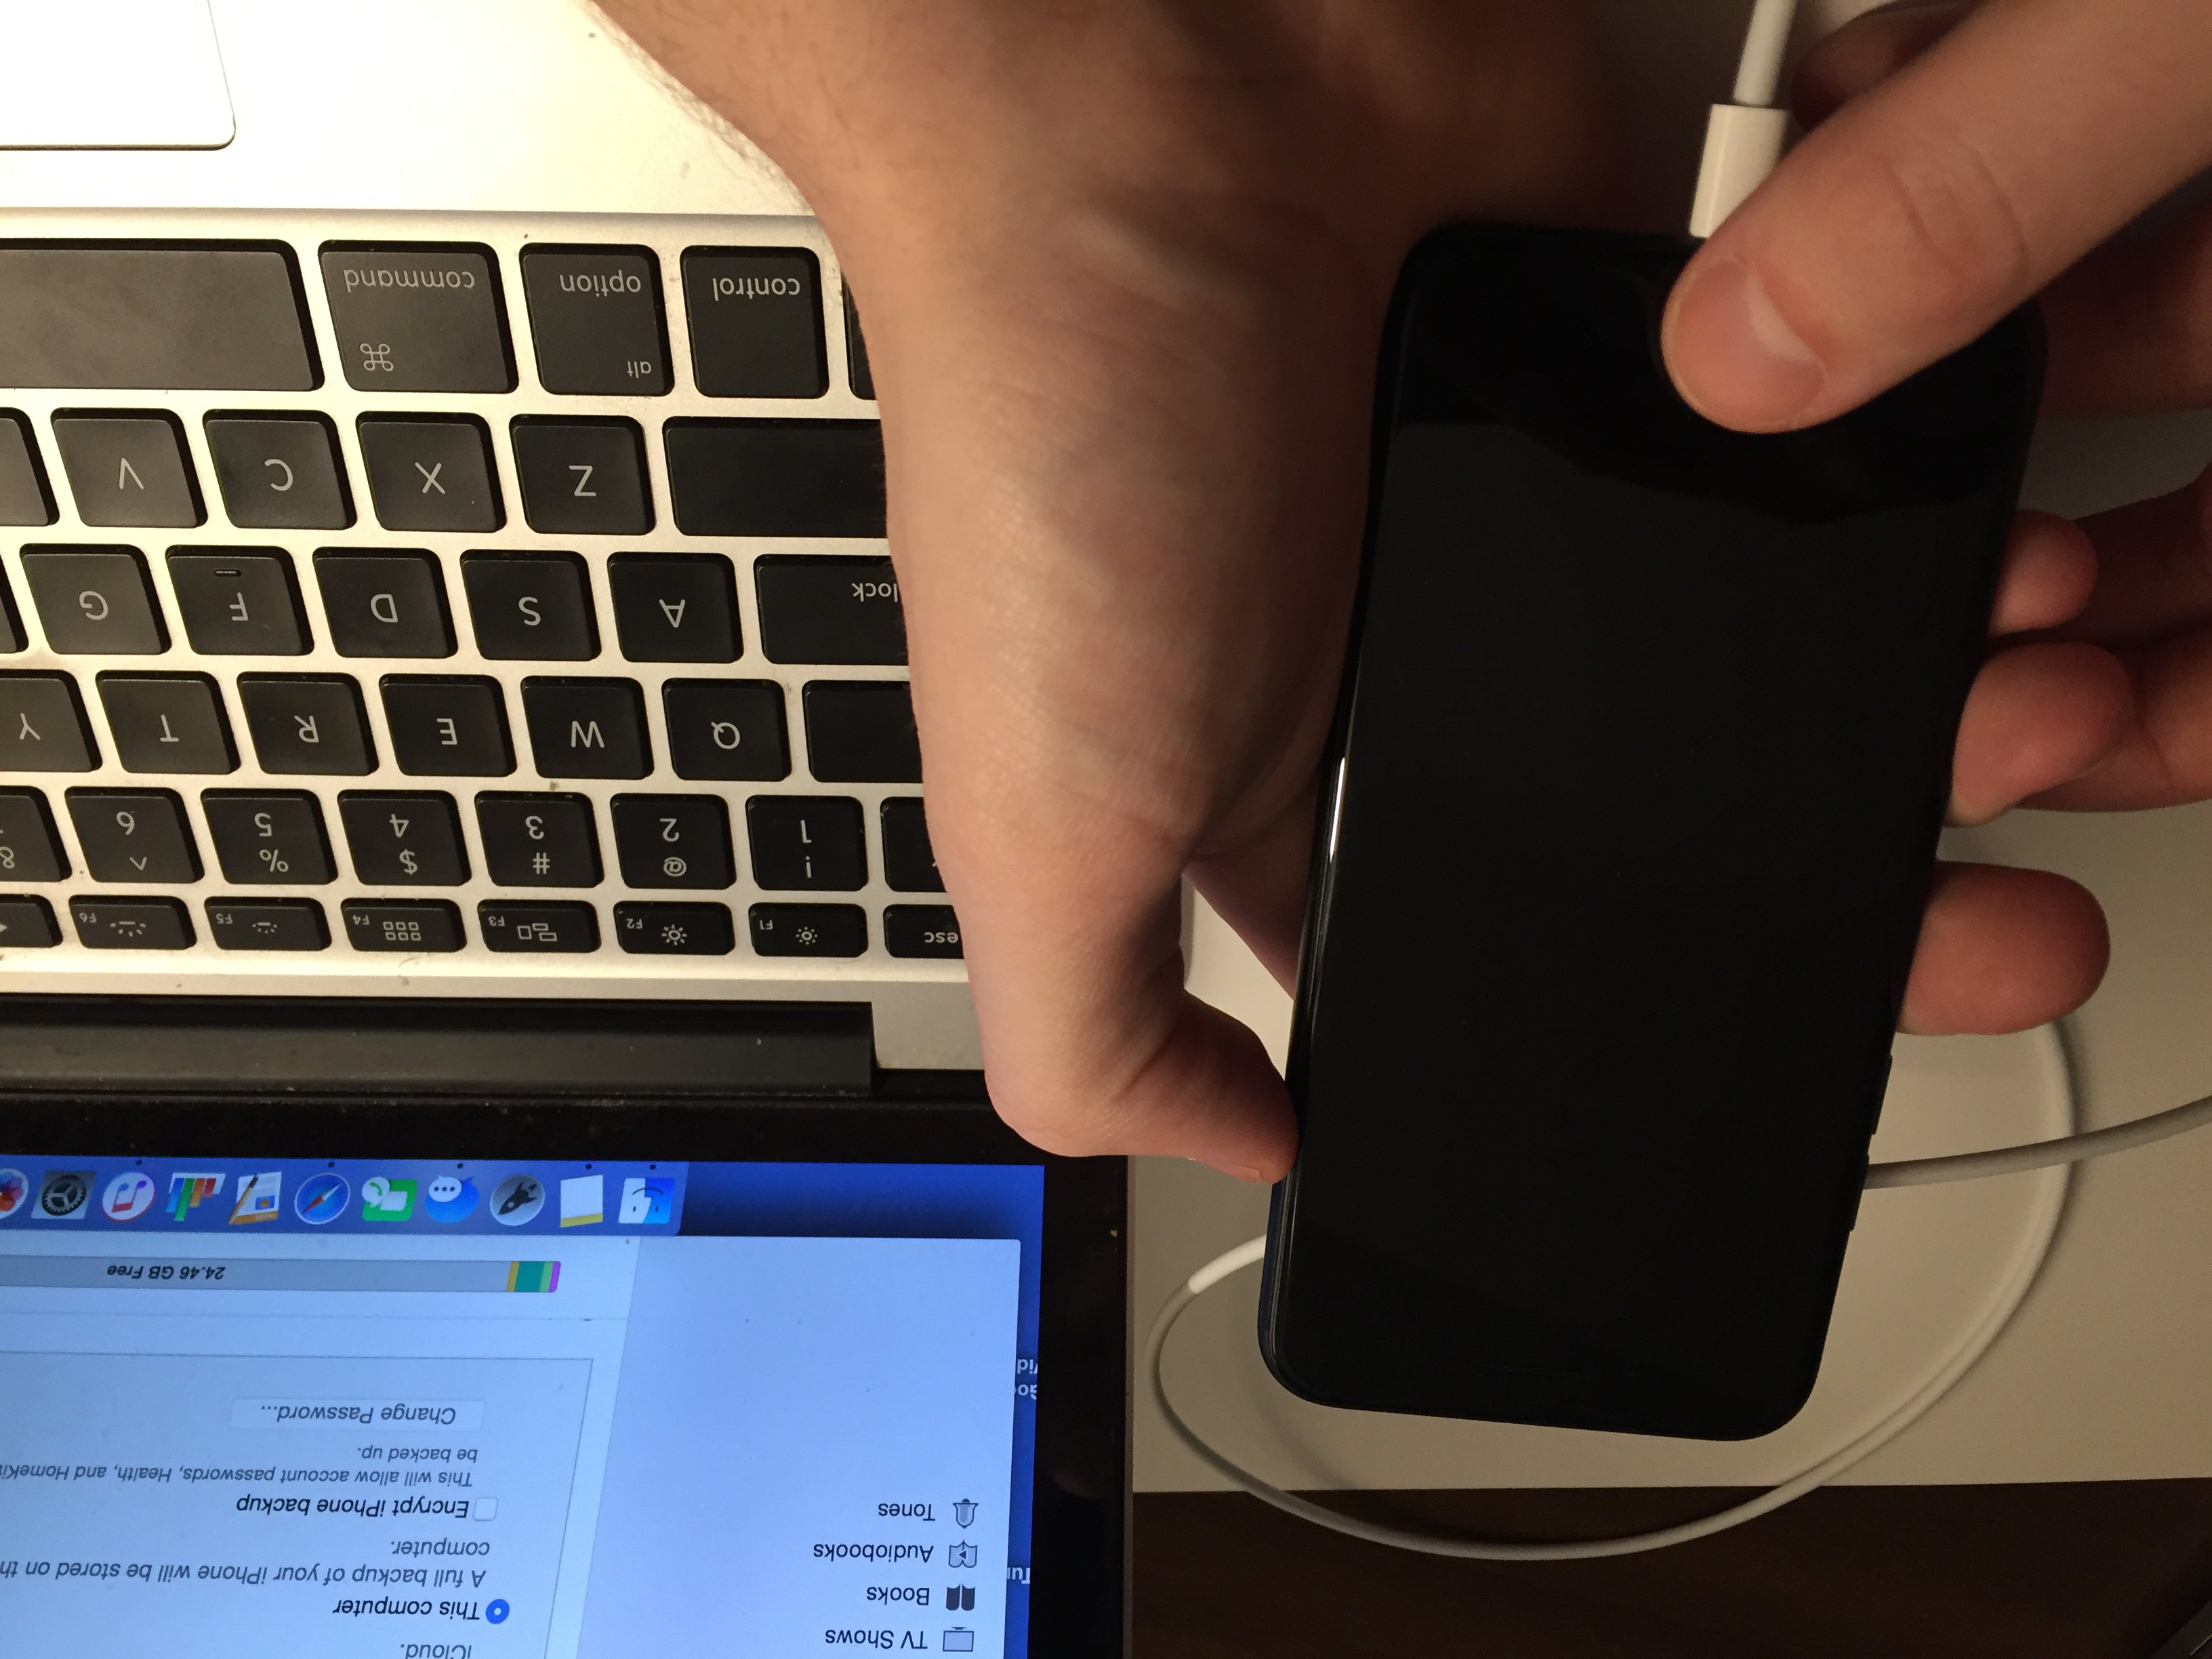
- Press and hold the side button until the screen goes black.
- When the screen goes black, press and hold the volume down button while continuing to press and hold the side button.
- Hold both buttons for five seconds.
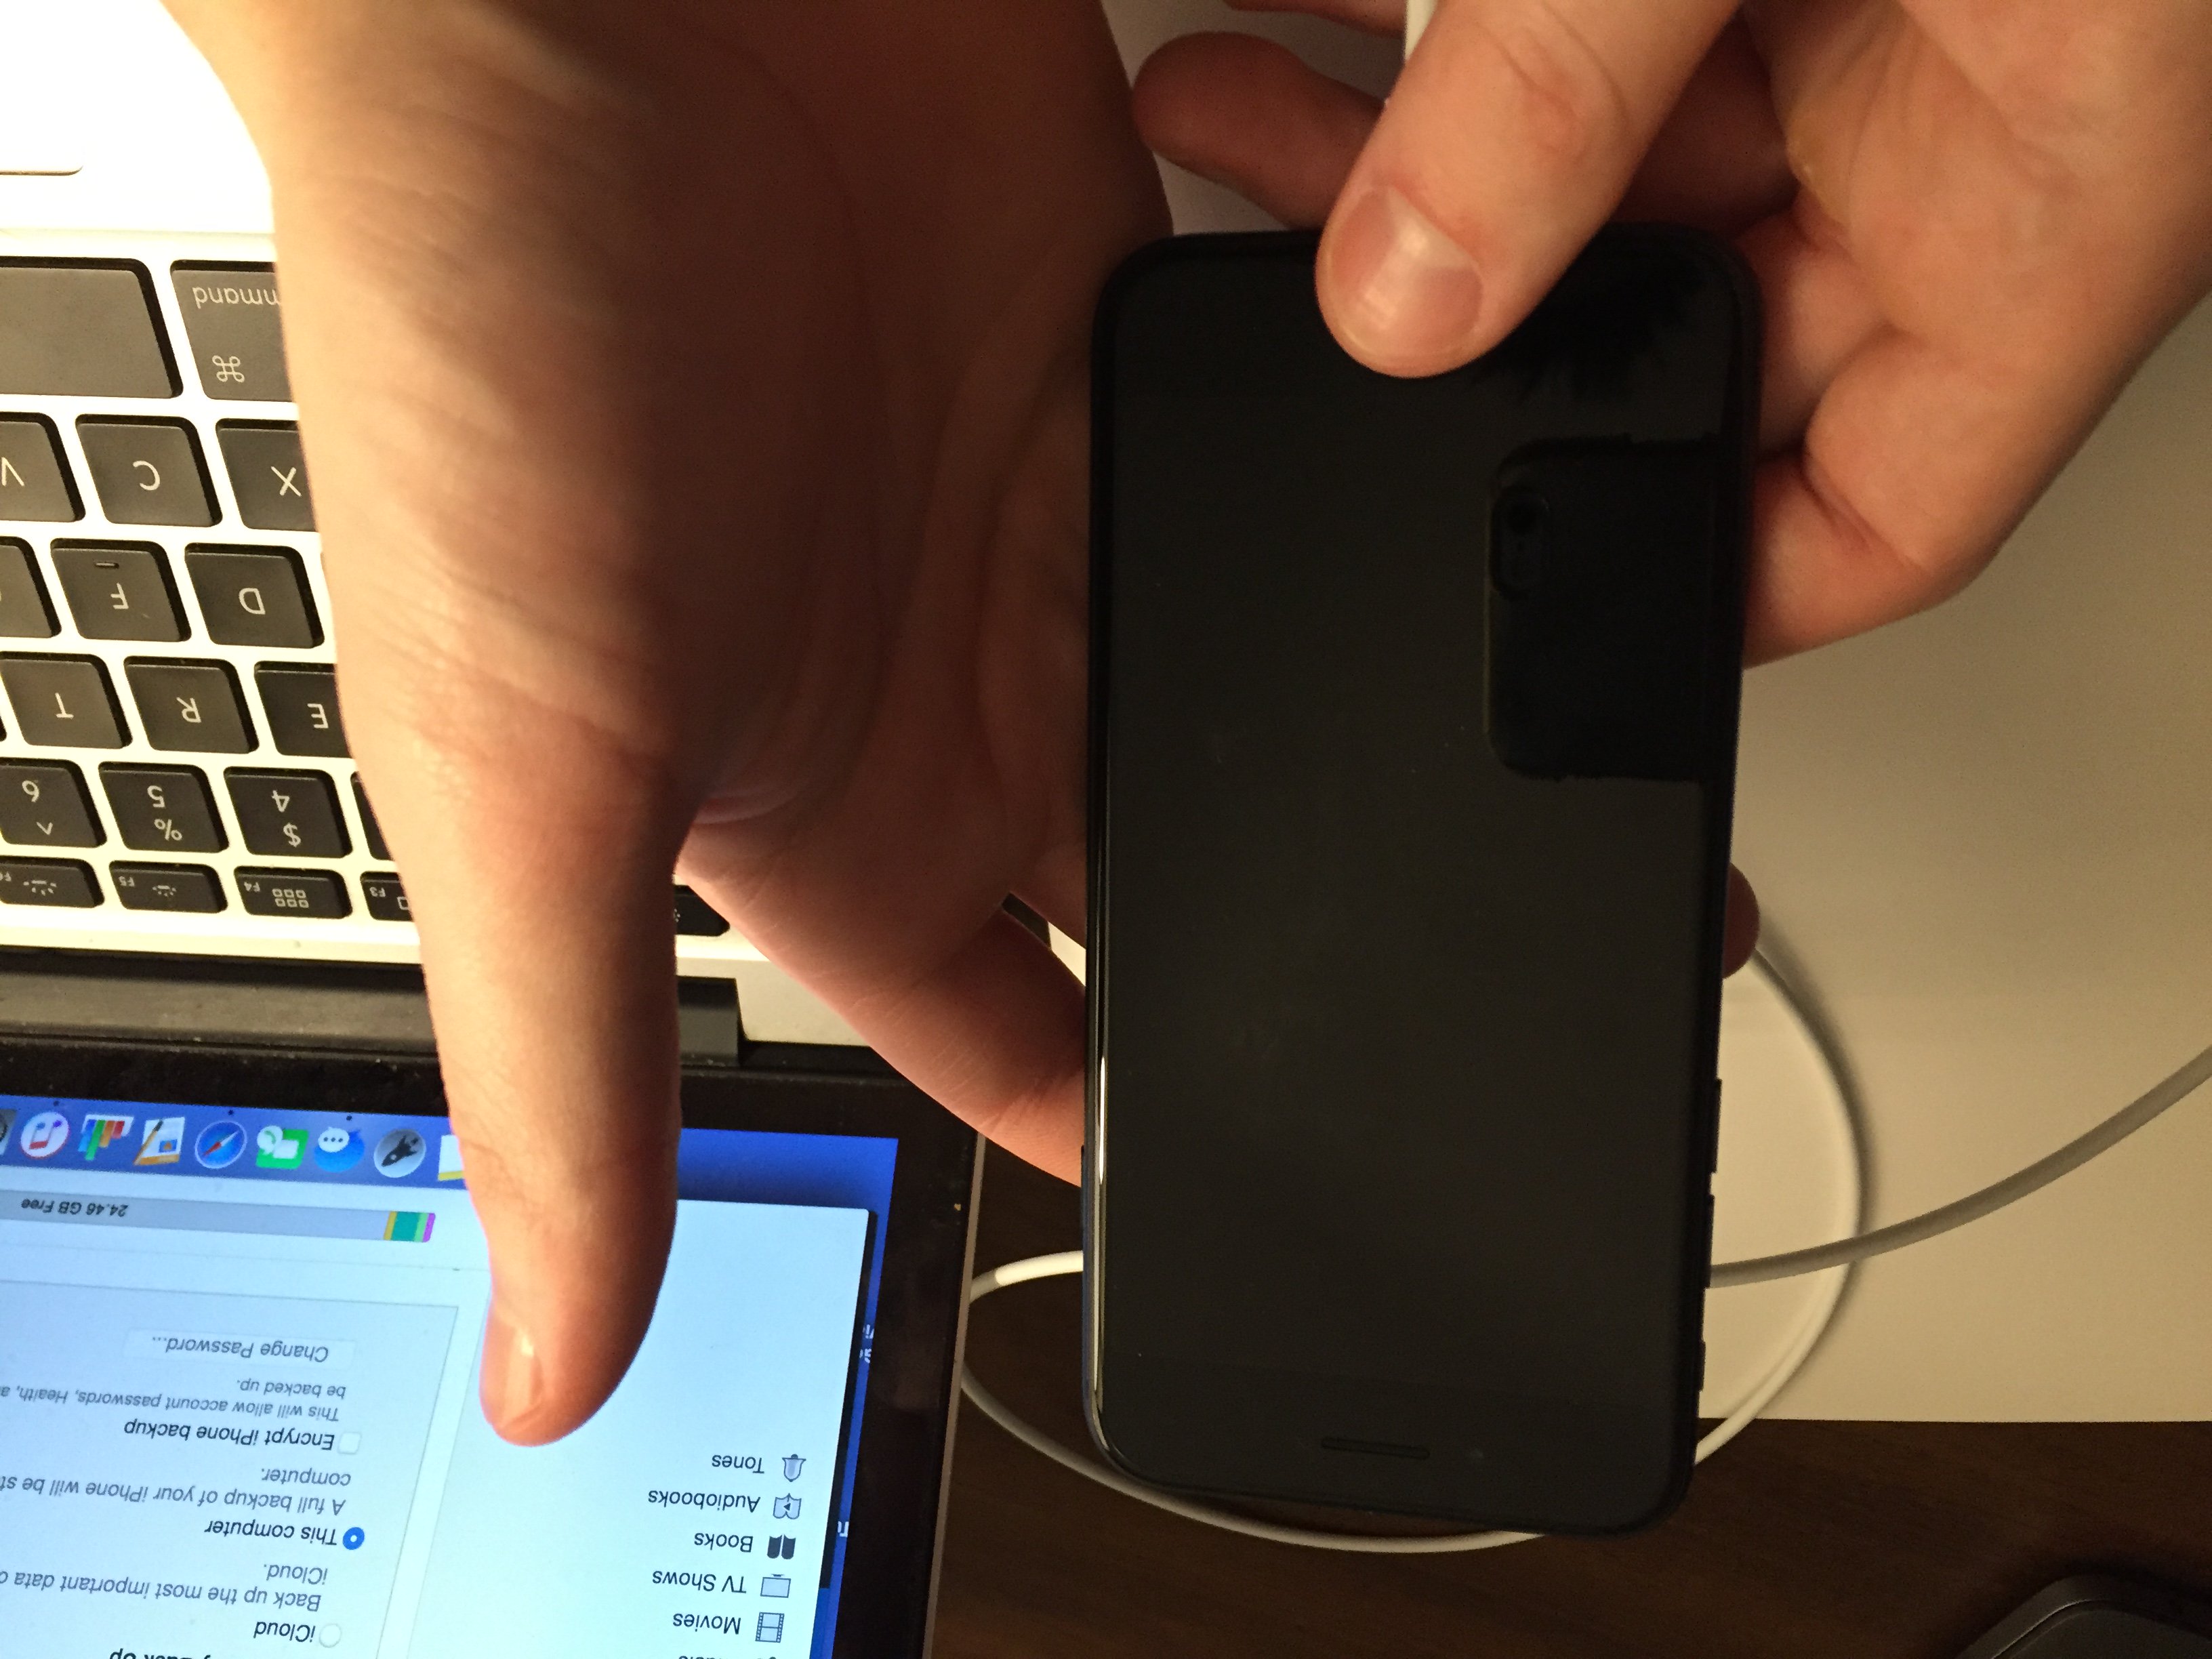
- After five seconds, release the side button while continuing to hold the volume down button.
- Keep holding the volume down button until your iPhone appears in Finder or iTunes.
- Restore your iPhone using iTunes or Finder.
Applies To: iPhone 5,iPhone 5S,iPhone 5C,iPhone 6,iPhone 6 Plus,iPhone 6S,iPhone 6S Plus,iPhone SE,iPhone 7,iPhone 7 Plus,iPhone 8,iPhone 8 Plus,iPhone X,iPhone XS,iPhone XS Max,iPhone XR,iPhone 11,iPhone 11 Pro,iPhone 11 Pro Max,iPhone SE 2
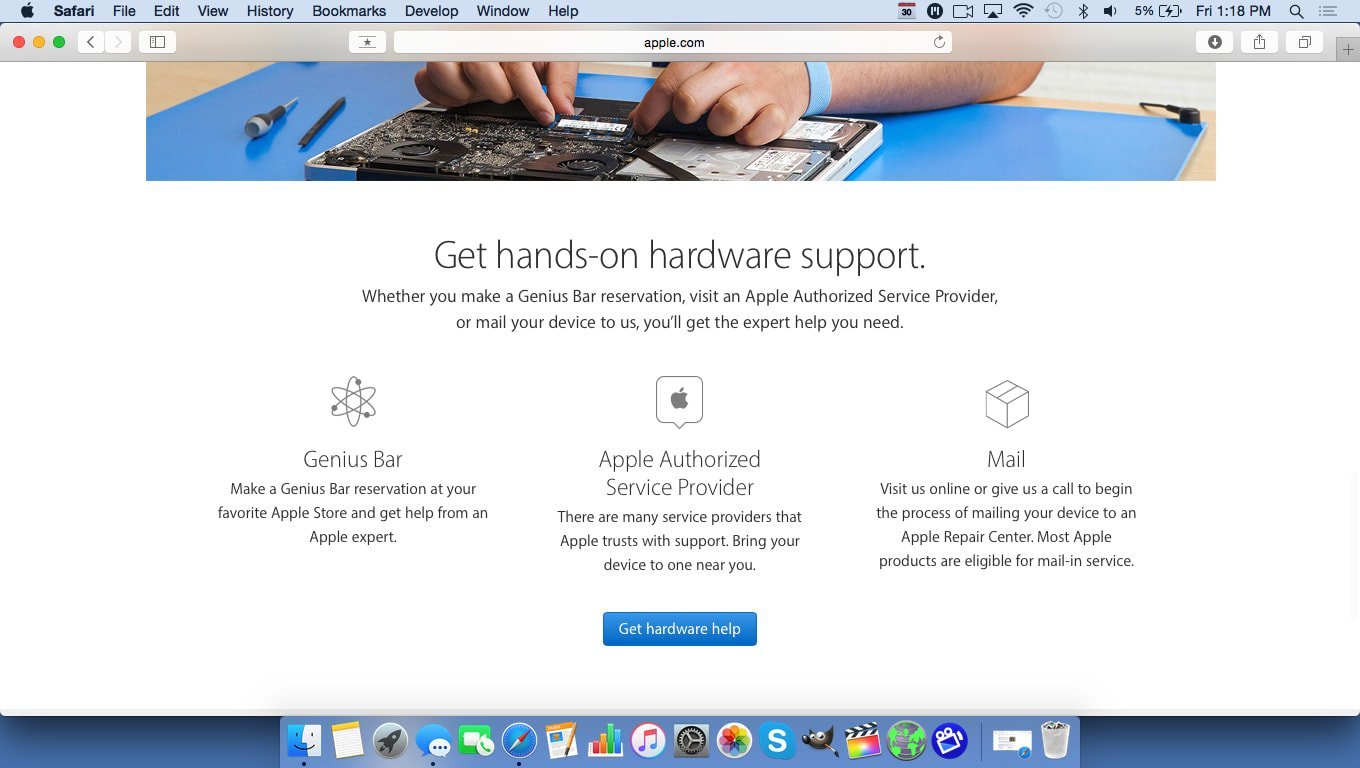
View MoreRepair Your iPhone With Apple
Apple repairs iPhones at the Genius Bar in Apple Stores and through their online mail-in repair service. Apple repairs are high-quality, but out-of-warranty repairs can be much more expensive than third-party solutions. If you're looking to save some money you're not covered by Apple's warranty, you may want to check out our other recommendations.

How Do I Repair My iPhone With Apple?
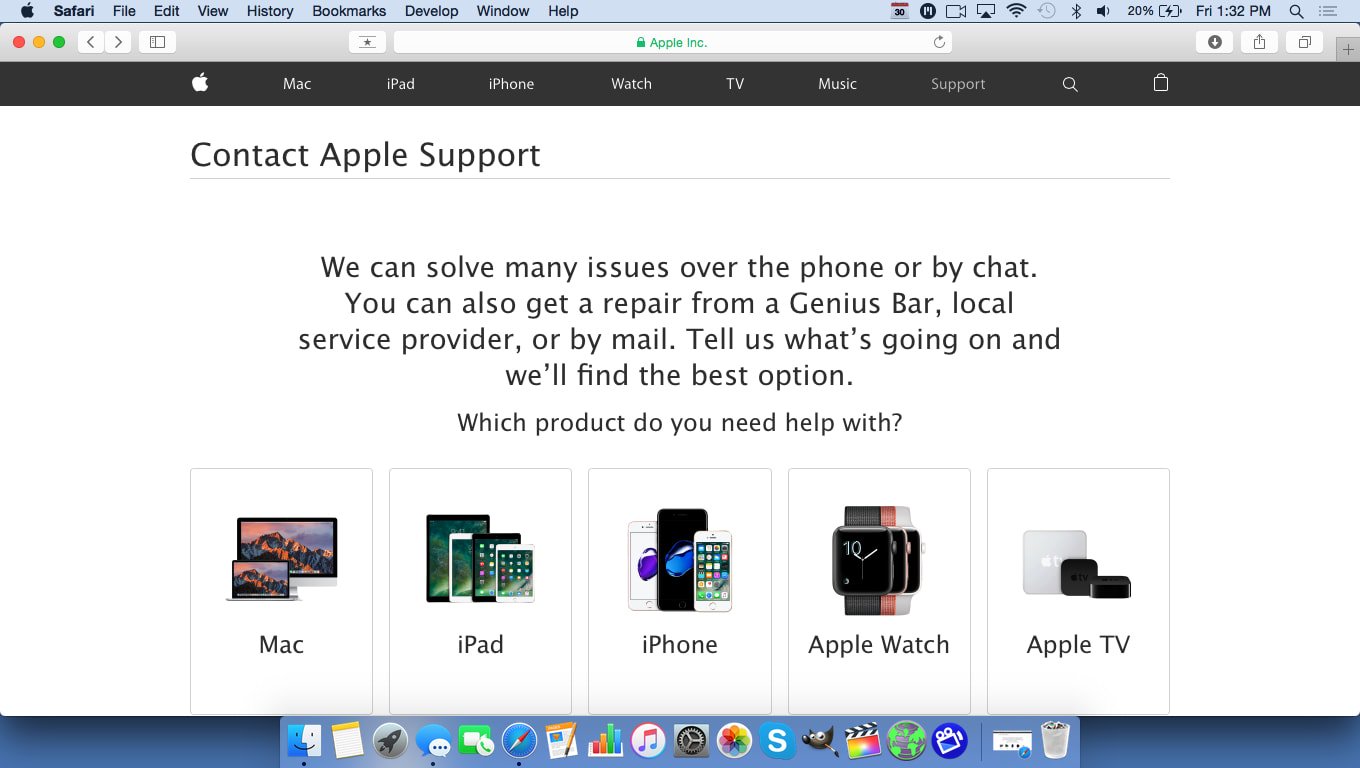
How To Repair Your iPhone With Apple's Mail-In Service
- Visit Apple's support website to begin the online mail-in repair process.
- Alternatively, call 1-800-MY-APPLE (1-800-692-7753) to set up a repair.
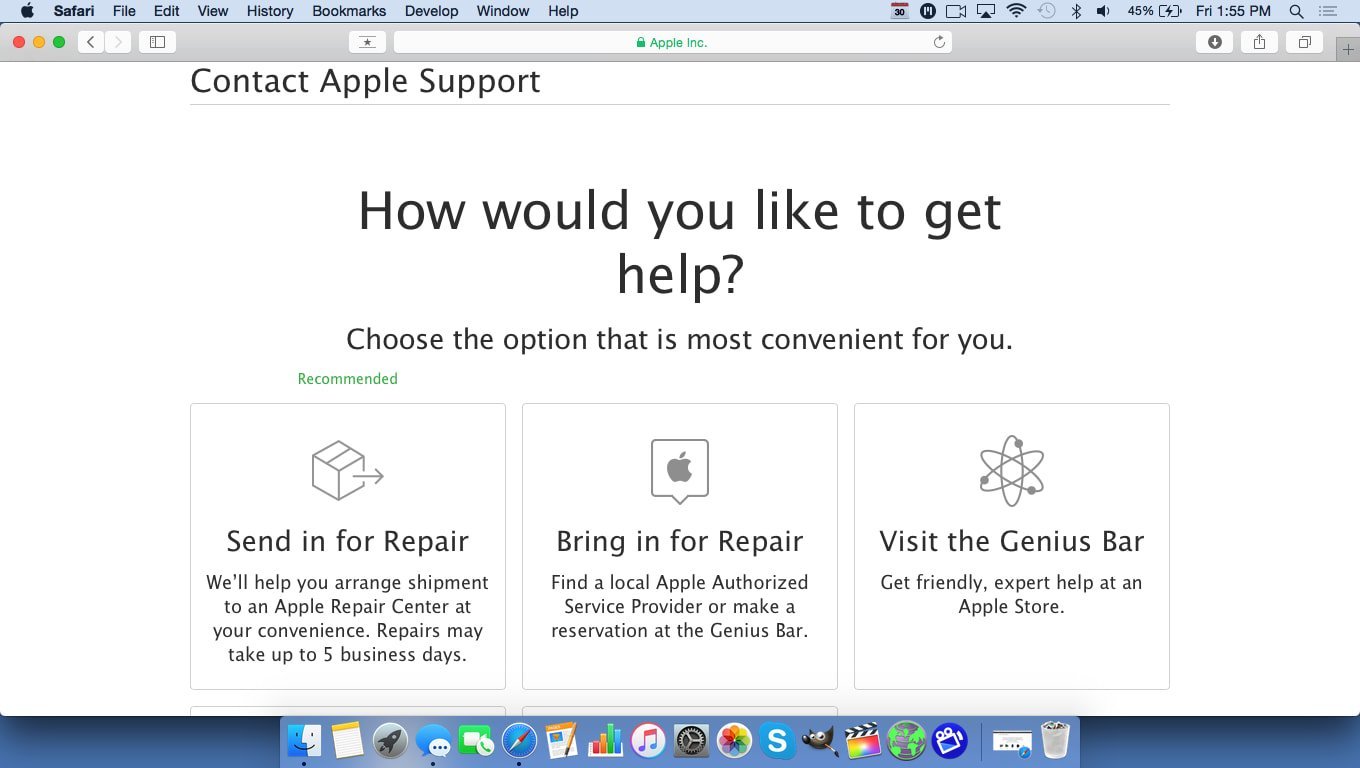
How To Repair Your iPhone At The Genius Bar Inside Your Local Apple Store
- Visit Apple's website to make a Genius Bar appointment before you go into the store. Apple Stores are extremely busy, and if you don't have an appointment, you may have to wait for hours or end up being turned away. (Editor's note: I'm a former Apple tech and we're not exaggerating — please, do yourself a favor and make an appointment first!)
- When you arrive, go to the Genius Bar to check in for your appointment.
- Genius Bar appointments always include free diagnosis. If you're under warranty, many repairs can be done on the spot, but it all depends upon which parts are in stock. If you're not under warranty, the Genius will give you a quote for the cost of a repair.
Applies To: iPhone 5,iPhone 5S,iPhone 5C,iPhone 6,iPhone 6 Plus,iPhone 6S,iPhone 6S Plus,iPhone SE,iPhone 7,iPhone 7 Plus,iPhone 8,iPhone 8 Plus,iPhone X,iPhone XS,iPhone XS Max,iPhone XR,iPhone 11,iPhone 11 Pro,iPhone 11 Pro Max,iPhone SE 2
View MoreBelieve It Or Not, I'm Walking On Air(Drop)!
AirDrop is working on your iPhone and you can start sharing files between all of your Apple devices again. Next time AirDrop is not working on your iPhone 8, you'll know exactly how to fix the problem! Thanks for reading and feel free to leave any other questions you have about AirDrop in the comments section below.
I’ve just set up a new wireless printer. I’m trying to print an email attachment from my iPhone 8. I had no problems with the old printer but this is crazy! When I click the share button, a white box appears in the middle of the document with a red line starting across it and the message Wait a minute. In 20 seconds or so the message disappears and no options to forward or print. What do I do? When I go to WiFi settings the new Brother printer is not an option like the HP was.